4 C-ARM AND UPPER ARM PARTS REPLACEMENT Chapter F: PARTS REPLACEMENT AND REPAIR
162 Planmeca ProOne Technical manual
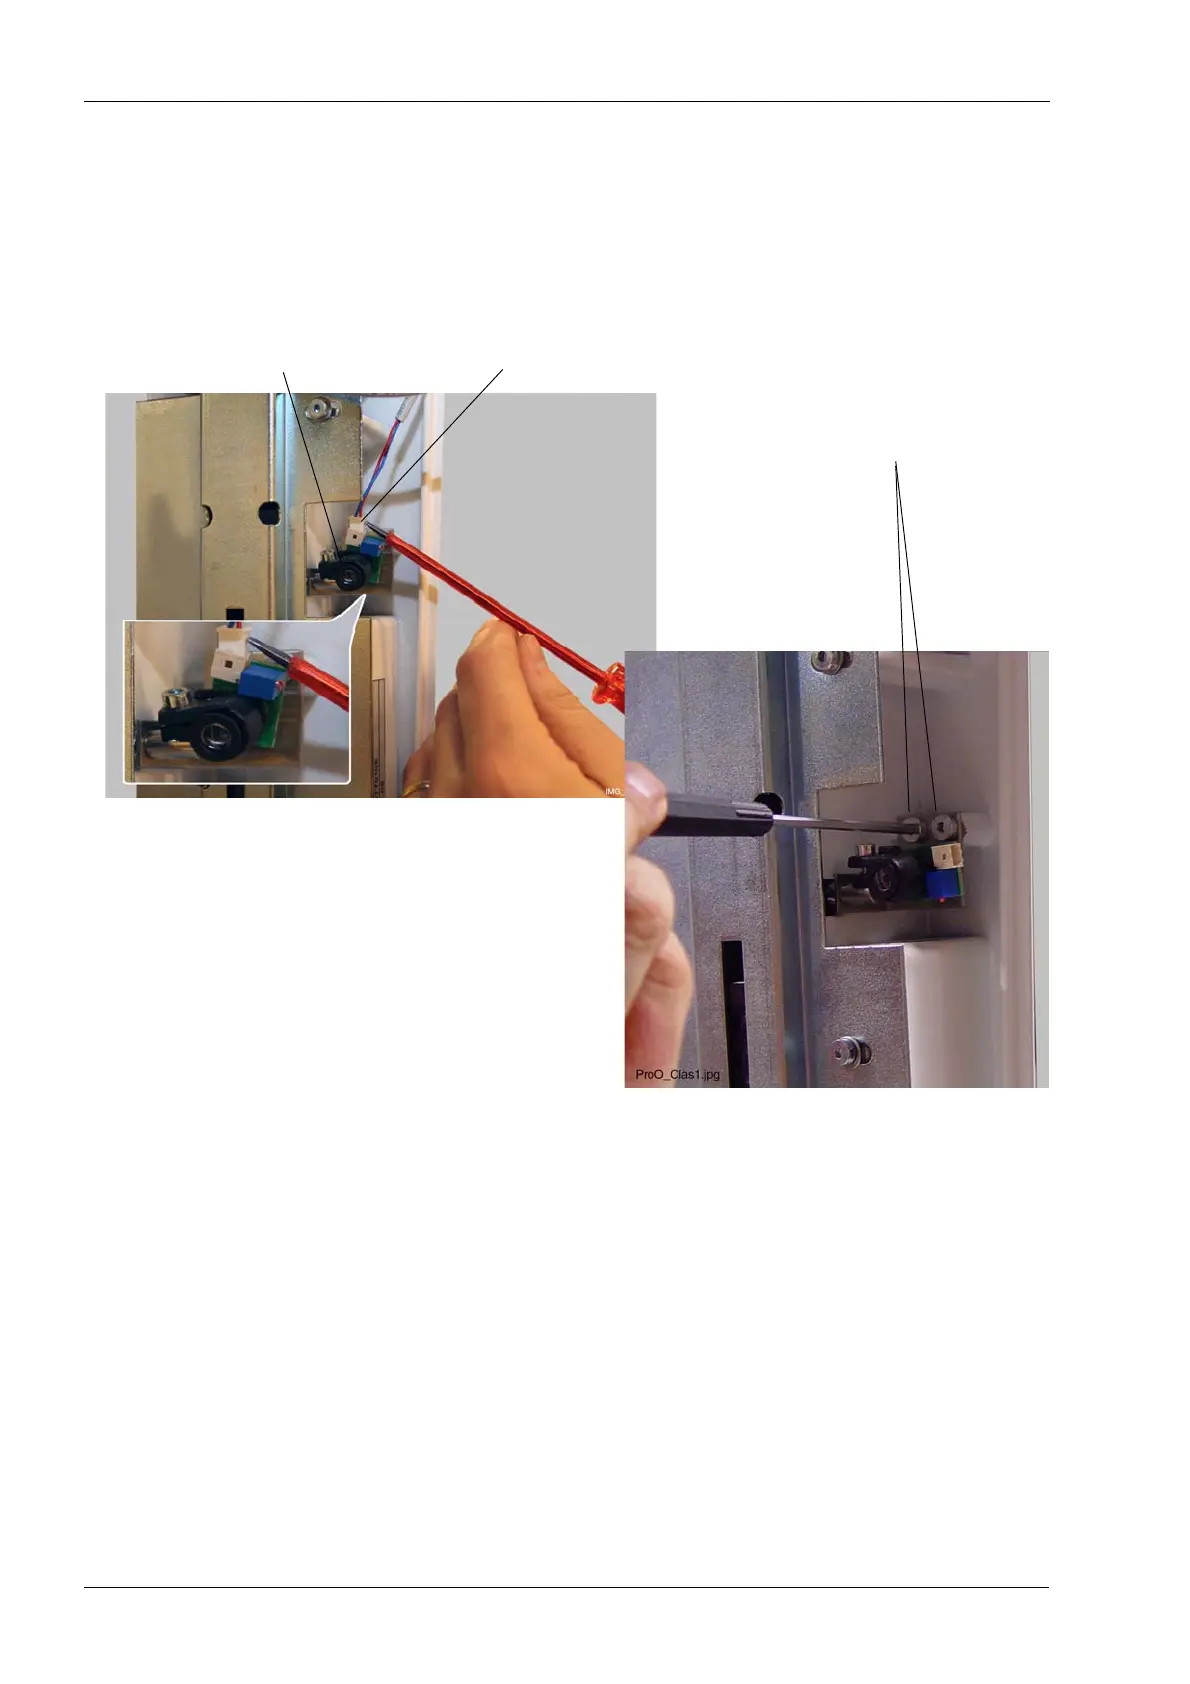
4.5 Replacing the layer light
Remove the sensor head cover as described in section 2.2 "Removing the sensor head
cover" on page 120.
Disconnect the light cable by carefully pulling it out of the connector socket. Using the tip
of a small screwdriver might make it easier to detach the connector from the socket. Then
unscrew the two attachment screws that hold the light assembly in position.
Install a new light in reverse order.
Adjust the new light as described in section 1.8 "Step 5: Adjusting the positioning lights" on
page 106.
Disconnect the cable
Unscrew two screws
Layer light