4 TECHNICAL SETTINGS Chapter B: SETTINGS
62 Planmeca ProOne Technical manual
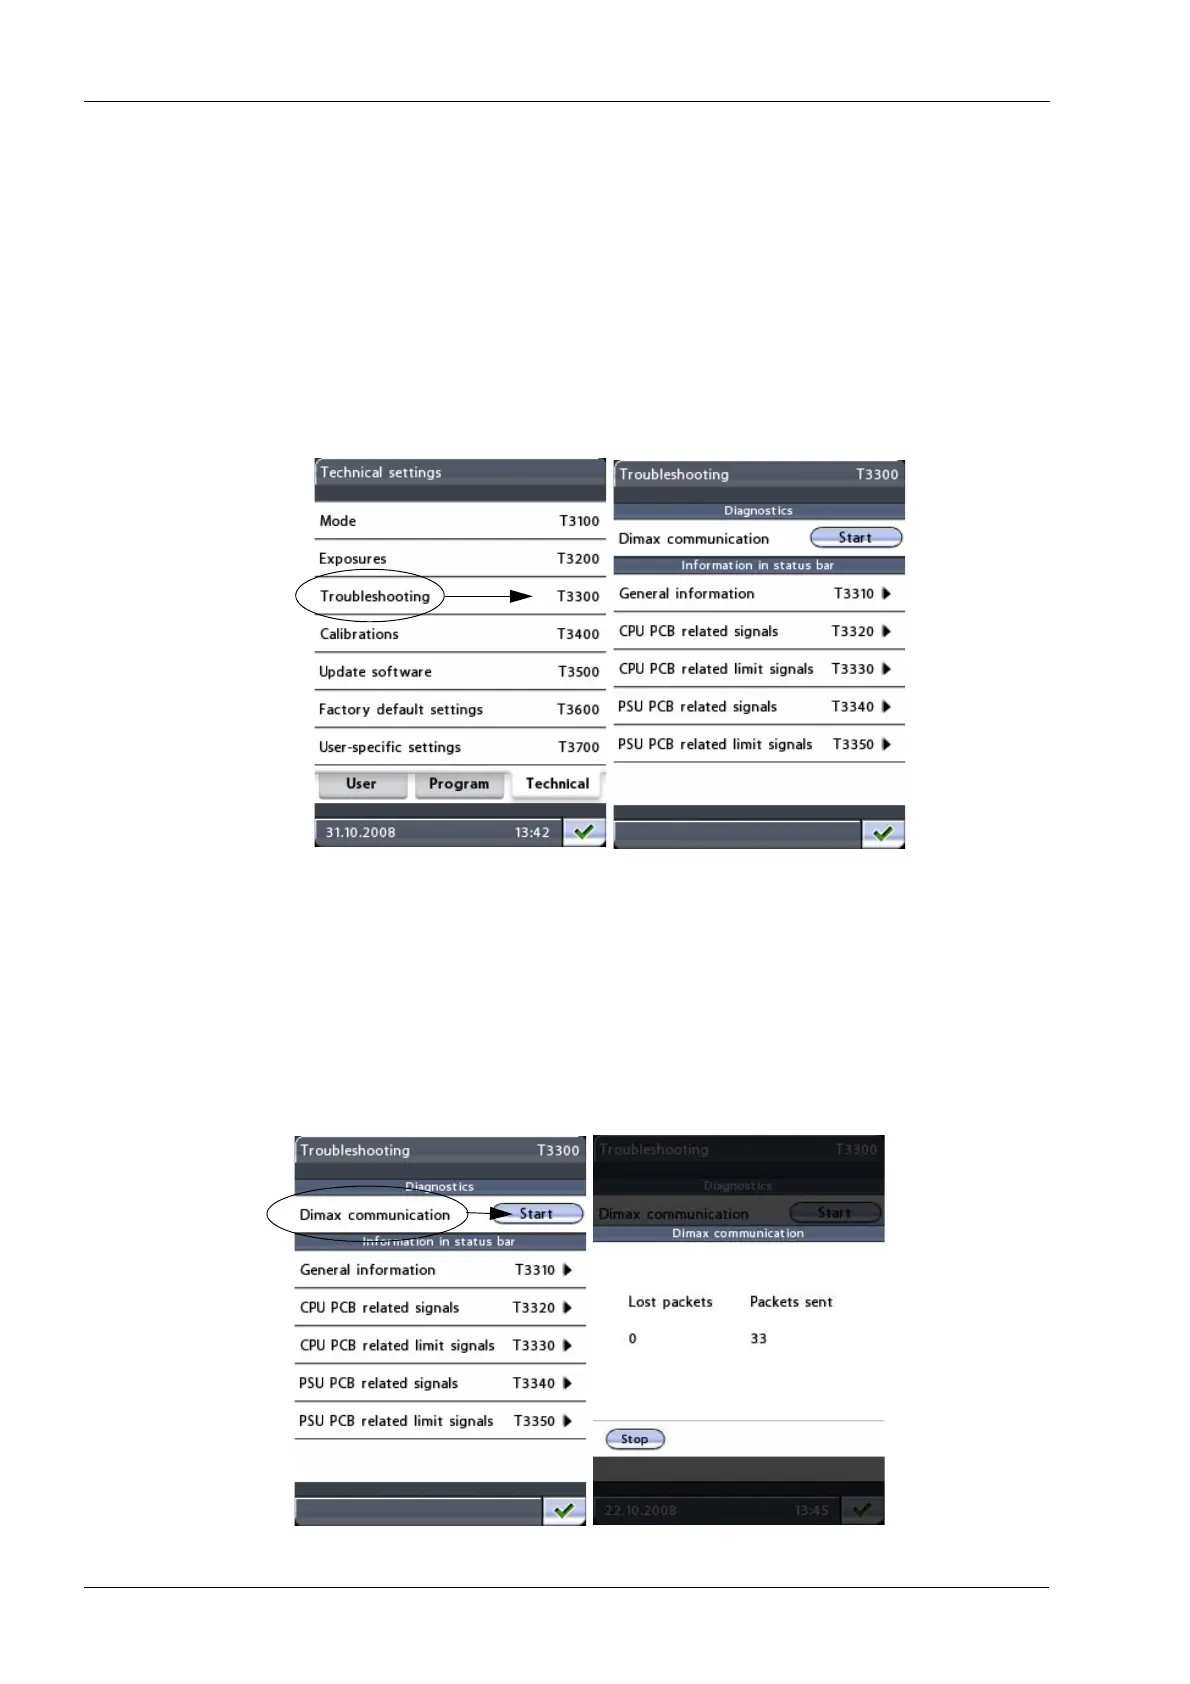
4.3 Technical: Troubleshooting (T3300)
To identify problems in case of system failure, select the option Troubleshooting (T3300)
on the
Technical settings
display. The
Troubleshooting (T3300)
display will appear.
On the
Troubleshooting (T3300)
display, select the option the problem is related to. On the
next display, first select the parameter you wish to monitor and then touch the green check
mark button in the bottom right corner. The selected parameter will be highlighted. The
value/status of this parameter will then be shown in the status bar on all displays and you
can observe how the parameter changes in different situations.
The contents of the troubleshooting displays are explained below.
• Dimax communication
Touch the
Start
button to test the communication between the X-ray unit and Dimax
sensor.
On the next display you can see how many data packets have been successfully sent
from the CPU PCB to the Dimax sensor. You can stop the procedure by touching the
Stop
button at the bottom of the display.
NOTE: The communication is not working properly if any of the data packets is lost
during transmission (Lost packets > 0). You will hear a beep tone when a data packet
is lost.