119 • Replacing the H
2
S Scrubber Disk and the Charcoal Filter GX-6000 Operator’s
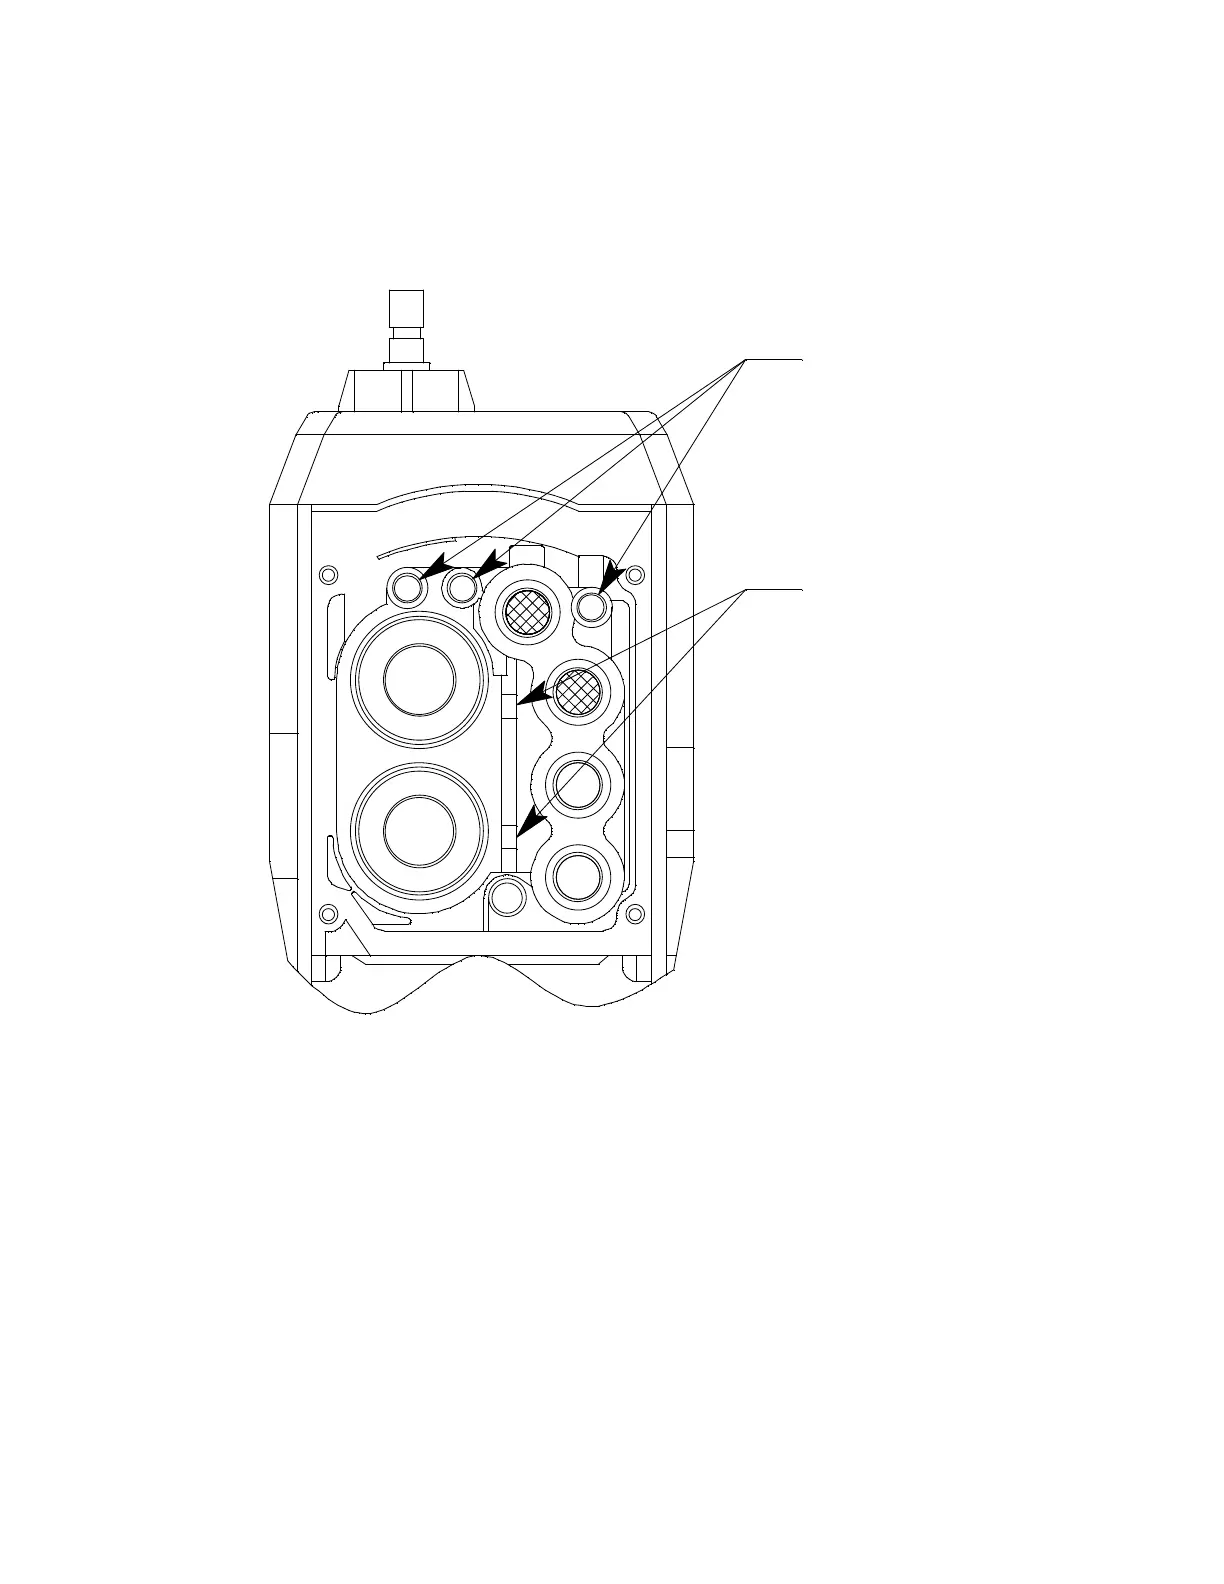
6 . Ensure that the sensor gasket is installed properly. The flow fitting
connections need to be facing up and cannot be skewed sideways. The
gasket must be pushed down in the center and secured under the gasket
aligning tabs.
Failure to install the sensor gasket appropriately may result in
inaccurate gas readings.
Figure 24: Sensor Gasket Seating
7 . Insert the flow chamber back into the instrument.
8 . Tighten the flow chamber’s four screws that were loosened in Step 2.
9 . To verify that the sensor gasket was inserted properly:
a. Turn the GX-6000 on.
b. Plug the inlet with your finger.
c. Verify that the GX-6000 goes into low flow alarm. If the GX-6000
does not go into low flow alarm, turn the instrument off and attempt
to seat the sensor gasket again.
Gasket Aligning Tabs
Flow Fitting Connections

 Loading...


