178 • secamVSA 535/seca mBCA 525
17-10-05-353-002g_10-2020 B
NOTE
• Settings you make in this dialog window are transmitted to the
seca analytics 115 PC software ➔ Exporting patient and user data
manually.
• Note the user documentation for the EMR system used.
• seca Service will be pleased to assist if you have any questions
relating to interface configuration.
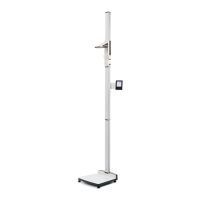
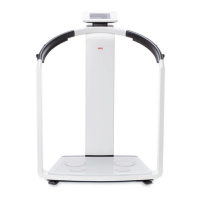
5.4 Setting up a seca 360° proximity connection
Use a seca 360° proximity connection to adopt measured values from com-
patible seca measuring devices (scale, measuring rod, measuring station).
The following requirements must be met in order to connect:
• The seca measuring device is equipped with either a
seca 452 external
interface module or with an internal interface module (in each case firm-
ware version Q2_2020_Build_615 or higher).
• The seca measuring device is connected to your LAN or WiFi network.
• The seca measuring device is configured as follows:
– Scan user ID: Required
– Scan patient ID: Required
– Confirmation of measurement on seca measuring device: Required
– Port used: Port configured for communication with the
seca connect 103 software (default: 22020) ➔ Setting up a
connection to the seca connect 103 software
NOTE
Information about how to configure your seca measuring device can
be found in the
seca 103/452 system instructions for use.
Proceed as follows to connect the seca measuring device:
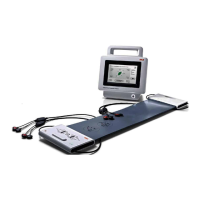
Beispiel-Darstellung:
Messstation seca 285 mit Interface-Modul seca 452 und seca mVSA 535
2. Messen
3. Senden
LAN/WiFi
Empfangen
1. Messgerät wird reserviert
LED-Messvorgang
1. Measuring device is reserved
2. Measure
3. Submit
Receive
Example display:
seca 285 measuring station with seca 452 interface module and
seca mVSA 535
Workflow LED