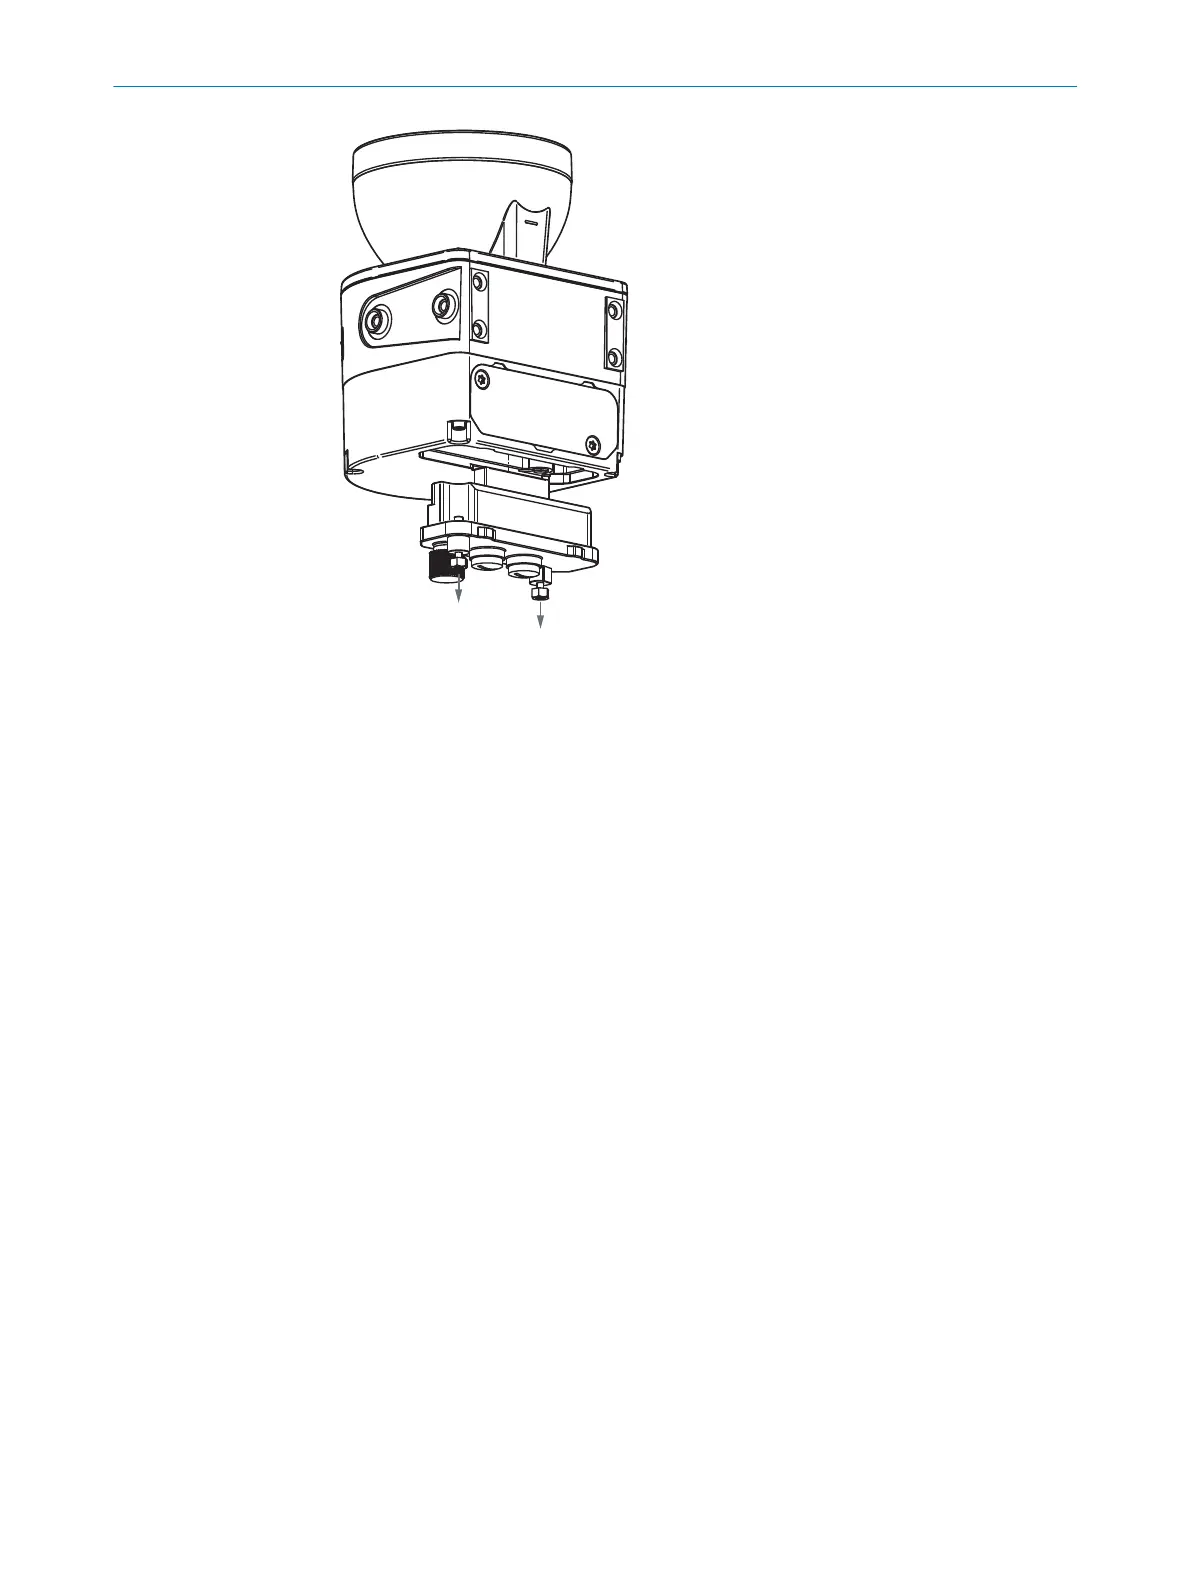
Figure 82: Replacing the system plug
5.
Carefully insert the new system plug into the safety laser scanner.
6. Screw in the system plug using the captive screws. Tightening torque: 2.25 Nm …
2.75 Nm.
7. Reconnect the connecting cables to the system plug.
8. Configure the safety laser scanner, see "Configuration", page 74.
9. Perform commissioning again, see "Commissioning", page 117. In particular, carry
out all of the described thorough checks, see "Thorough check", page 119.
10.6 Regular thorough check
The protective device must be checked regularly. The type and frequency of thorough
c
hecks is defined by the manufacturer and the operating entity of the machine, see
"Testing plan", page 59.
The regular thorough checks serve to investigate the effectiveness of the protective
device and detect any ineffectiveness due to modifications or external influences (such
as damage or tampering).
b
Carry out the thorough checks according to the instructions from the manufacturer
and the machine operator.
10 M
AINTENANCE
134
O P E R A T I N G I N S T R U C T I O N S | microScan3 – EFI-pro 8021913/15ZW/2019-11-14 | SICK
Subject to change without notice