Power Plug Module P/N 0702-014-019 Power Plug Module P/N 0702-014-019
4-25
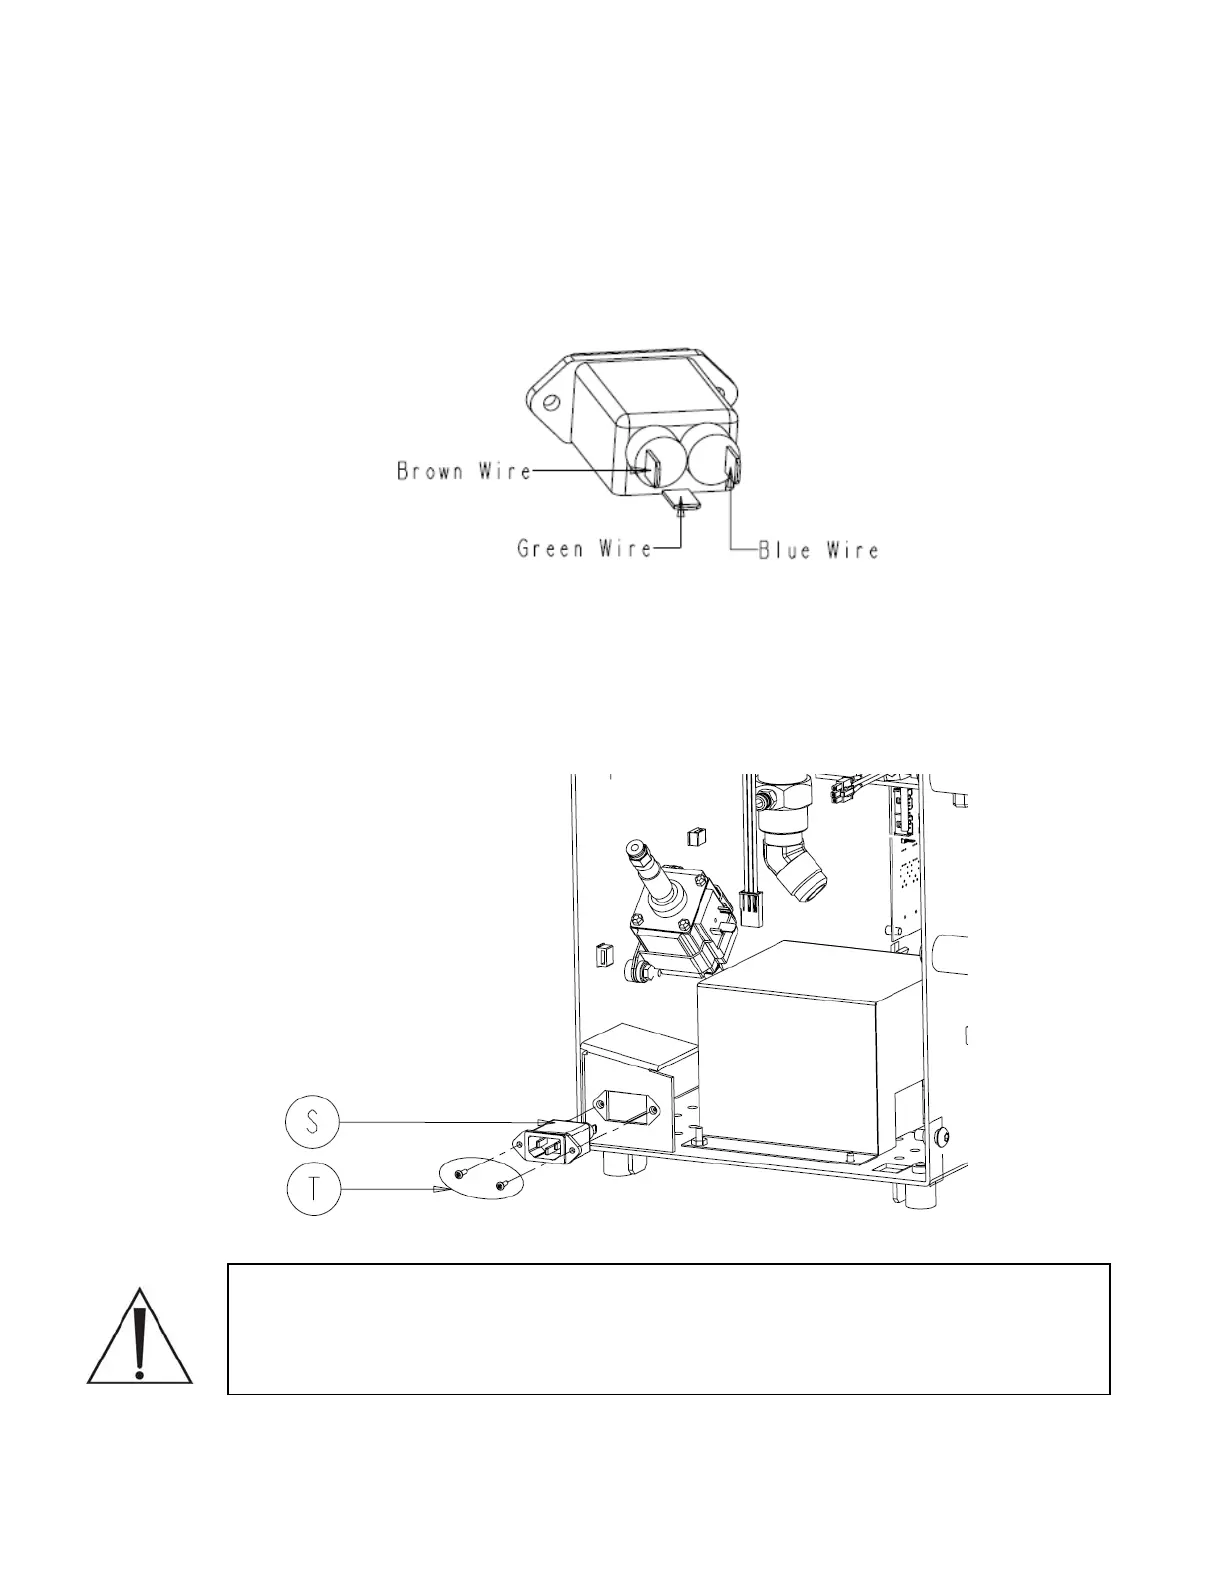
1. Unplug the electrical connections from the power plug module (P/N 0702-014-019)
(T). The diagram below shows a rear view of how the wiring is connected with the
power plug module (P/N 0702-014-019) (T) removed from the chassis.
1. Unplug the electrical connections from the power plug module (P/N 0702-014-019)
(T). The diagram below shows a rear view of how the wiring is connected with the
power plug module (P/N 0702-014-019) (T) removed from the chassis.
2. Using a T9 torx wrench, remove both button head socket cap screws (P/N 004-639-
000) (T).
2. Using a T9 torx wrench, remove both button head socket cap screws (P/N 004-639-
000) (T).
3. Remove the power plug module (P/N 0702-014-019) (S) and set aside. 3. Remove the power plug module (P/N 0702-014-019) (S) and set aside.
Note: If the power plug module (P/N 0702-014-019) (S) is reinstalled, the
proper electrical safety tests must be performed before placing docking station
back in service. Follow procedure 6.5 Testing on page 6-20 to make sure the
proper testing requirements are met.
 Loading...


