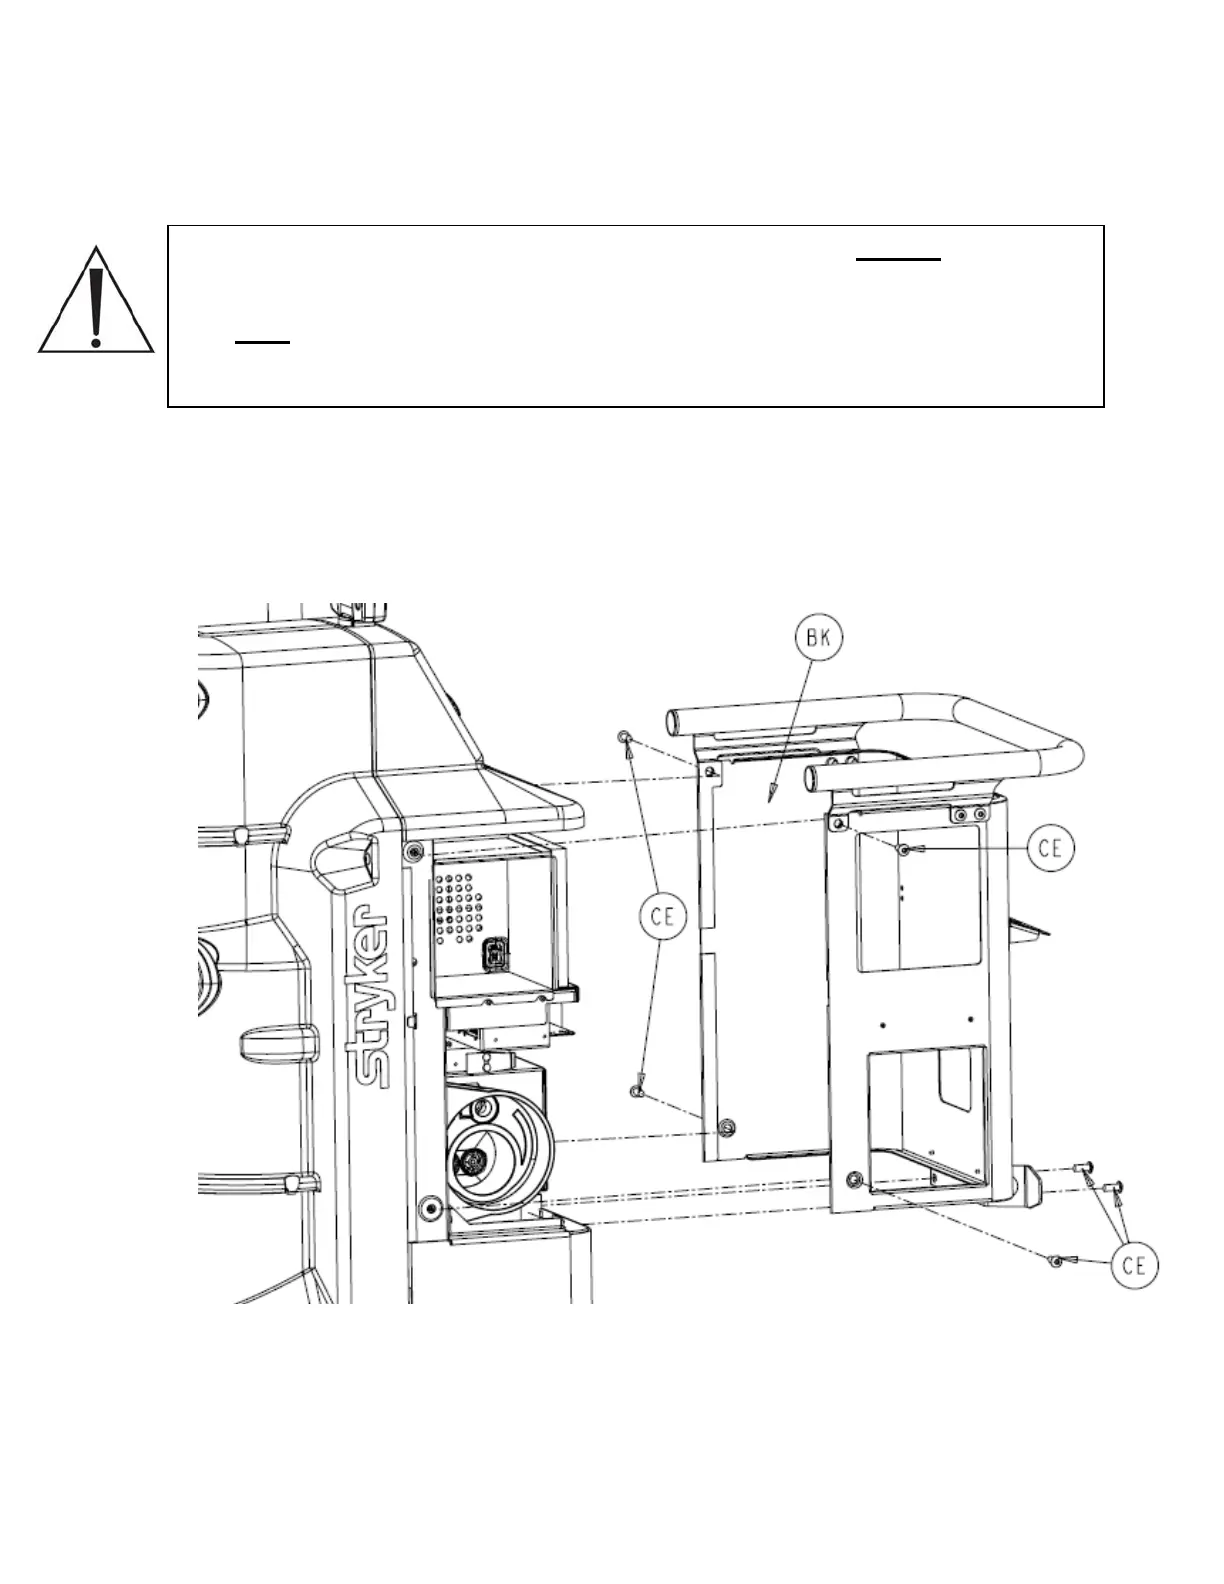
Rear Panel Assembly P/N 0702-001-060
Caution: The illustration below shows the rear panel assembly without
the HEPA
filter, HEPA filter door, and the smoke filter installed. The technician must remove the
HEPA filter door on the lower left side of the rear panel and then remove the HEPA
filter prior to removing the rear panel. Also, ensure the smoke evacuator filter is not
installed. Failure to do so will prevent the technician from removing the cover
properly and may cause damage to the equipment.
1. Using a 3/16” allen wrench, remove 6 socket head button cap screws (P/N 0004-651-
000) (CE) from rear panel assembly (P/N 0702-001-060) (BK).
2. Remove rear panel assembly (P/N 0702-001-060) (BK) and place aside.
2-4

 Loading...


