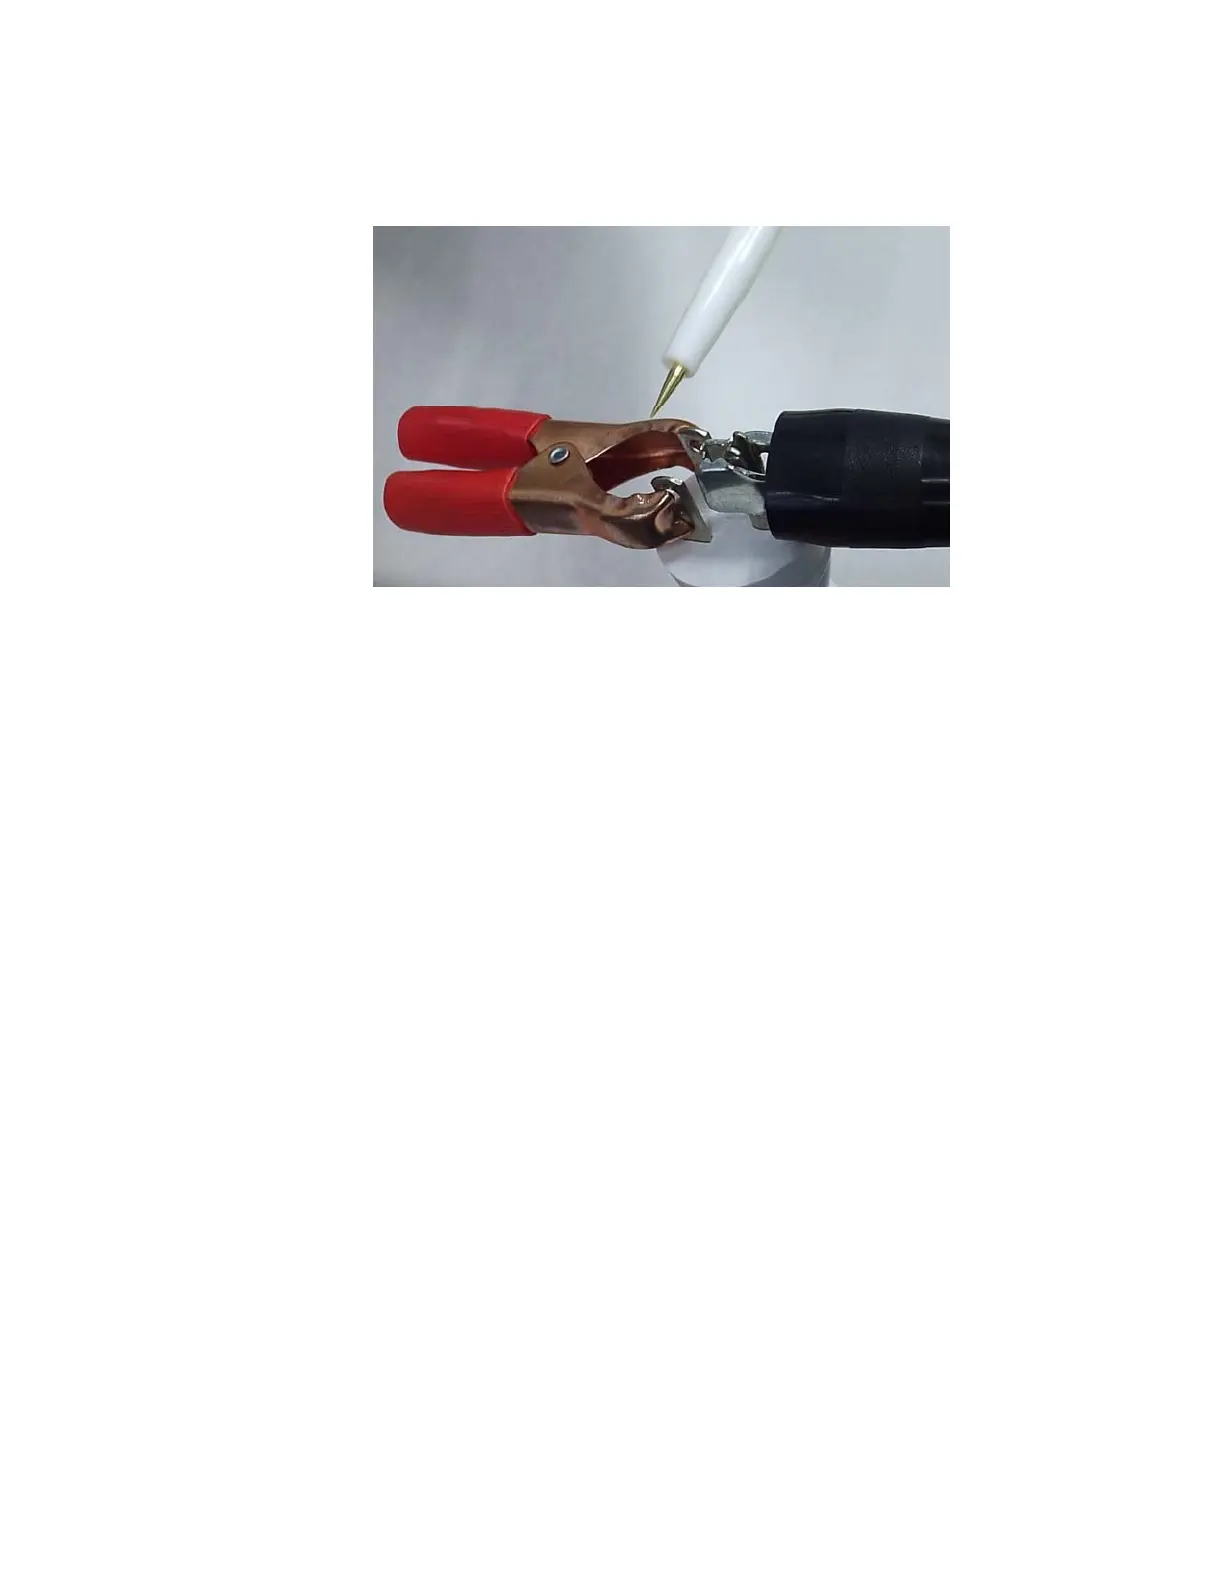
6. Touch the high voltage lead (red, pen-like attachment) to the shorted live and neutral
terminals, ensuring not to touch the ground pin.
7. Press the TEST button. The test is passed when a single short beep is heard. If
pressing the test button yields the same results as in step 3 (continuous beep and
audible alarm) the docker has failed.
Ground (Earth) Resistance Test (Covers Installed)
1. Turn docker power switch off.
2. Plug docker power cord into safety analyzer.
3. Attach the test lead to the water inlet fitting on the top of the docker chassis.
4. Set the analyzer to normal polarity and neutral open.
5. Measure earth (ground) resistance by placing the analyzer dial to the chassis resistance
position.
6. Resistance must be less than .09 ohms.
Earth Leakage Current Test (Covers Installed)
1. Plug the docker into the safety analyzer.
2. Turn on the docker.
3. Turn the analyzer dial to the LEAKAGE CURRENT position. The LEAKAGE switch
must be depressed toward the EARTH label to record the values in step 4.
6-27
 Loading...


