Removing Large and Small Canisters P/N 0702-001-320 & 0702-001-300
When accessing components behind the fluid collection canisters it is best to remove
both canister assemblies together as one. It is not necessary to remove each canister
individually. The same applies when accessing hardware located behind the canister
assemblies. Use this procedure, followed by Separation of Large & Small Canister
Assemblies (p. 2-31) to remove the large canister. If only the small canister needs to be
replaced, proceed to Small Canister Assembly (p. 2-35).
Caution: This procedure begins with the front cover already removed. If the
rover canister(s) contain fluid, you will need to manually dock the unit using the
technician menu before proceeding!
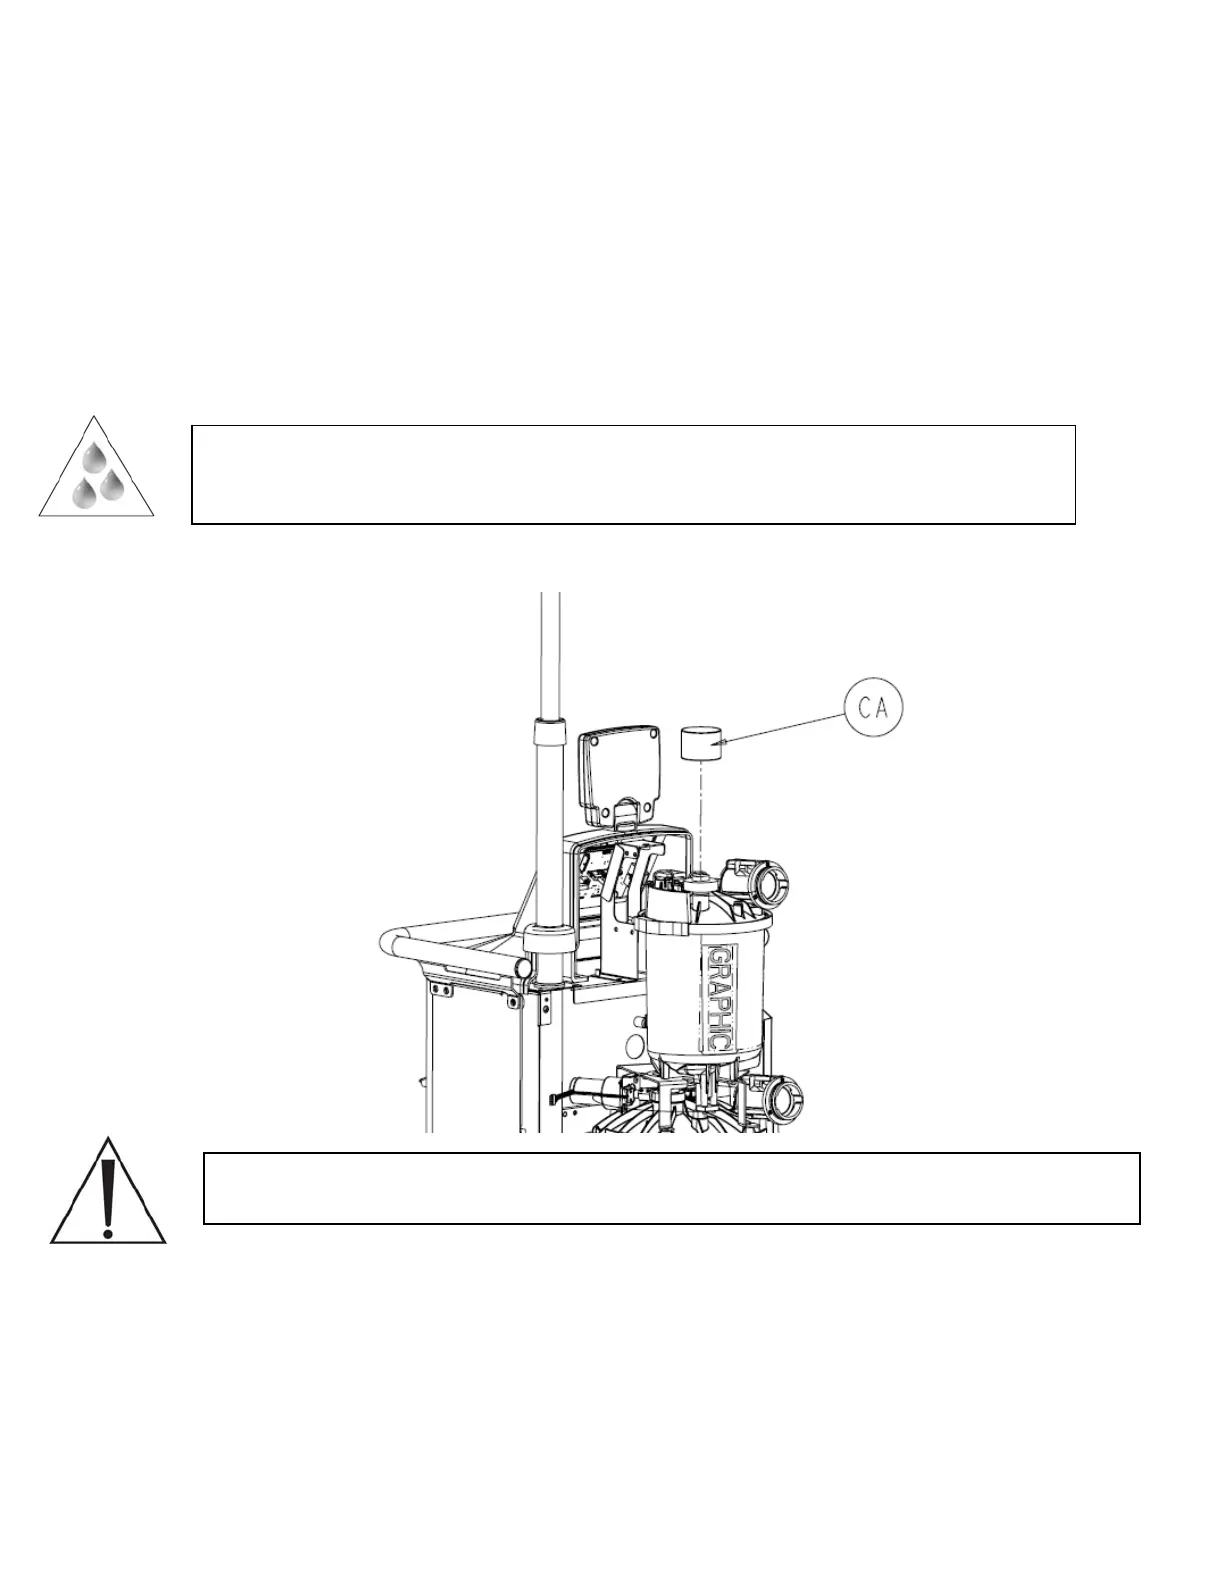
1. Remove level sensor cover (P/N 702-1-882) (CA) from fluid level transducer (P/N
702-1-880) (AN) and place aside.
Caution: Do not remove any connector by pulling on the wires. Doing so may
damage the equipment.
2. Disconnect the grey cable labeled level sensor from the fluid level transducer (P/N
702-1-880) (AN).
3. Remove the two coupling clips (P/N 702-1-204) (J) on small canister cap assembly
(P/N 702-1-200) (AM)
4. Remove elbow from ports marked vacuum port and sprinkler port from the small
canister cap assembly (P/N 702-1-200) (AM)
2-25

 Loading...


