System Settings Menu Overview
The system settings menu allows the operator (the O.R. staff) to adjust the
settings and indicators for the Neptune 2. The options in this menu only adjust
operational settings such as fluid and suction units of measure, display brightness, and
display contrast. While the operator will make most of these adjustments, the technician
can certainly adjust these values if requested. The system settings menu also serves as
a platform for which to enter the technician menu, which is discussed in the next
section.
Adjusting System Settings
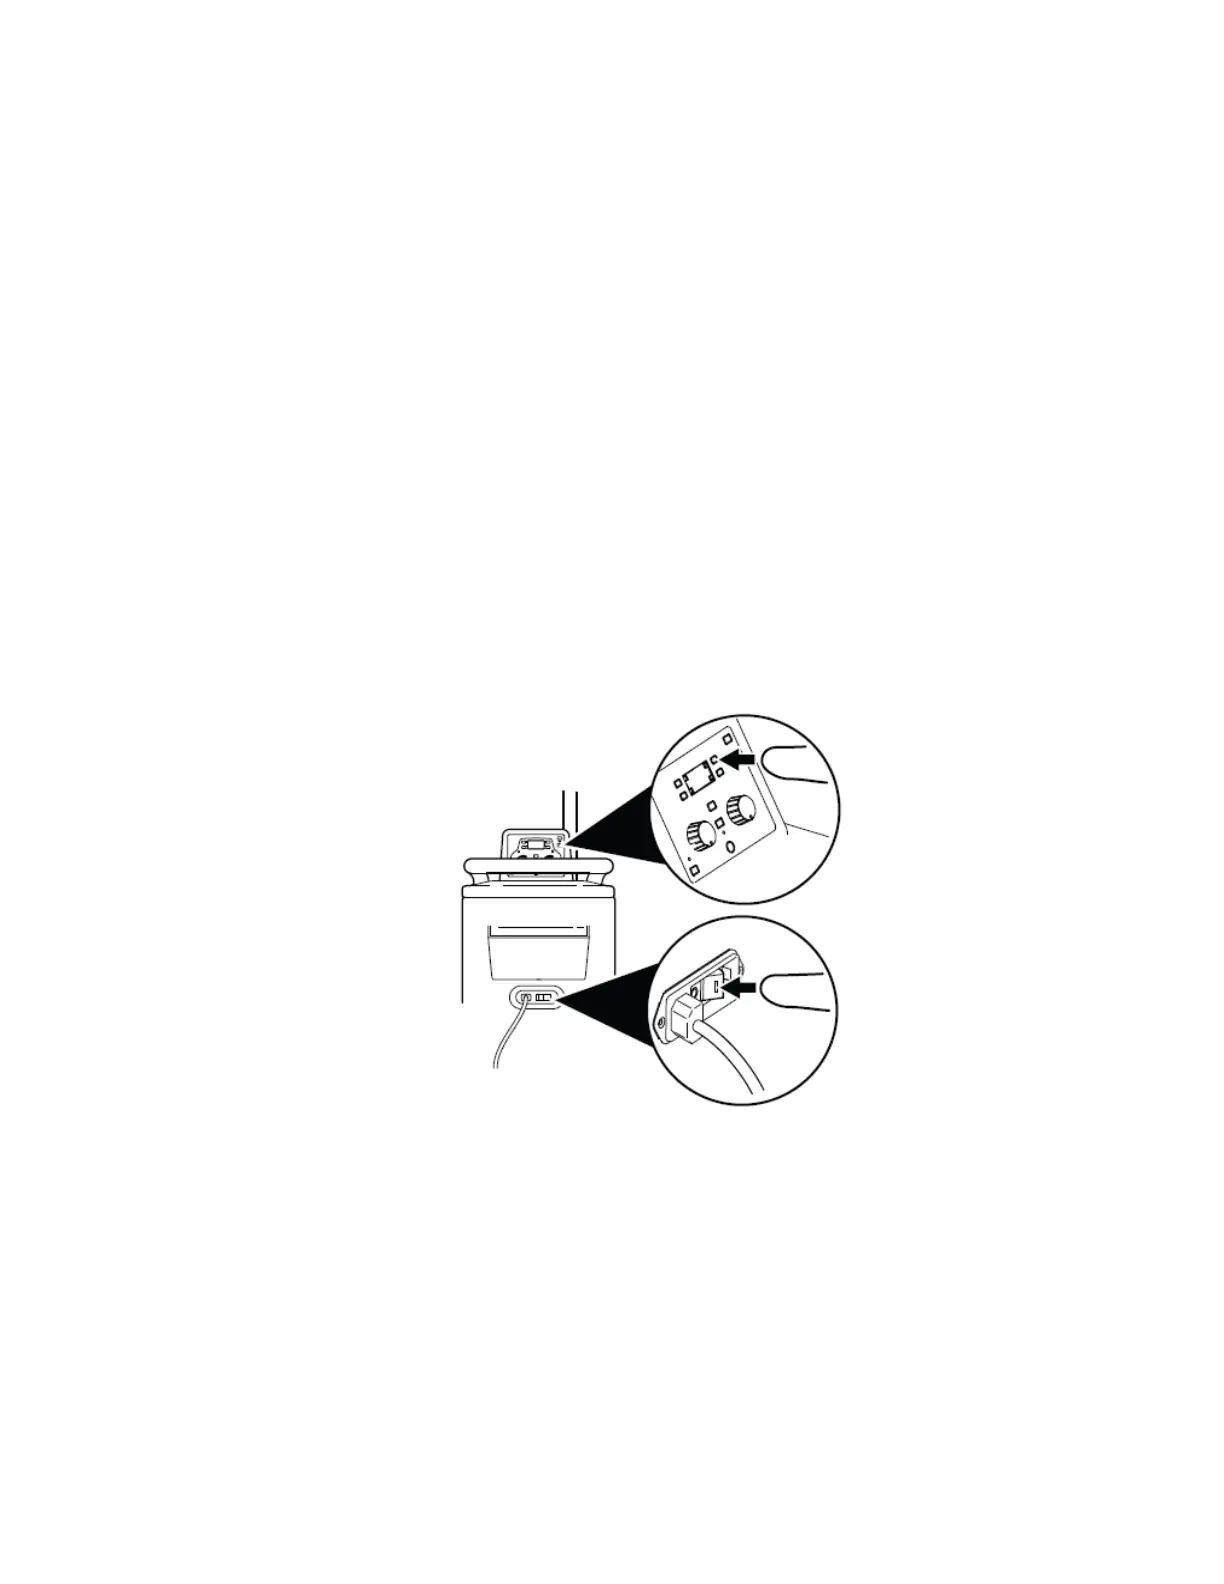
1. Verify the power switch is in the off position.
2. Ensure the power cord is connected between the rover and facility power.*
3. Push the control panel display button and the power button to on simultaneously
(see figure 1).
Figure 1: To Access System Setup
* This can also be accomplished by pushing the rover up to the docker and immediately proceeding to step 3. The rover is powered
by the docker and does not need to be plugged in when docking.
4. Once the Neptune 2 splash screen appears, continue to push the display button
until the tools indicator in the upper right corner is highlighted solid white (see
figure 2).
5-13

 Loading...


