Hi-Pot Test (Covers Installed)
The technician will change three functions of the hi-pot tester to set up for the test: voltage,
trip current, and dwell time. To configure the hi-pot tester. Press the SET button to select either
VOLTAGE, CURRENT, or DWELL. (When the correct setting is selected, the corresponding
LED will blink on the face of the hi-pot tester.) Use the up and down arrows to adjust for the
proper value. See table 6.5.4 for the values for the docker hi-pot test.
WARNING: DO NOT touch the docker while performing the Hi-Pot test!! Serious
harm may result in touching any portion of the rover while testing.
Hi-Pot Setting Set To Actual Value
Voltage 1.2 1200 v
Current 10.00 10 mA
Dwell 1.0 1 second
Table 6.5.4 Hi-Pot Settings for Docking Station
1. Verify that the hi-pot tester is configured properly for docker testing. (See table 6.5.4)
2. Ensure the docker power cord is plugged into the docker. DO NOT plug the other end of
the power cord into the AC wall outlet!
3. The technician must test the hi-pot tester before proceeding. To do this, short the leads
together and press the TEST button. The reset button must illuminate and be followed
by a continuous beep. If this does not happen, do NOT continue the test. Press reset to
continue.
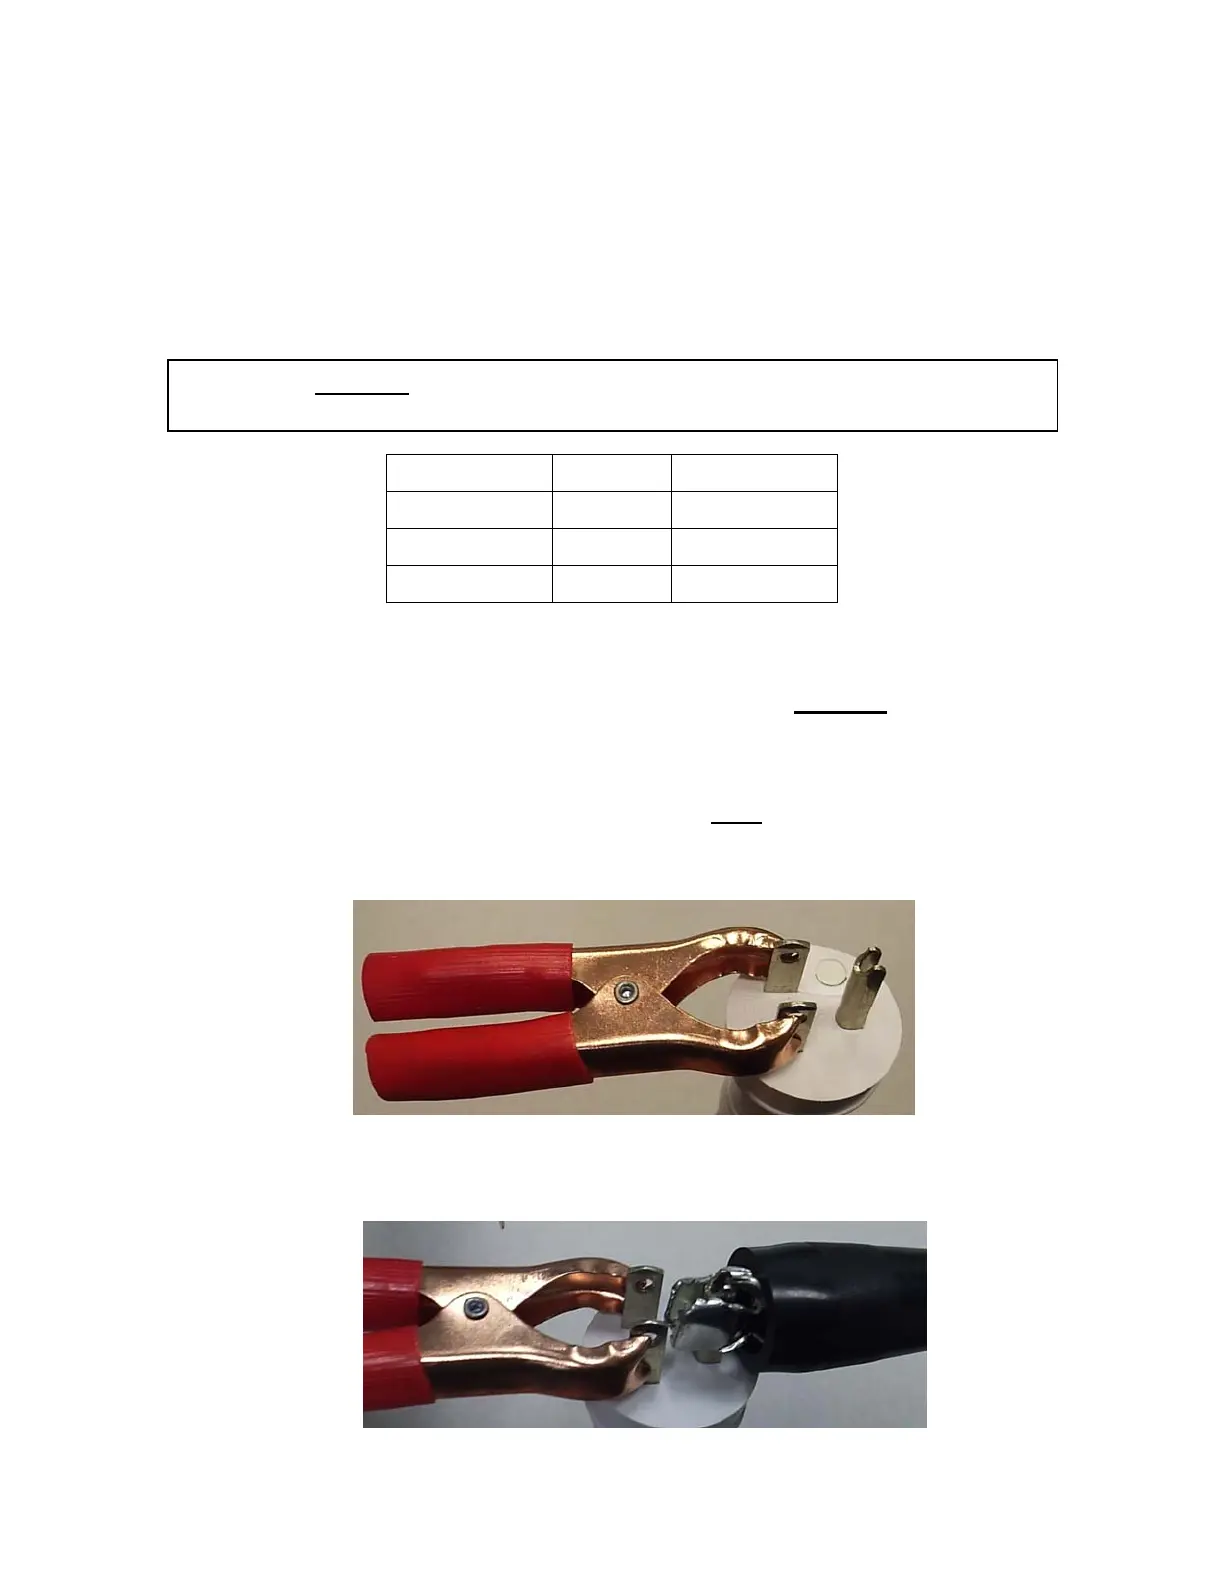
4. Attach metal clamp to the live and neutral terminals of the power cord.
5. Attach the ground lead (small black clamp) to the ground pin on the power cord.
6-26

 Loading...


