ELECTRICAL
4181383 First Edition 4-75
4
Figure 4-68
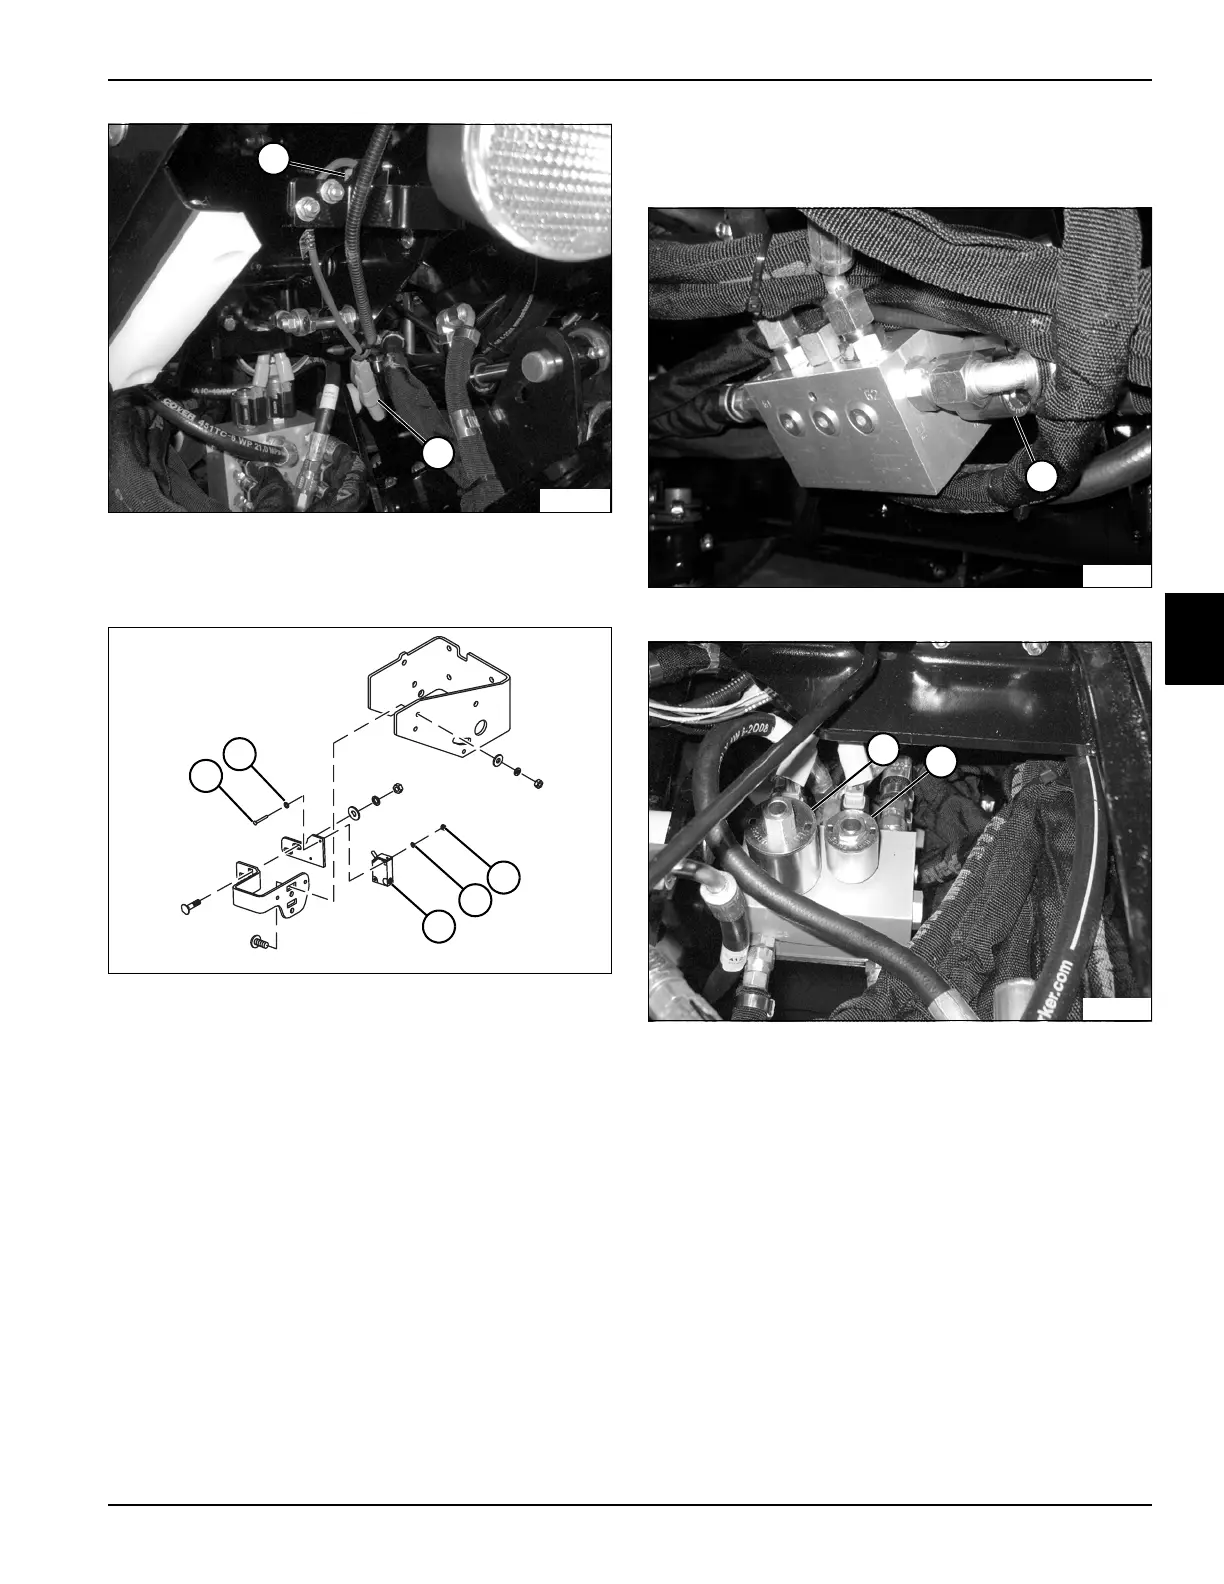
3. Disconnect the wiring connector (1) for the neutral
proximity switch (2).
Figure 4-69
4. Remove two screws (3), four washers (5), and two
nuts (4), and remove neutral proximity switch (6).
Installation Note
Install the neutral proximity switch by reversing the order
of removal.
Solenoid Coils
See Figures 4-70 and 4-71.
Figure 4-70: Mow Solenoid Coil
Figure 4-71: Raise and Lower Solenoid Coils
This procedure applies to the following solenoid coils:
• Mow Solenoid Coil (1)
• Raise Solenoid Coil (2)
• Lower Solenoid Coil (3)
The mow solenoid coil is located under the front axle.
The raise and lower solenoid coils are located under the
center floorboard.
TN1469
2
1
TN1483
5
6
3
5
4
TN1489
1
TN1407
2
3
 Loading...


