HYDRAULICS
4181383 First Edition 6-43
6
Disassembly Notes
• Do not disassemble pump for repair unless test
procedures indicate internal leakage.
• Never pry components apart. Use a soft face
hammer, and gently tap housing and shaft to
separate pump bodies.
• Scribe or mark the pump bodies and end covers
before disassembly to aid in assembly.
Recommended method of marking body sections is
to use a fine point metal punch, making one
indentation for section #1, two indentations for
section #2, etc.
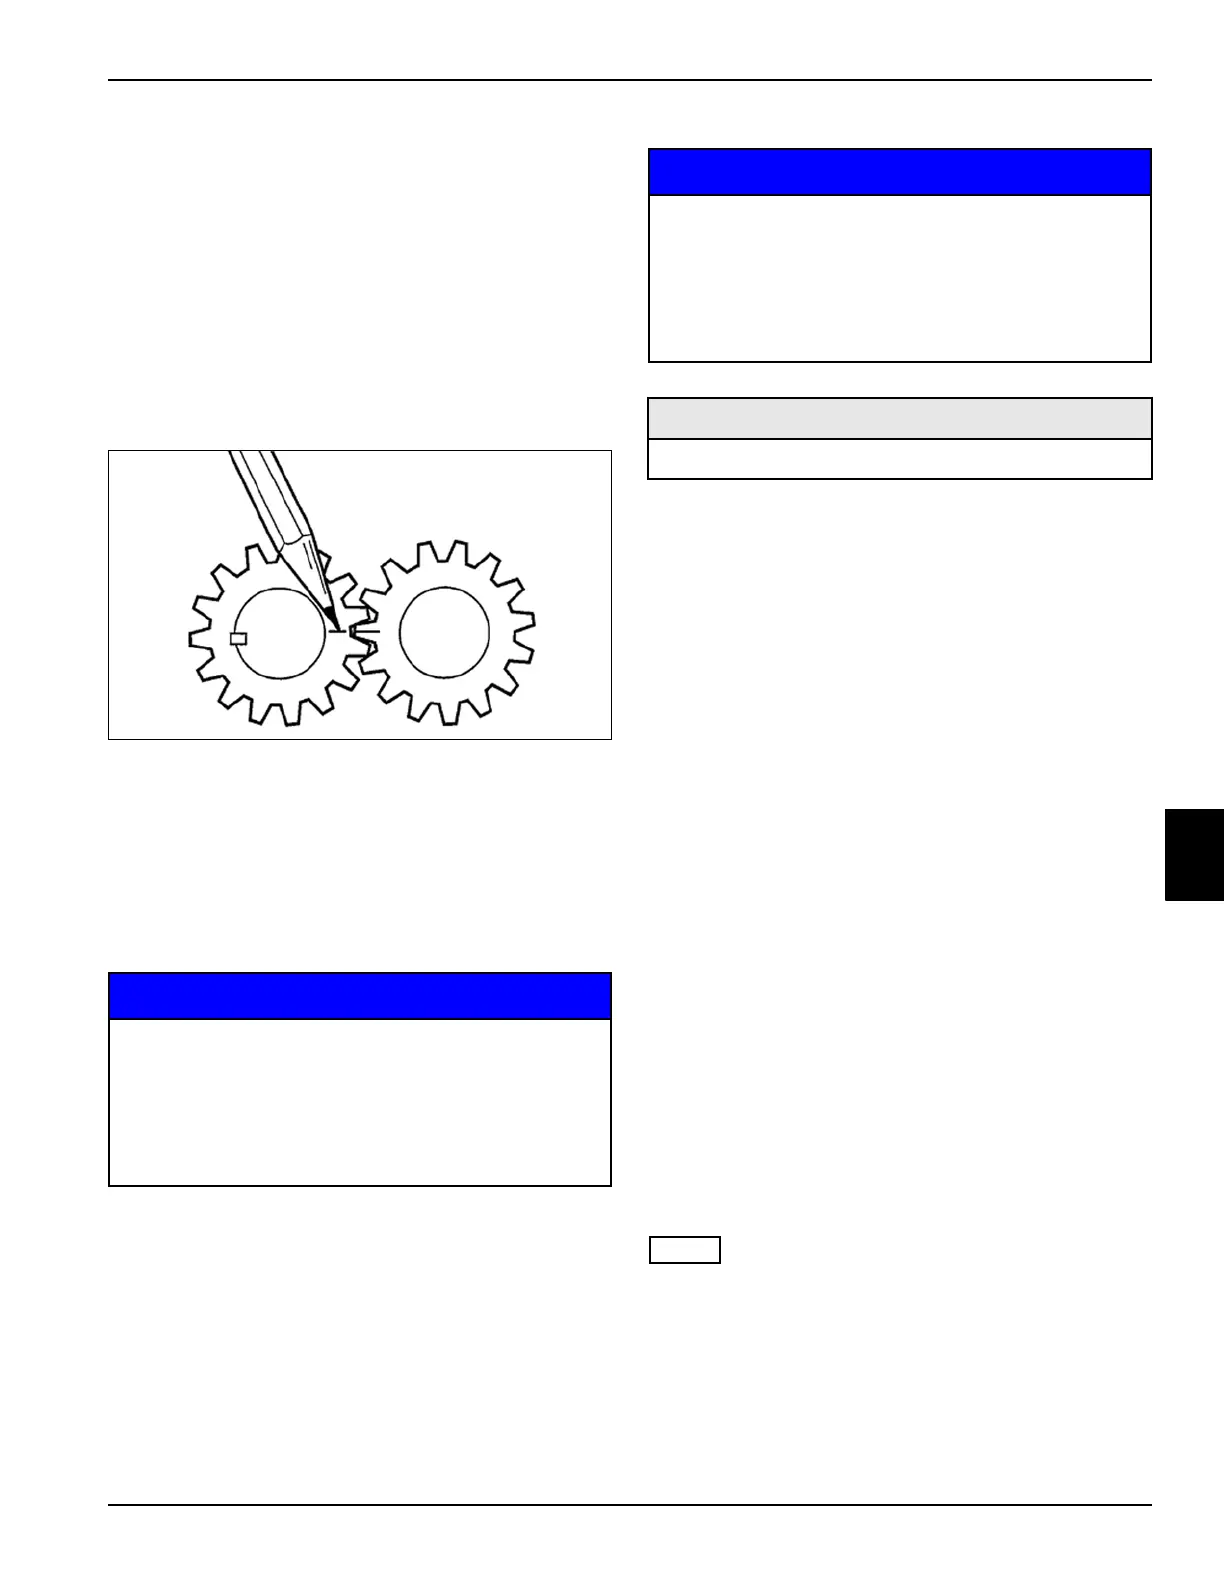
Figure 6-38
1. After removing bolts, disassemble pump, one section
at a time. Before removing gear set, mark a line
across meshing teeth to ensure that gears are
reassembled in the same position.
2. Place parts in assembly order, on a clean work area
as they are removed.
3. Discard seals as they are removed.
NOTICE
4. Clean all parts using clean solvent, and dry using
compressed air.
5. Inspect all parts for wear or damage. Replace parts
as needed.
Assembly Notes
NOTICE
• Assemble the gear pump by reversing the order of
disassembly.
• Use a new seal kit during assembly.
• Apply a coat of clean hydraulic oil to all parts to ease
assembly.
• Assemble pump one, section at a time, building up
from flange section.
• Remove alignment mark from gear sets after gears
have been installed with teeth in proper mesh.
• Make sure that bushing sets are correctly installed to
properly position the high pressure seals.
• Rotate drive shaft by hand after assembling each
section to make sure there is no binding between
parts; do not force.
• Use extreme care when installing shaft seal. Seal
must seat squarely in seal bore. Use caution not to
damage seal when installing cover over pump shaft.
• Install retaining bolts finger-tight and rotate drive
shaft to make sure it turns freely. Tighten bolts evenly
in steps to a final torque of 33 lb-ft (45
N·m) and
check rotation of pump drive shaft.
• Lubricate pump through ports with clean hydraulic oil
prior to installing.
Cutting Unit Motors
Removal and Installation
NOTE
See Chapter 8—Cutting Units for cutting unit motor
service information. (See “Deck Motor” on page 8-12.)
It is important that all components are absolutely
clean, as contamination can result in serious
damage and/or improper operation.
Never use shop towels or rags to dry parts after
cleaning, as lint may clog passages. Dry parts
using compressed air.
TN1384
It is important that all component parts are
absolutely clean, as contamination can result in
serious damage and/or improper operation.
Never use shop towels or rags to dry parts after
cleaning, as lint may clog passages. Dry parts
using compressed air.
Required Materials
Seal Kit (Jacobsen P/N 4174881)
 Loading...


