ENGINE
4181383 First Edition 3-15
3
NOTE
Record the orientation of the fuel pump before removing
to ensure correct installation.
10. Remove two lock nuts (4), two screws (5), and four
flat washers (6).
11. Remove fuel pump (10).
Installation Note
Install the fuel pump by reversing the order of removal.
Engine
Removal and Installation
See Figures 3-26 through 3-29.
1. Safely park mower. (See “Park Mower Safely” on
page 1-5.)
2. Stop the engine and remove the ignition key.
3. Allow the engine to cool completely before
attempting to service the engine.
4. Disconnect the negative (–) battery cable first, then
disconnect the positive (+) cable. Remove the battery
hold-down clamp and battery.
5. Using suitable containers, drain the radiator, engine
block, and engine oil.
6. Remove the upper and lower radiator hoses. (See
“Radiator/Hydraulic Oil Cooler” on page 3-10.)
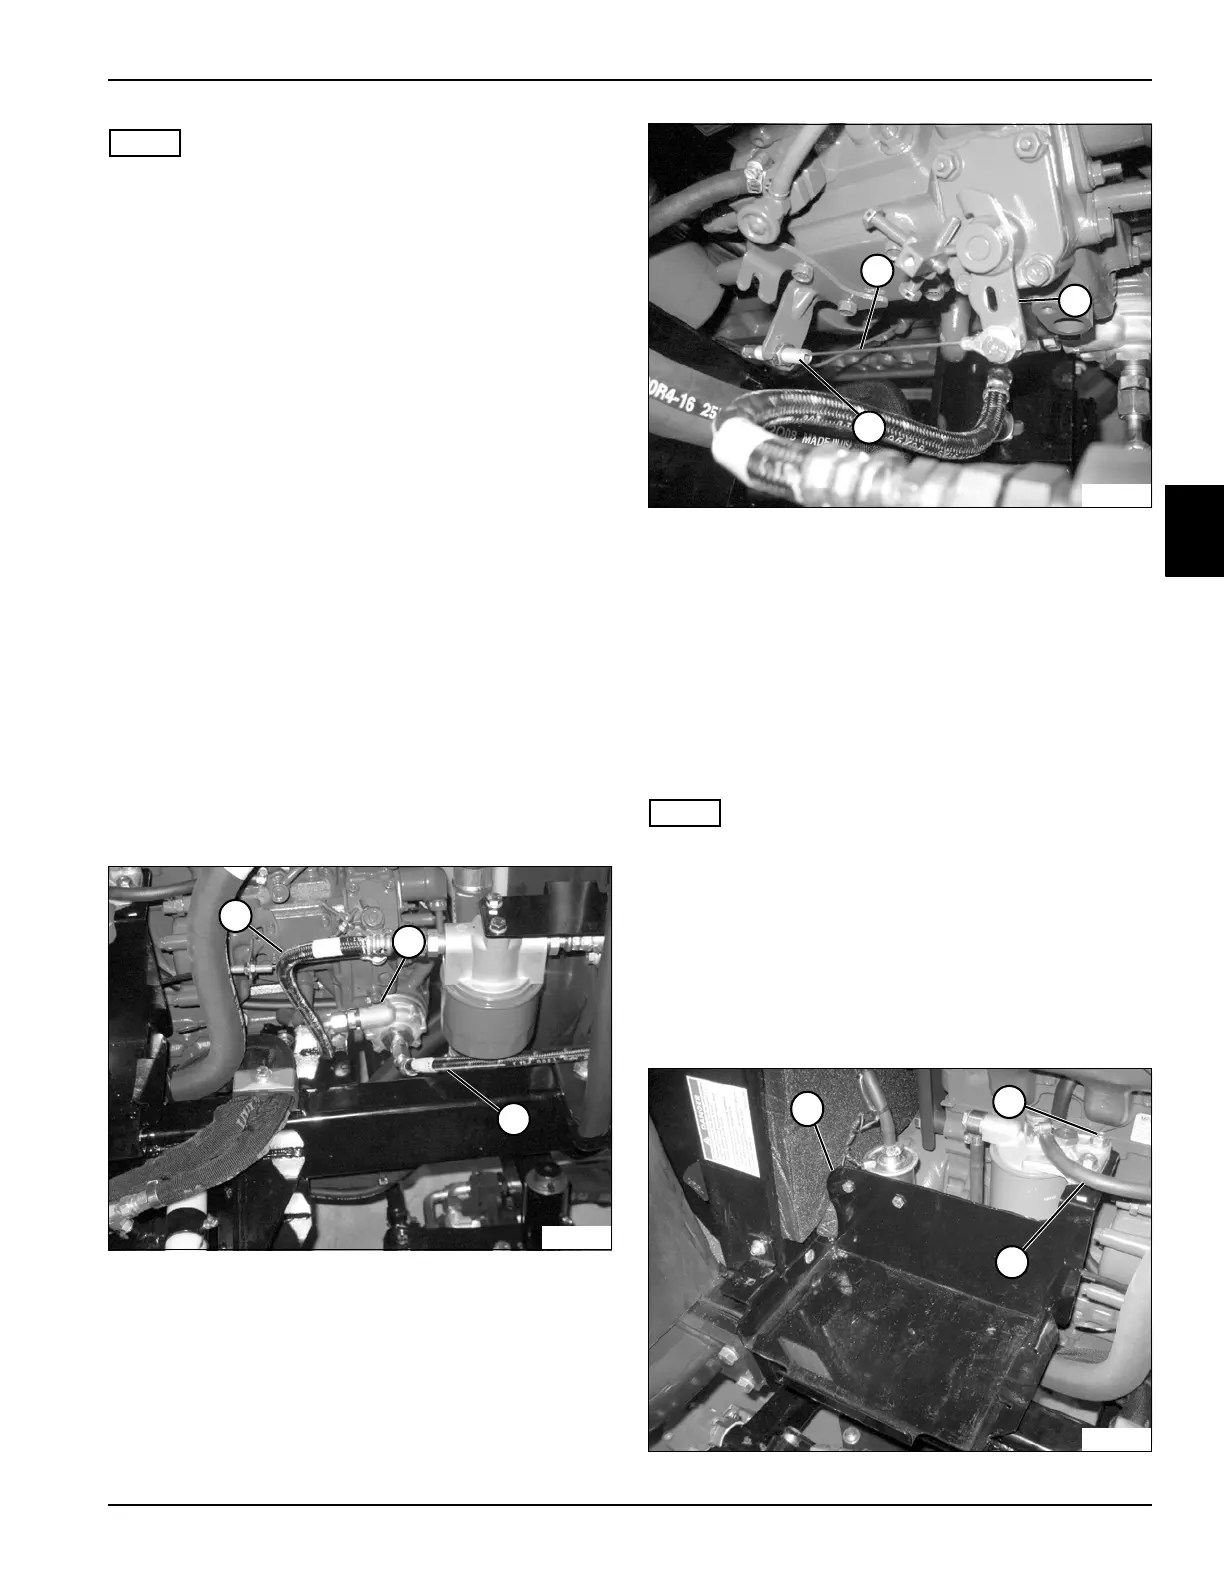
Figure 3-26
7. Disconnect the engine oil cooler hoses (1) and (3) at
the oil filter adapter (2).
8. Remove the radiator and shroud assemblies. (See
“Radiator/Hydraulic Oil Cooler” on page 3-10.)
9. Close the petcock on the bottom of the fuel tank.
Disconnect the fuel hose between the fuel pump and
fuel filter. (See “Fuel Filter” on page 3-14.)
Figure 3-27
10. Disconnect the throttle cable (4) from the injection
pump (5).
11. Remove throttle cable housing (6) from the clamp.
(See “Throttle Cable and Control Lever” on
page 3-13.)
12. Remove the air cleaner assembly. (See “Air Cleaner
Assembly” on page 3-7.)
13. Remove the muffler and exhaust assembly. (See
“Muffler” on page 3-8.)
NOTE
Label all wires before disconnecting to ensure correct
installation.
14. Tag and disconnect the wiring harness at the starter,
oil sender, coolant temperature sender, and
alternator. Remove the harness hold-down clamps.
Move the wiring harness away from the engine.
15. Remove the drive shaft. (See “Drive Shaft” on
page 5-26.)
Figure 3-28
3
2
1
TN1514
TN1516
4
5
6
8
9
7
TN1512
 Loading...


