42
OPUS Projektor Manual
User Interface
·
apply options to all pages (the Next button (7) will change to Convert, and the project can be
converted with one click, skipping Step 2.
Pressing Cancel (8) cancels the conversion process and all settings are lost.
Step 2 - Soft Keys
In the second step, softkeys can be assigned to the keys of the new device of the conversion
process. The new device type with its soft keys is displayed in the center of the dialog. The
soft keys of the old device are displayed to the right and left (if available) of the new device
type. Soft keys can be dragged and dropped to the new device soft keys or back out to
change the order. By clicking the button Next Page, the next page in the project with
configured soft keys will be shown. All pages need to be set to finish the conversion process.
Press Convert to go to the final step. By clicking the Back button you can go back to previous
pages. When the first page is shown, clicking Back will go to the first step of the conversion.
By doing that, all existing soft key mappings will be lost! Also, all soft keys that were not
mapped will be lost as well. Pressing Cancel cancels the conversion process and all settings
are lost.
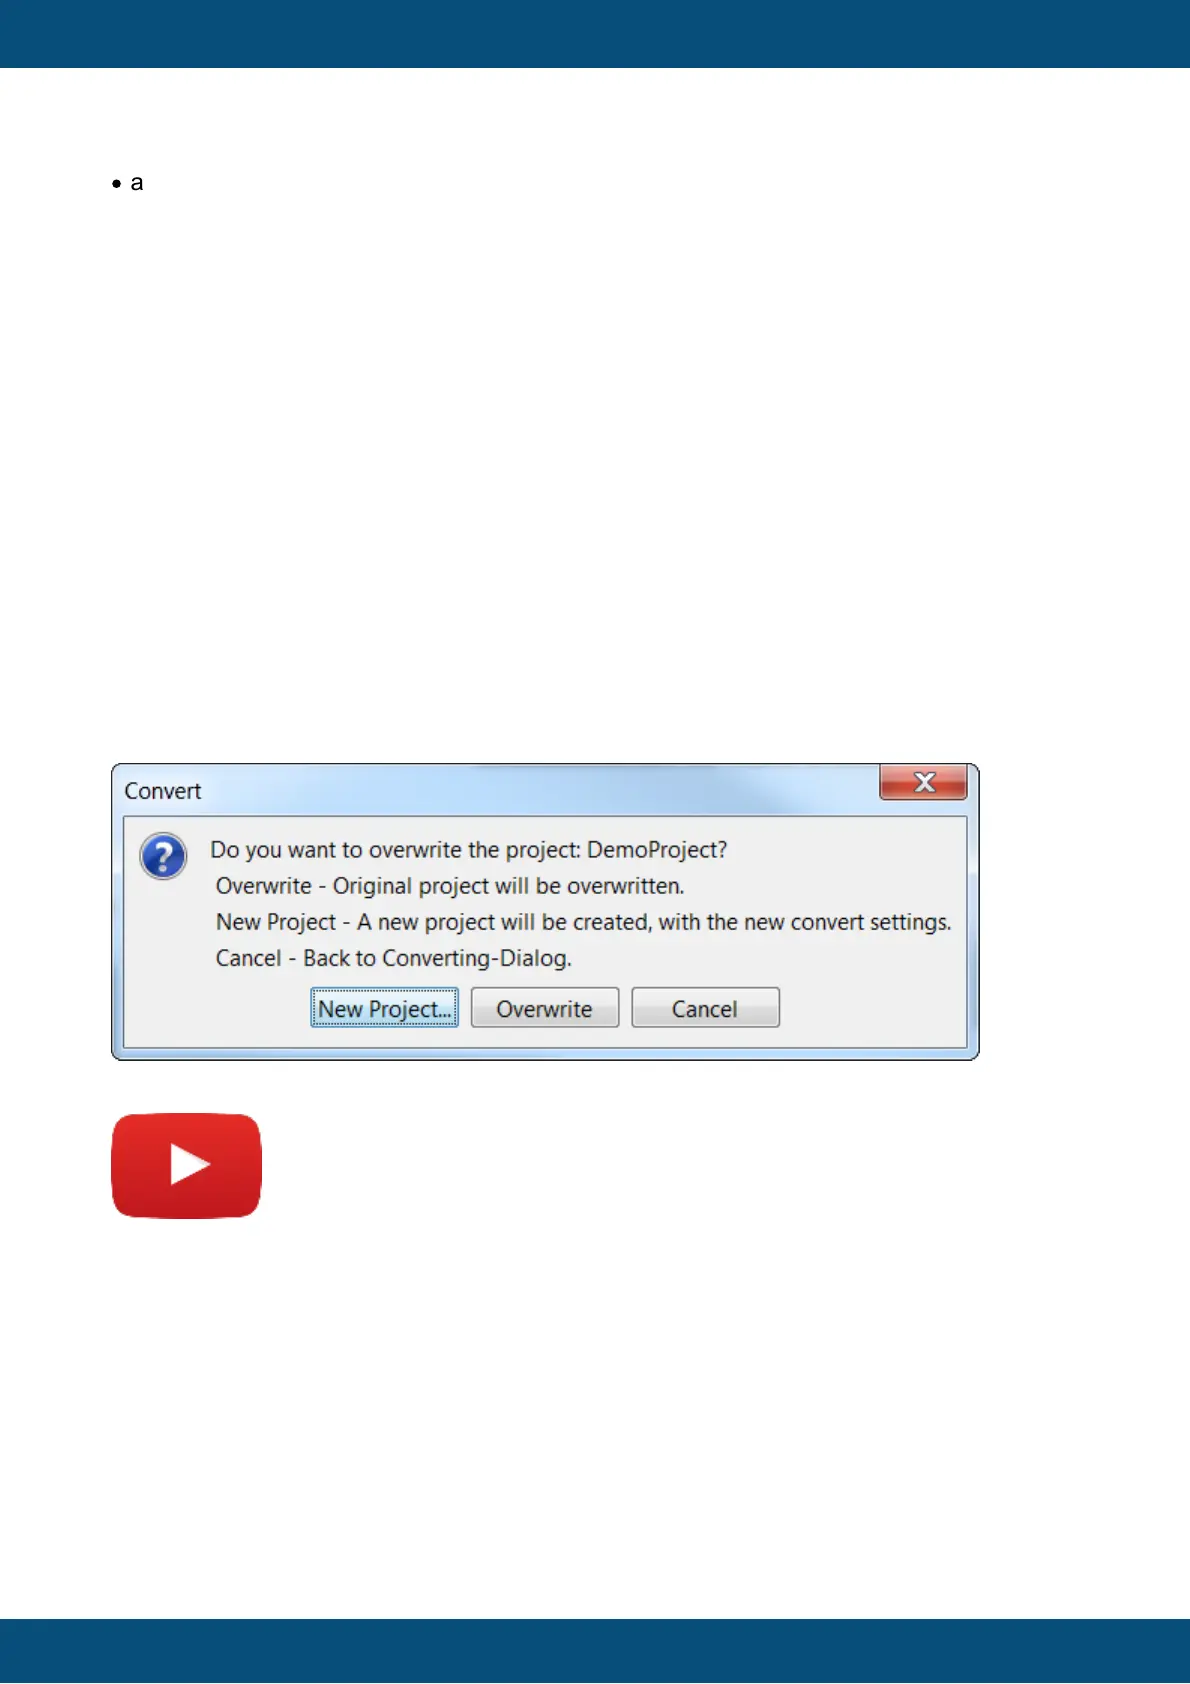
Step 3 - Finish
In the final step, you can choose if you want to overwrite the existing project or create a new
one. Pressing Cancel at this stage brings up the previous conversion step, keeping all
settings.
3.2
Copy and Paste
Tutorial video about copy & paste
https://www.youtube.com/watch?v=2YMmZkwBMwI
When using Copy & Paste, the pasted object will be put on the scene with an offset of 10 px to
the right and bottom if the object is put on the same parent object (e.g. on the same frame).
When pasting on a different parent object, the position will be the same as with the original
object.
There are three types of copy & paste in the program: Normal, reference and shallow.
Normal Paste