773
OPUS Projektor Manual
OPUS devices update manual
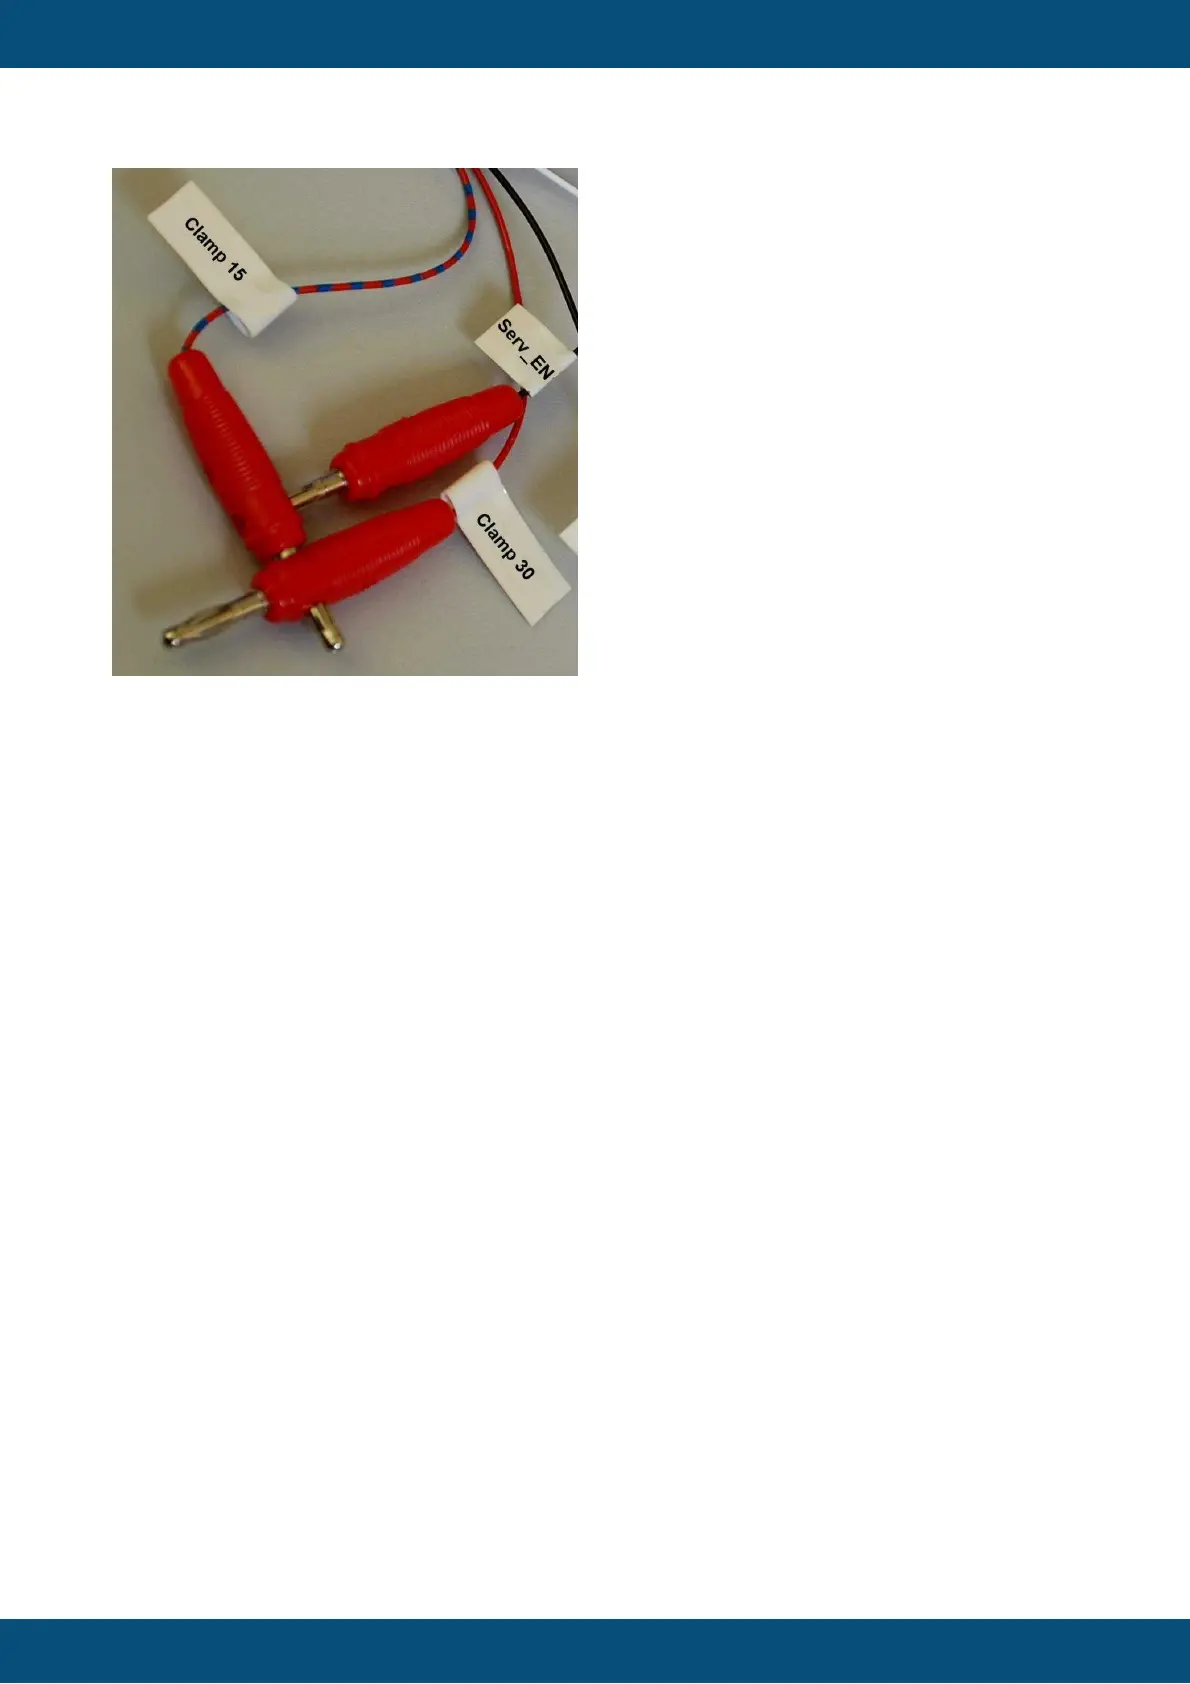
After some seconds a screen with “Maintenance” will be displayed. At this point please
disconnect the clamp “Serv_EN”, otherwise the update will be done again after restart.
14.3.4
ISO-V2
The first step to update the device is to copy the update files on a USB stick. The USB
stick has to be FAT32 formatted with only one partition.
Copy the correct update files for the device into the root folder of the USB stick. The USB
stick may contain other data, which is okay, they will be ignored. You can find the update files
in the extracted zip file that you downloaded / got on your USB stick.
There are two ways to start the update process.
1. Via Setup menu (Please use this method)
Insert the USB stick with the update files into the running device.
On the device, go to the menu
User -> Utilities or System -> Utilities (depending on the currently installed version)
and you will see an entry CONSOLE SOFTWARE UPGRADE. Please select this entry.
There will be a warning dialog "Operation Requires Restart". Confirm the dialog by pressing
the green checkbox button.
Then the device will restart and the update will be installed.
Please note that the menu entry is only active if valid update files are on the USB stick.
2. Via Service mode (Please DON'T use this method, as licenses and settings can be
deleted)
Power off the device and connect the USB stick with the update files with the USB port
of the device (both the front USB slot and the USB cable from the main connector can be
used).
There are two ways to start the device in update mode, you can use either one of them
(but you don’t need to do both!):