Xiotech—Proprietary 160337-000 Rev D, 30 September, 2013 Page 147
FRU Replacement ISE User Guide
FRU Replacement
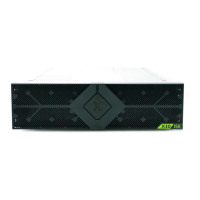
The ISE consists of a chassis containing a number of components called FRUs as described in the
“Introduction” on page 3. Figure 1 on page 4 shows the location of each FRU. This chapter details the
procedures to replace the following ISE FRUs:
• Small Form-Factor Pluggable Fibre Channel connectors (SFP) (below)
• Power supply (page 148)
• Supercapacitor (page 148)
• Other FRUs (“Other Components” on page 149)
Note. Cables to unaffected FRUs should not be removed when replacing any FRU.
Seating FRUs
When a supercapacitor, power supply, MRC, DataPac, or SFP is correctly seated, the system generates event
code 116 (FRUInsertRem). Absence of this event indicates that the FRU did not properly seat. Event code 116
generates SNMP trap FRU - Removal or Insertion Detected.
SFP
Each MRC has four Small-Form-Factor Pluggable Fibre Channel (SFP) connectors. If any SFP in an MRC
fails, it can be replaced with a vendor-specified replacement SFP using the following procedure:
1. Remove the Fibre Channel cable from the SFP by grasping and gently pinching the cable connector while
gently pulling. Care should be taken not to pinch the connector as the tab cover may pop below the tabs on
the head of the connector.
2. Release the bail holding the SFP in the chassis.
3. Gently pull the SFP from the chassis.
4. Remove the protective plug from the replacement SFP and lift the bail if needed.
5. Gently insert the replacement SFP fully into the chassis.
6. Engage the bail if needed to secure the SFP in the chassis.
7. Insert the Fibre Channel cable gently into the SFP while gently pinching the cable connector.
8. Check for system detection of the SFP insertion as described in “Seating FRUs” on page 147.
Once the SFP is seated, the MRC establishes communication with the switch through the SFP and I/O
operations resume.
 Loading...