Xiotech—Proprietary 160337-000 Rev D, 30 September, 2013 Page 17
Installation ISE User Guide
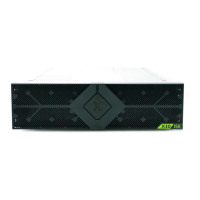
Figure 13. Rear View—Power Supply, MRC Insertion
Install MRCs
The MRCs come pre-installed in the ISE chassis. In the event there is a need to install an MRC, insert the unit
gently into the chassis from the rear, oriented as shown in Figure 13 and with the latch handle fully open, push-
ing firmly until the MRC seats. With the MRC firmly in place, secure the unit by closing the black latch handle
and tightening the two captive screws (Figure 10 on page 14) until snug—do not overtighten. Repeat this step
for the other MRC.
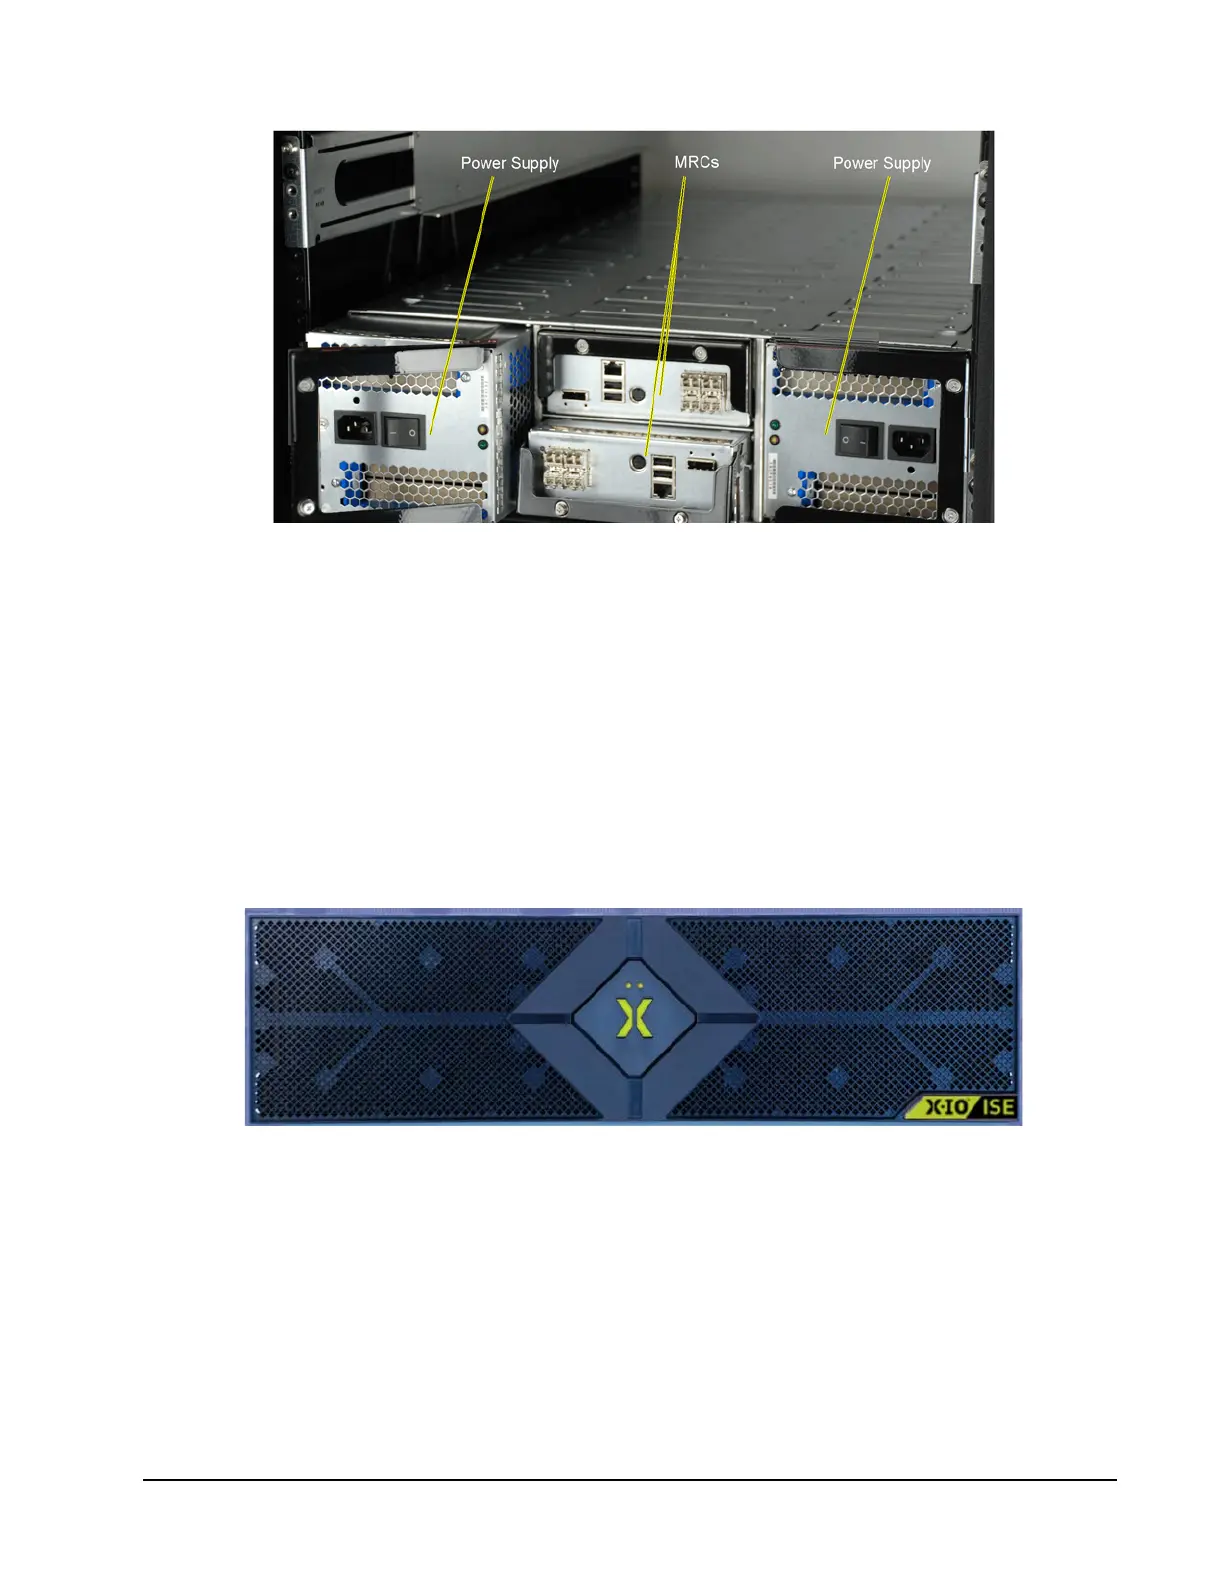
Install Bezel
The ISE bezel, shown below, is an integral component that snaps onto the chassis at each end with snap pins
(see Figure 15 on page 18).
Figure 14. Bezel
To install the bezel, align the bezel as shown in figure 15 such that the snap pins seat into the anchors on the
chassis. With the snap pins seated, firmly press the bezel onto the chassis. The floating blind mate connectors
(See Figure 15 on page 18) automatically align and mate, connecting the bezel circuitry to the ISE circuitry.
 Loading...