29. (Figure 19): Adjust the side-to-side level of
the Printer.
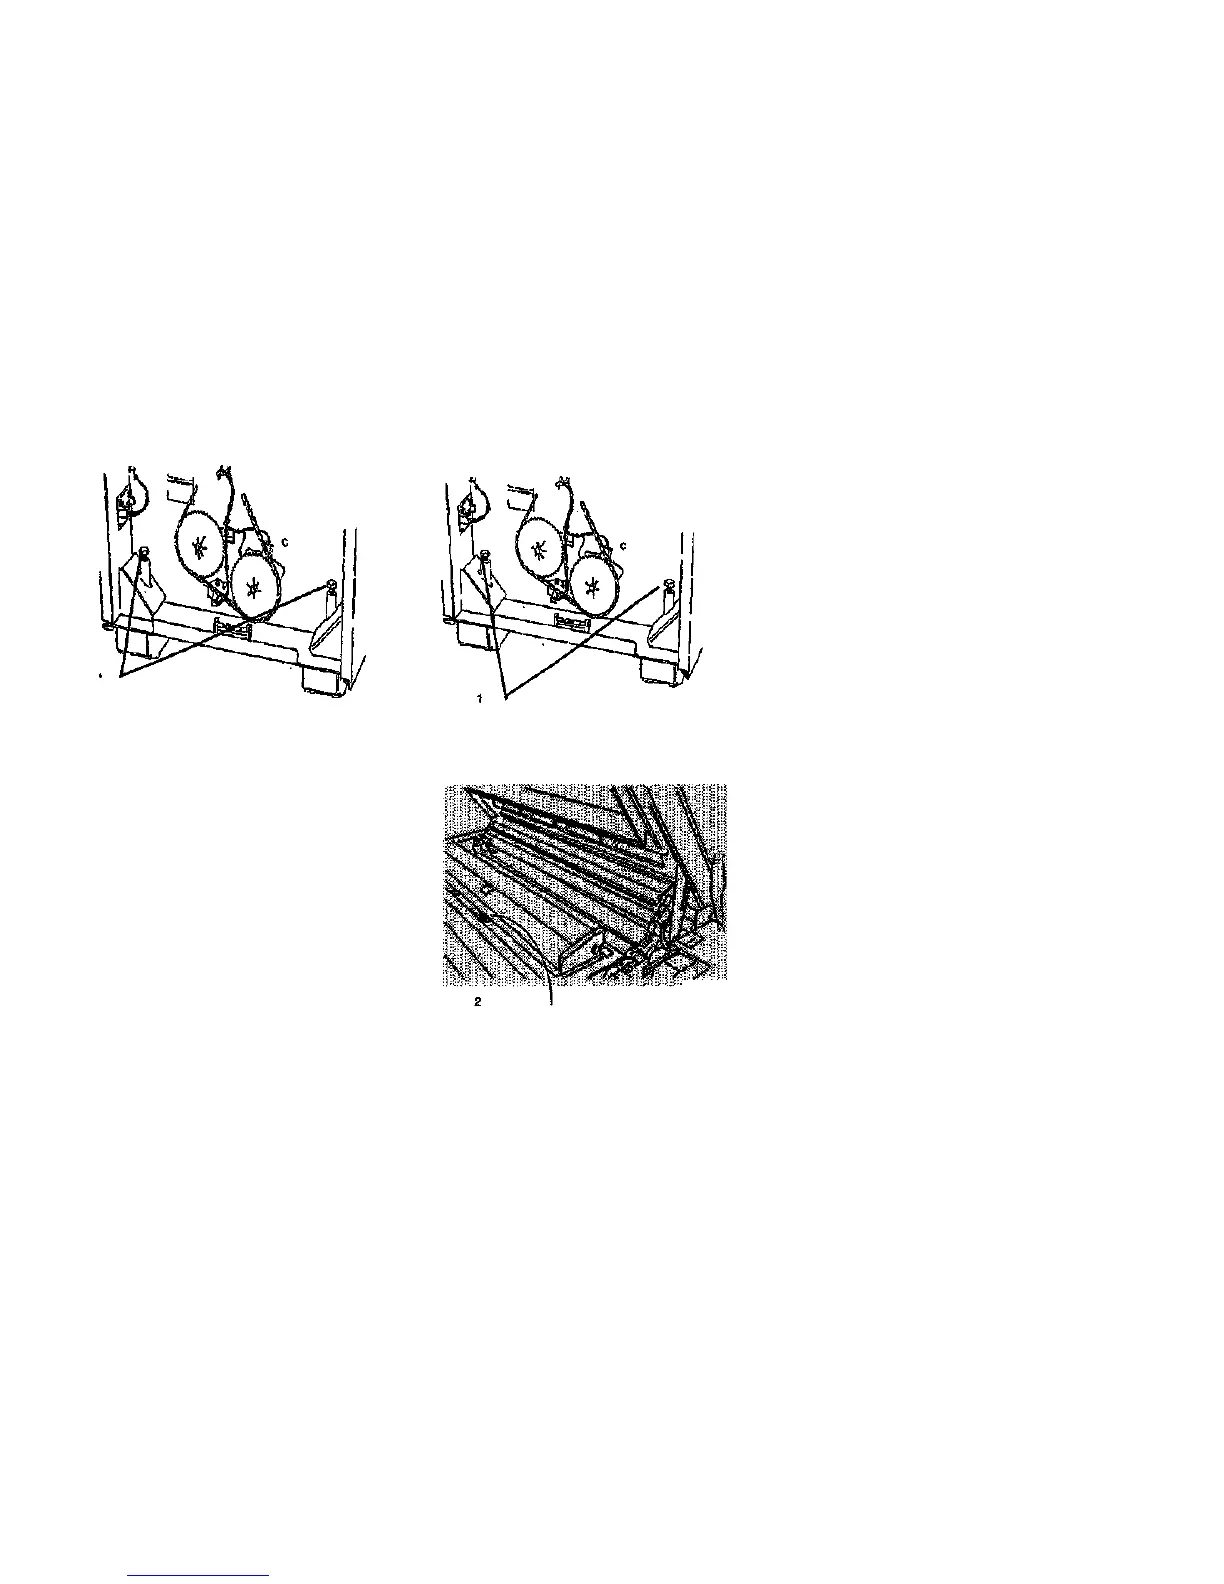
30. (Figure 20): Adjust the front-to-rear level of
the Printer.
Rotate the bolts to adjust the
level of the Printer
Repeat step 1 at the other
end of the Printer
Rotate the bolts
equally to adjust the
level of the Printer
31. Repeat the Printer leveling (Steps 27
through 30) until the Printer Is level.
32. Close the Top Cover.
33. Close the Rear Door and tighten the locking
screw.
34. Install a roll of 36 inch (AO) Bond media in
Roll 1 Media Supply. Refer to the User
Guide as required.
Figure 19. Adjusting the Level of Printer
R3019K
Determine level of Printer
Figure 20. Checking and Adjusting the
Printer Level
Installation
1/98
6-22
8830

 Loading...


