ADJ 4.4.9 Registration
Purpose
The purpose of this procedure is to allow the scanner to determine correct timing values for
actuation of the two document edge sensors, enabling the scanner to correctly register the
lead edge of the document prior to the start of a scanning operation.
NOTE: The tost patterns are stored Inside the Document Feed Tray.
Check
Perform the following:
1. When the scanner has completed Power On Sell Test (POST) Insert a black test pattern
into the printer. Allow the document to be transported to the starting position.
2. (Figure 1): Examine the position of the lead edge of the document. The lead edge should
be within +/• 0.25 inches (0.64 cm) or the middle of the Platen Window, if the position
does not appear to be correct, continue on with this procedure.
Lead Edge
REAR
Platen Glass
Document
Middle of Platen
Window
FRONT
Figure 1 Registration of the Lead Edge - Top View
3. From the Ready to Copy Screen, press the Copy (contrast) Up/Down buttons and the
MENU button simultaneously. The scanner Main Menu will appear.
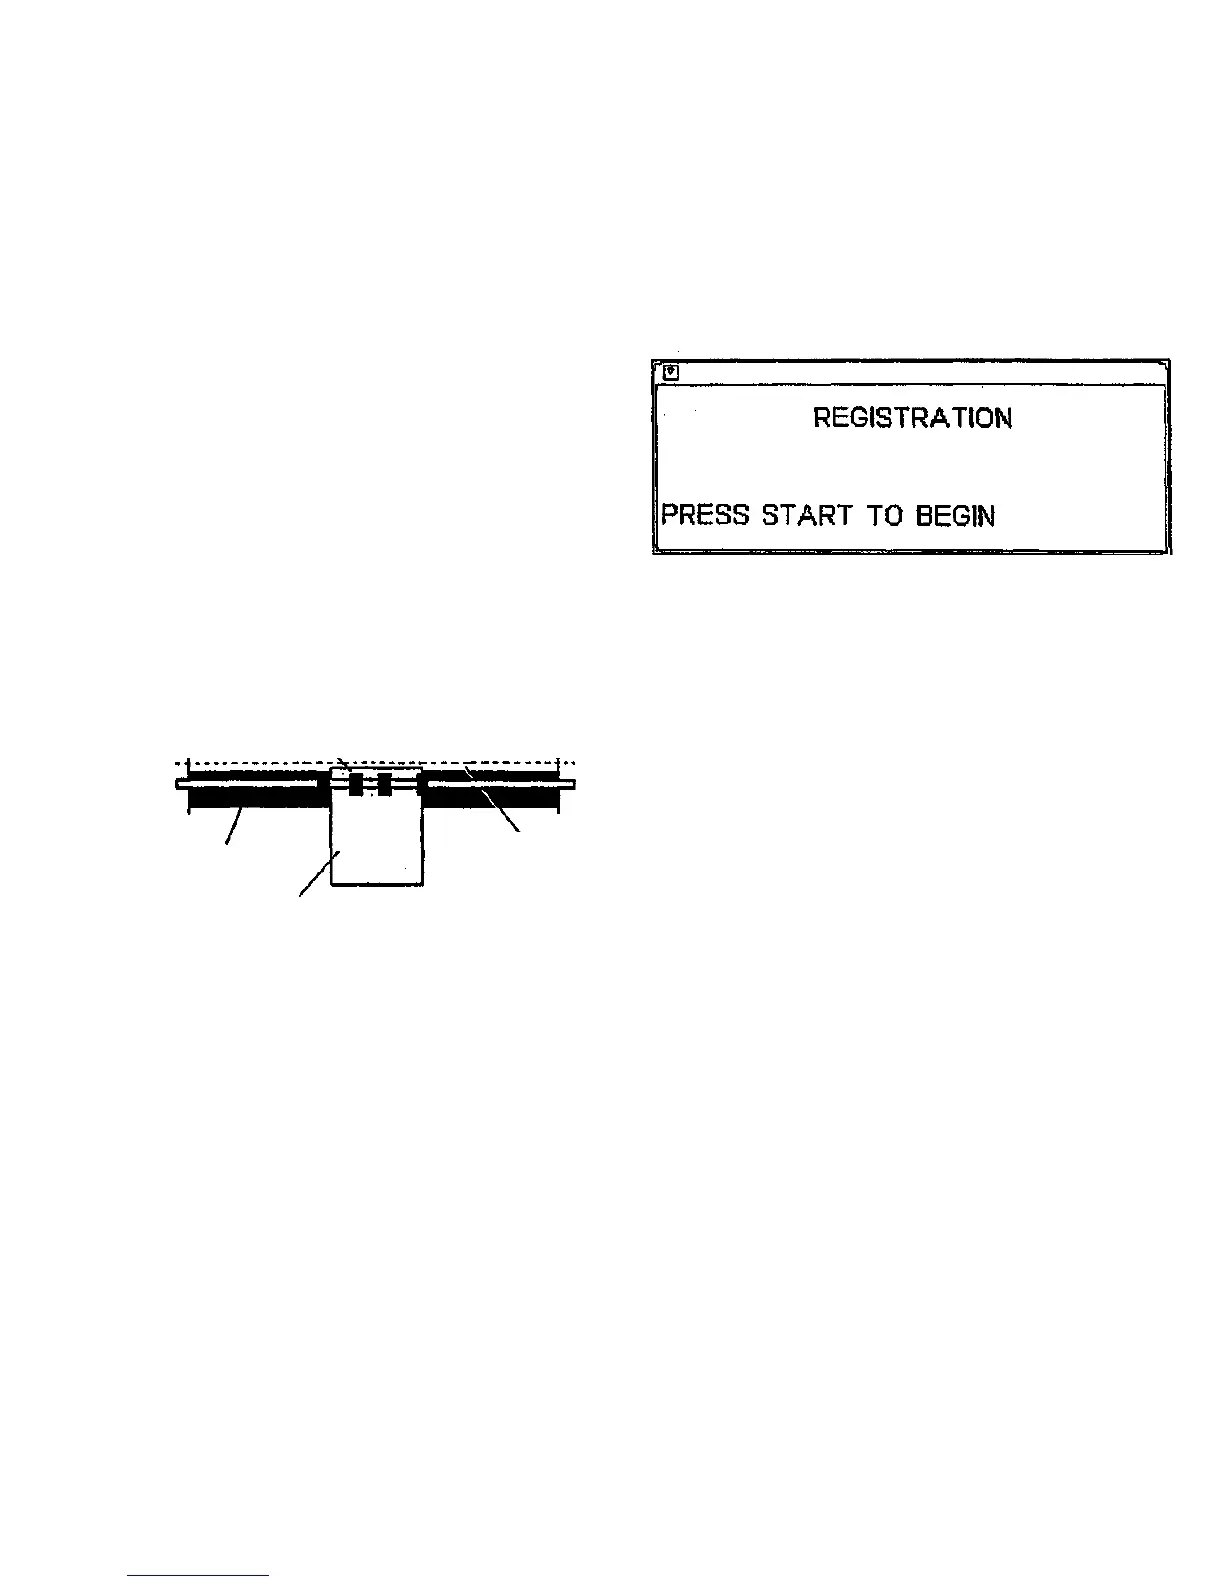
4. Select Diagnostics > Scanner Diagnostics > Component Tests > Registration.
5. Press the ENTER key. The Registration test screen appears (Figure 2).
0S0O020A-WHO
Figure 2. Registration Test Screen
6. Insert the black test pattern on the scanner platen, and allow the test target to be trans-
ported to the starting position. Press the START key to begin the test.
7. Once the START key has been pressed the system software checks the Registration and
It is adjusted automatically If not correct. The system displays PASSED If the adjustment
was successful; otherwise, FAILED Is displayed. If FAILED is displayed, repeat the test
again. If the problem still exists, refer to the 7356 Scanner Service Manual, Section 2,
Repair Analysis Procedures.
8. When this test has been completed, press the EXIT key during one of the one-second
Intervals when the motor stops between measurements, then remove the test target man-
ually by pulling the test target toward the front of the scanner until It has cleared the Drive
Rollers.
NOTE: Do not use the rocker switch to position or remove the test target at any time dur-
ing this procedure.
NOTE: Do not exit back to the Ready Screen with the test target still Inserted in the scan-
ner.
9. If a test reports "FAILED: BAD TARGET' the scanner will be reset after the EXIT key has
been pressed, it will be necessary to wait for the scanner to finish the Power On Self Test
before the test can be executed again.
Adjustment
Adjustment occurs automatically when the Motor Speed function Is selected.
8830 DDS
3/98
4-15
Repairs/Adjustments
ADJ 4.4.9

 Loading...


