April 2010
3-18
Phaser 3635MFP/WorkCentre 3550
IQ16
Image Quality
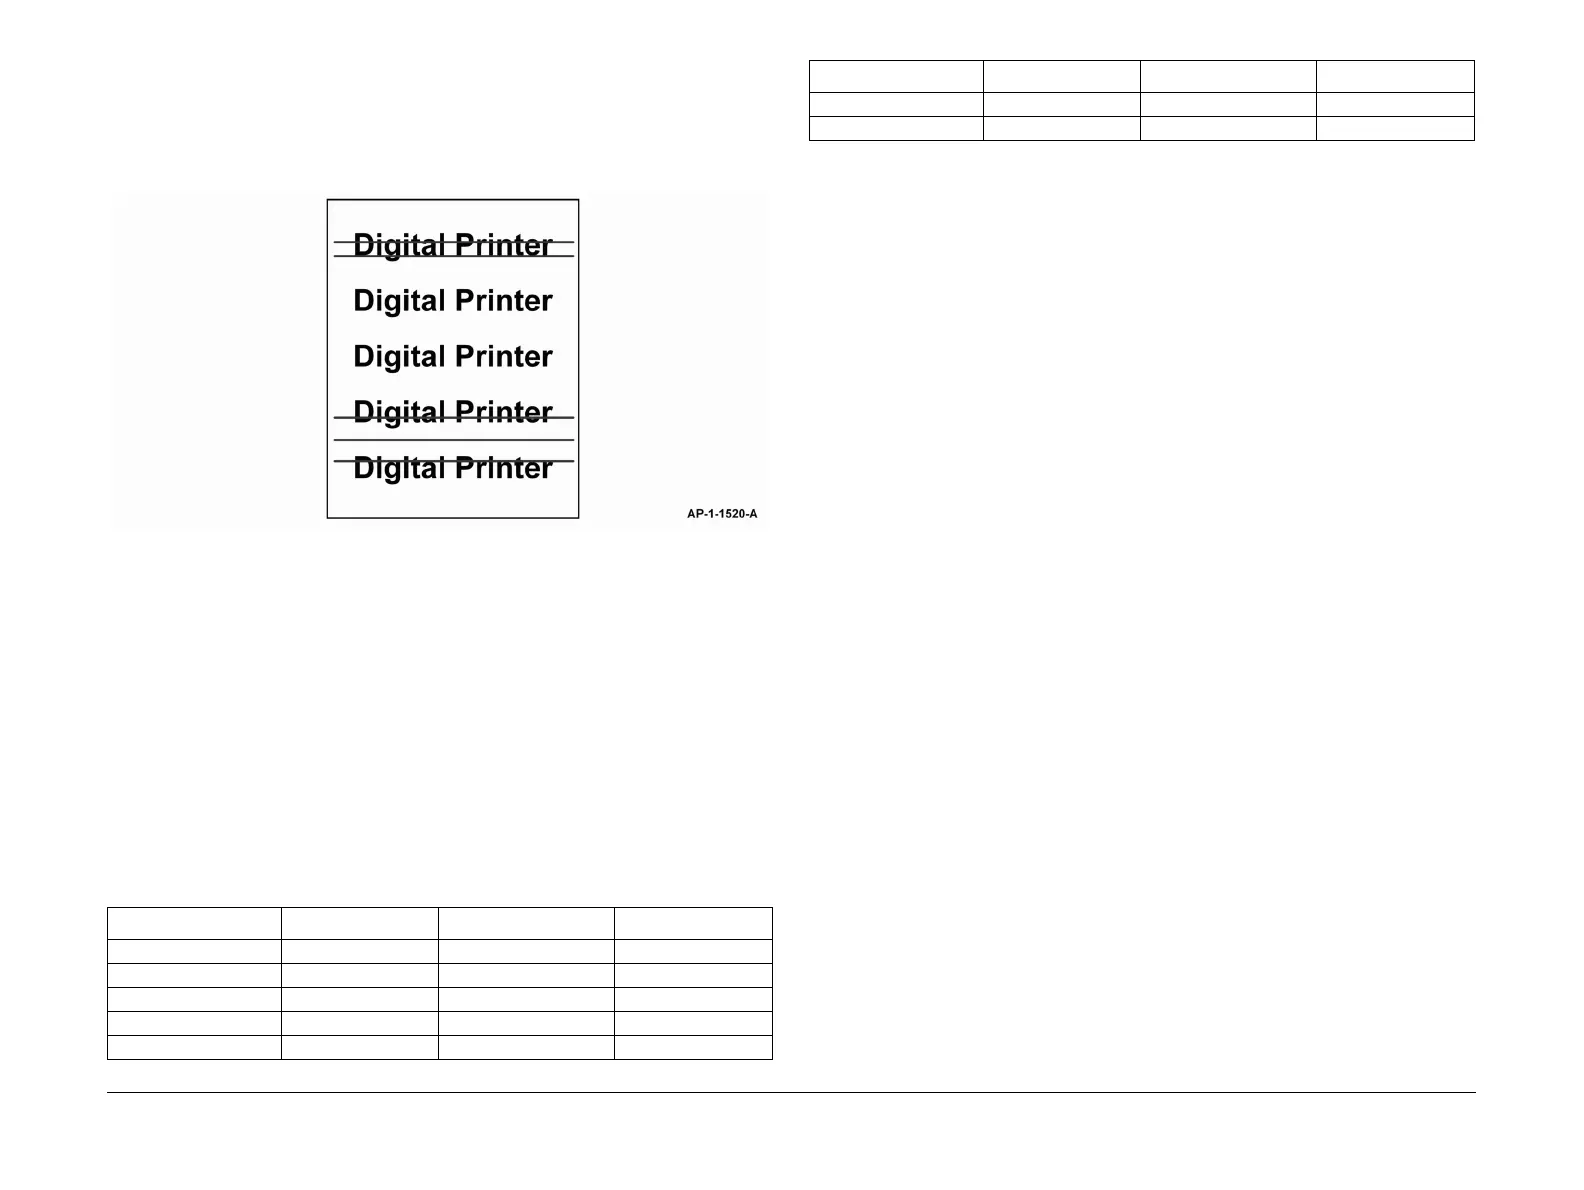
IQ16 Horizontal Bands RAP
Use this RAP when the image has bands appearing across the process direction. An example
is shown in
Figure 1.
Ensure the IQ1 Image Quality Entry RAP is performed before starting this RAP.
Figure 1 Horizontal bands
Procedure
WARNING
Switch off the electricity to the machine. Disconnect the power cord from the customer
supply while performing tasks that do not need electricity. Electricity can cause death or
injury. Moving parts can cause injury.
Perform the following:
1. Refer to Wiring Diagram 2. Check the spring contacts between the HVPS, PL 1.10 Item 3
and the print cartridge, PL 9.10 Item 1. The spring contacts supply the voltages to the
print cartridge. If necessary, clean the spring contacts.
2. If necessary, install a new print cartridge, PL 9.10 Item 1.
3. Measure the distance between the image and the defect. Refer to Table 1 to determine
the possible cause of the defect.
4. Install new components as necessary.
5. Check the condition of the fuser assembly. Install new components as necessary, PL
10.10, PL 10.12 and PL 10.15.
6. Perform OF7 Main PWB Check RAP.
Table 1 Defect distance
Defect distance Roll Component Parts List Ref.
95mm (3.7 inches) Xerographic drum Print cartridge PL 9.10 Item 1
38mm (1.5 inches) Charge roll Print cartridge PL 9.10 Item 1
45mm (1.8 inches) Supply roll Print cartridge PL 9.10 Item 1
47mm (1.9 inches) Transfer roll Transfer roll PL 9.10 Item 2
89mm (3.5 inches) Heat roll Fuser assembly PL 10.15 Item 1
51mm (2 inches) Pressure roll 1 Fuser assembly PL 10.15 Item 2
64mm (2.5 inches) Pressure roll 2 Fuser assembly PL 10.15 Item 3
Table 1 Defect distance
Defect distance Roll Component Parts List Ref.

 Loading...


