April 2010
3-10
Phaser 3635MFP/WorkCentre 3550
IQ4, IQ5
Image Quality
IQ4 Blurred Image From the Scanner RAP
Use this RAP when the scanner produces blurred images.
Ensure the IQ1 Image Quality Entry RAP is performed before starting this RAP.
Procedure
WARNING
Switch off the electricity to the machine. Disconnect the power cord from the customer
supply while performing tasks that do not need electricity. Electricity can cause death or
injury. Moving parts can cause injury.
Go to the relevant procedure:
• 3635 Checkout
• 3550 Checkout
3635 Checkout
1. Clean the CVT glass PL 14.10 Item 28 and document glass PL 14.10 Item 27.
2. Check the gap between the pressure plate and the CVT glass. Perform the following:
a. Put a sheet of A4 or 8.5x11 inch paper over the CVT glass.
b. Close the DADF.
c. Carefully pull the paper from underneath the DADF. Make sure that the paper was
pressed between the pressure plate and the CVT glass. If necessary, install a new
DADF,
PL 5.10 Item 1.
3. Perform the Shading Test procedure, GP 15 Shading Test. If the shading test fails:
a. Install new components as necessary:
• CCD module, PL 14.10 Item 8.
• CCD module cable, PL 14.10 Item 23.
• Scanner assembly, PL 14.10 Item 26.
b. Perform OF7 Main PWB Check RAP.
3550 Checkout
1. Clean the CVT glass PL 14.11 Item 26 and document glass PL 14.11 Item 3.
2. Check the gap between the pressure plate and the CVT glass. Perform the following:
a. Put a sheet of A4 or 8.5x11 inch paper over the CVT glass.
b. Close the DADF.
c. Carefully pull the paper from underneath the DADF. Make sure that the paper was
pressed between the pressure plate and the CVT glass. If necessary, install a new
DADF,
PL 5.10 Item 1.
3. Perform the Shading Test procedure, GP 15 Shading Test. If the shading test fails:
a. Install new components as necessary:
• CCD module, PL 14.11 Item 2.
• CCD module cable, PL 14.11 Item 5.
• Scanner assembly, PL 14.11 Item 21.
b. Perform OF7 Main PWB Check RAP.
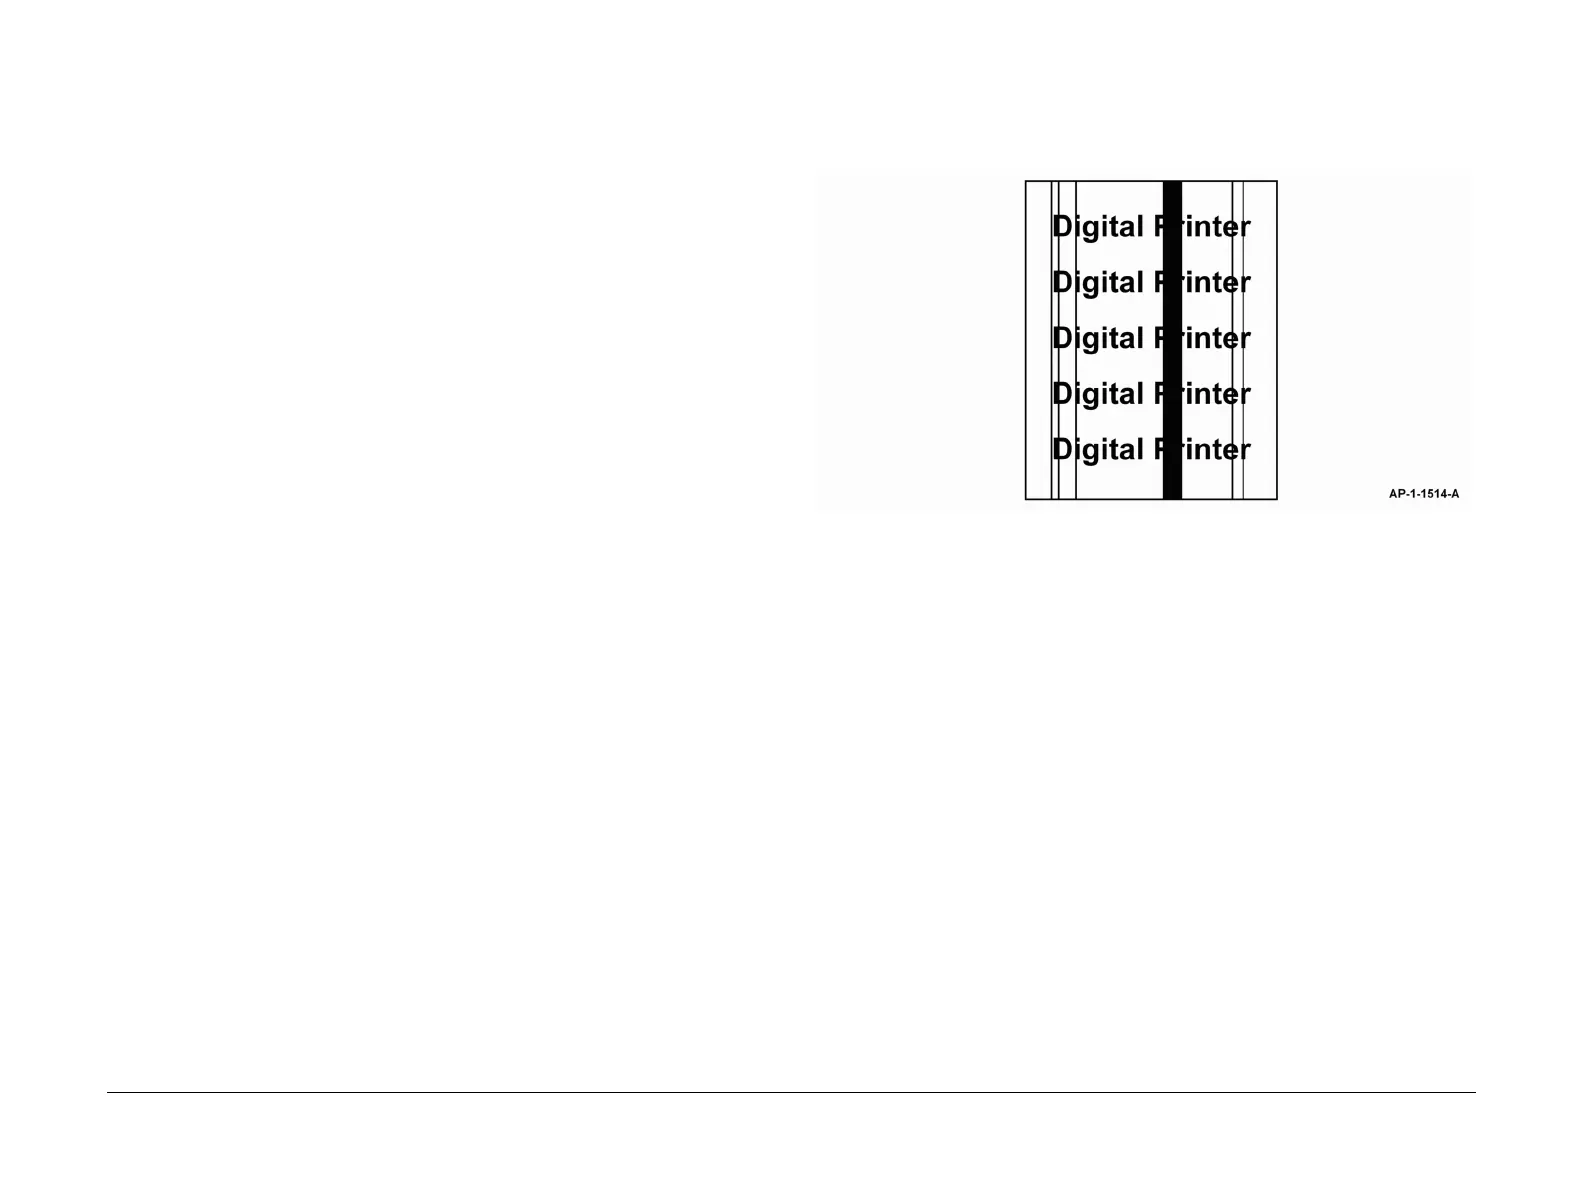
IQ5 Vertical Black Lines or Bands RAP
Use this RAP when there are black lines or bands along the process direction, as shown in Fig-
ure 1.
Ensure the IQ1 Image Quality Entry RAP is performed before starting this RAP.
Figure 1 Vertical black line and band
Procedure
WARNING
Switch off the electricity to the machine. Disconnect the power cord from the customer
supply while performing tasks that do not need electricity. Electricity can cause death or
injury. Moving parts can cause injury.
1. If the defect is only present on received faxes, ensure the defect is not being generated
by the fax machine that is transmitting the fax.
2. If the defect is only present when making copies, clean the document glass (3635) PL
14.10 Item 27 or (3550) PL 14.11 Item 3.
3. If the defect is only present when making copies from the DADF, clean the CVT glass
(3635)
PL 14.10 Item 28 or (3550) PL 14.11 Item 26.
4. Lightweight media can cause fusing problems that may result in vertical lines. Ensure the
customer is using media that is within specification. Refer to
GP 9 Paper and Media Spec-
ifications.
5. The fuser may be contaminated. Make 10 blank copies. Install new components as nec-
essary, PL 10.10, PL 10.12 and PL 10.15.
6. 3635 only. Refer to Wiring Diagram 5 (3635). Check that the harness between the LSU
and CN24 on the Main PWB is correctly and securely connected.
7. 3550 only. Refer to Wiring Diagram 14 (3550). Check that the harness between the LSU
and CN17 on the Main PWB is correctly and securely connected.
8. Install new components as necessary:
• Print cartridge, PL 9.10 Item 1.
•LSU, PL 6.10 Item 1.

 Loading...


