Installation 2 - 3
Mounting the Imager on the Gooseneck Stand
To mount the imager on the optional gooseneck stand:
1. Mount the DS457 to the mount plate. Align the imager so its window faces the short edge of the plate, and
its two threaded inserts align with the stand’s two mounting holes that are closest to the edge of the plastic.
Note that the imager requires only two screws for mounting.
2. Secure the imager to the stand using the two screws provided with the stand.
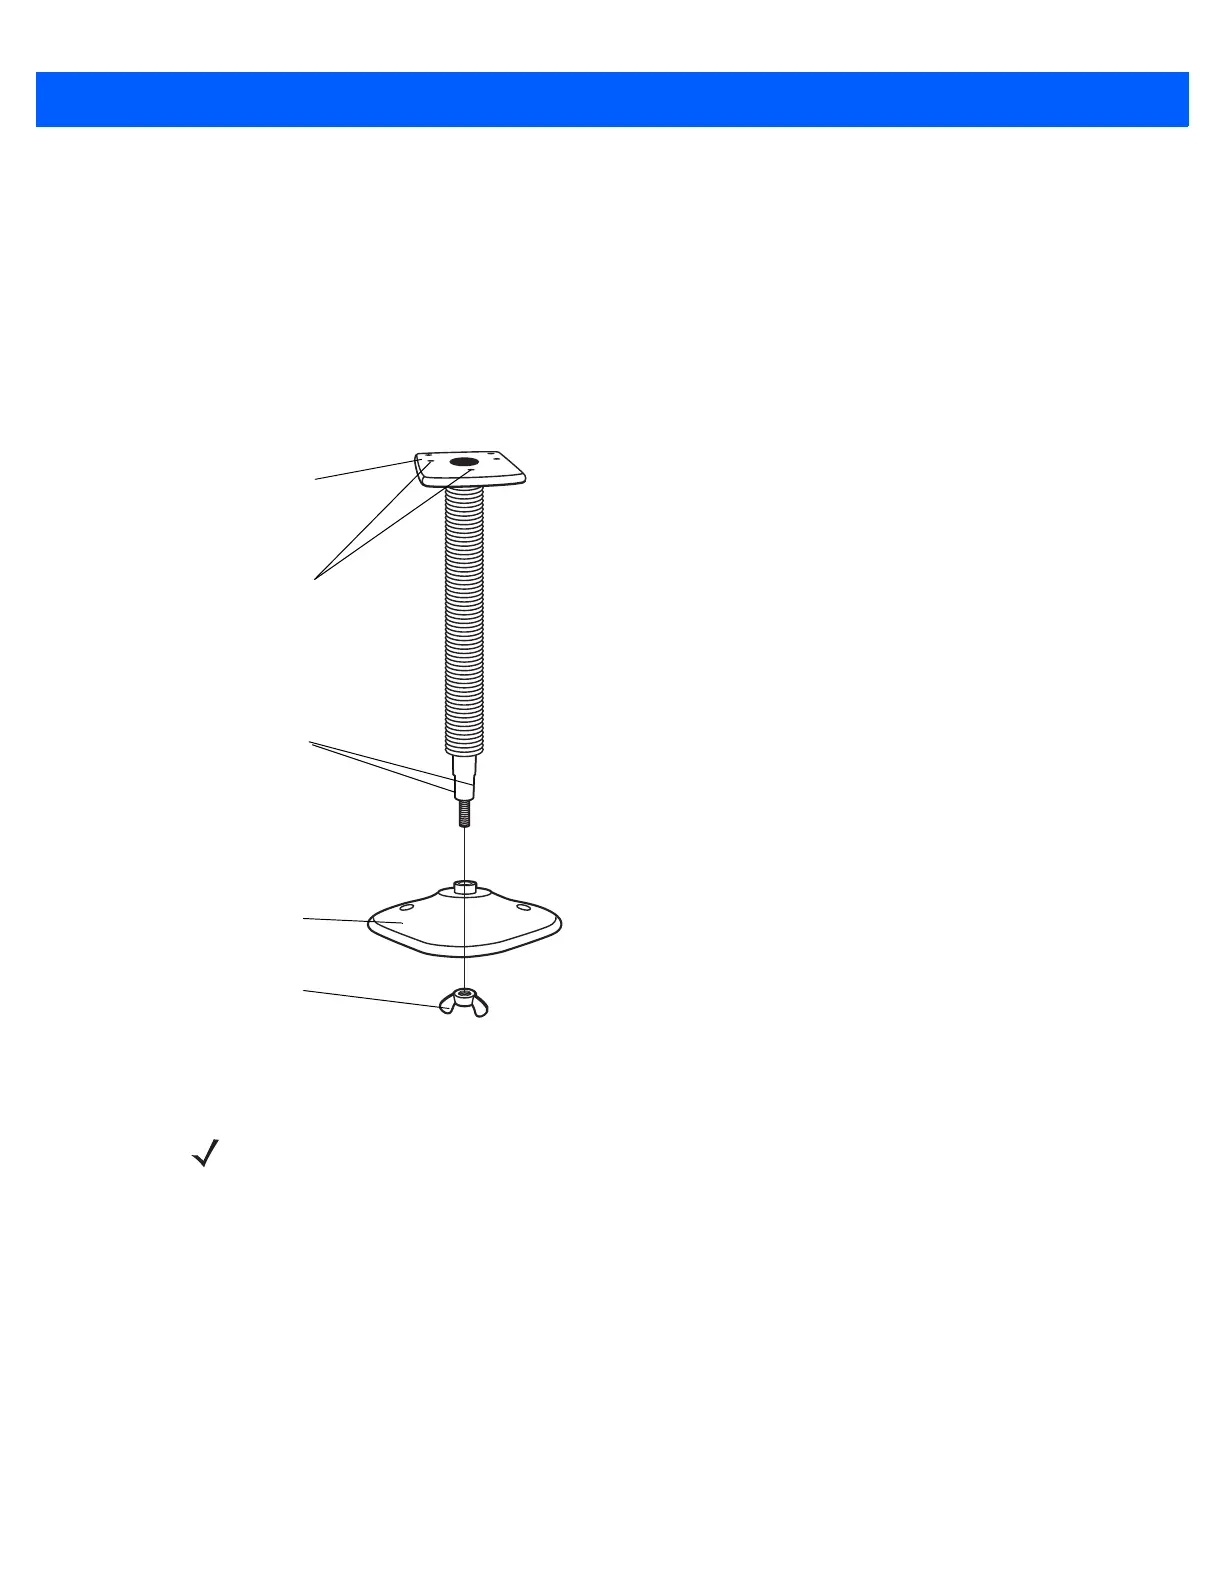
Assembling the Stand
Figure 2-2
Assembling the Gooseneck Stand
Stand base
Wingnut
1. Unscrew the wingnut
from the bottom of the
one-piece mount.
2. Fit the bottom of the
neck piece into the
opening on the top of the
stand base.
3. Tighten the wingnut
underneath the base to
secure the cup and neck
piece (see the note
below).
4. Bend the neck to the
desired position for
scanning.
Imager mount
Flat areas
Mounting holes
NOTE Before tightening the wingnut under the base, ensure that the flat areas on the flexible neck fit securely in
the grooves in the base.
 Loading...