Appendix E - Upgrading/Downgrading the System
259
Enova Digital Media Switchers - Hardware Reference Manual
Appendix E - Upgrading/Downgrading the System
Overview
The instructions in this section describe the process for upgrading an Enova DGX 8/16/32/64 Digital Media Switcher to an
Enova DGX 100 Series Digital Media Switcher.
These instructions also cover the process for downgrading an Enova DGX 100 Series Digital Media Switcher to an Enova
DGX 8/16/32/64 Digital Media Switcher.
NOTE: These procedures can be done while the enclosure is in a rack, but the system must be powered down.
For a list of differences between an Enova DGX 8/16/32/64 system and a 100 Series system (including required
changes for programming code), see the "Enova DGX 100 Series and Enova DGX 8/16/32/64 Differences" section on
page 27.
Upgrade Sequence Overview
While you can upgrade the system in a different sequence than the instructions provided below, this sequence is the most
straightforward method for upgrading your system and associated endpoints. Note that endpoints may be inaccessible
after CPU upgrade until the enclosure upgrade has been completed.
1. Upgrade any Solecis Digital Switchers (see below).
2. Upgrade the front control panel (see page 260).
3. Replace the current (8/16/32/64) CPU Board with an Enova DGX 100 Series CPU (see page 261).
NOTE:
If ASB boards will be used in the upgraded system, install them prior to applying power to the system for the first time
with a 100 Series CPU installed.
4. Upgrade the enclosure (see page 264).
5. Upgrade any DXLink Twisted Pair or DXLink Fiber endpoints (see page 265).
Upgrading a Solecis Digital Switcher
Upgrading firmware on a Solecis Digital Switcher requires downloading the latest firmware files from www.amx.com and
using NetLinx Studio to transfer the files to the target switcher.
IMPORTANT: Before connecting a Solecis Digital Switcher to a DXLink Twisted Pair Input Board in an Enova DGX 100 Series
Digital Media Switcher, both the Solecis unit and all DXLink Twisted Pair boards must be upgraded with the latest available
firmware versions. Solecis units must
be upgraded before connecting a unit to an upgraded input board.
1. Download and unzip the "Solecis Digital Switcher Firmware" .zip file:
a. Navigate to the Solecis switcher’s product page at www.amx.com.
b. Locate the Firmware Files section on the right side of the page and select the .zip file for download.
c. Unzip and open the downloaded file folder.
Optional – Open and review the Readme file.
2. Launch NetLinx Studio and open the OnLine Tree.
3. In the OnLine Tree, right-click in the Workspace Bar and select Refresh System OnLine Tree. Verify that the Solecis
switcher is listed in the OnLine Tree.
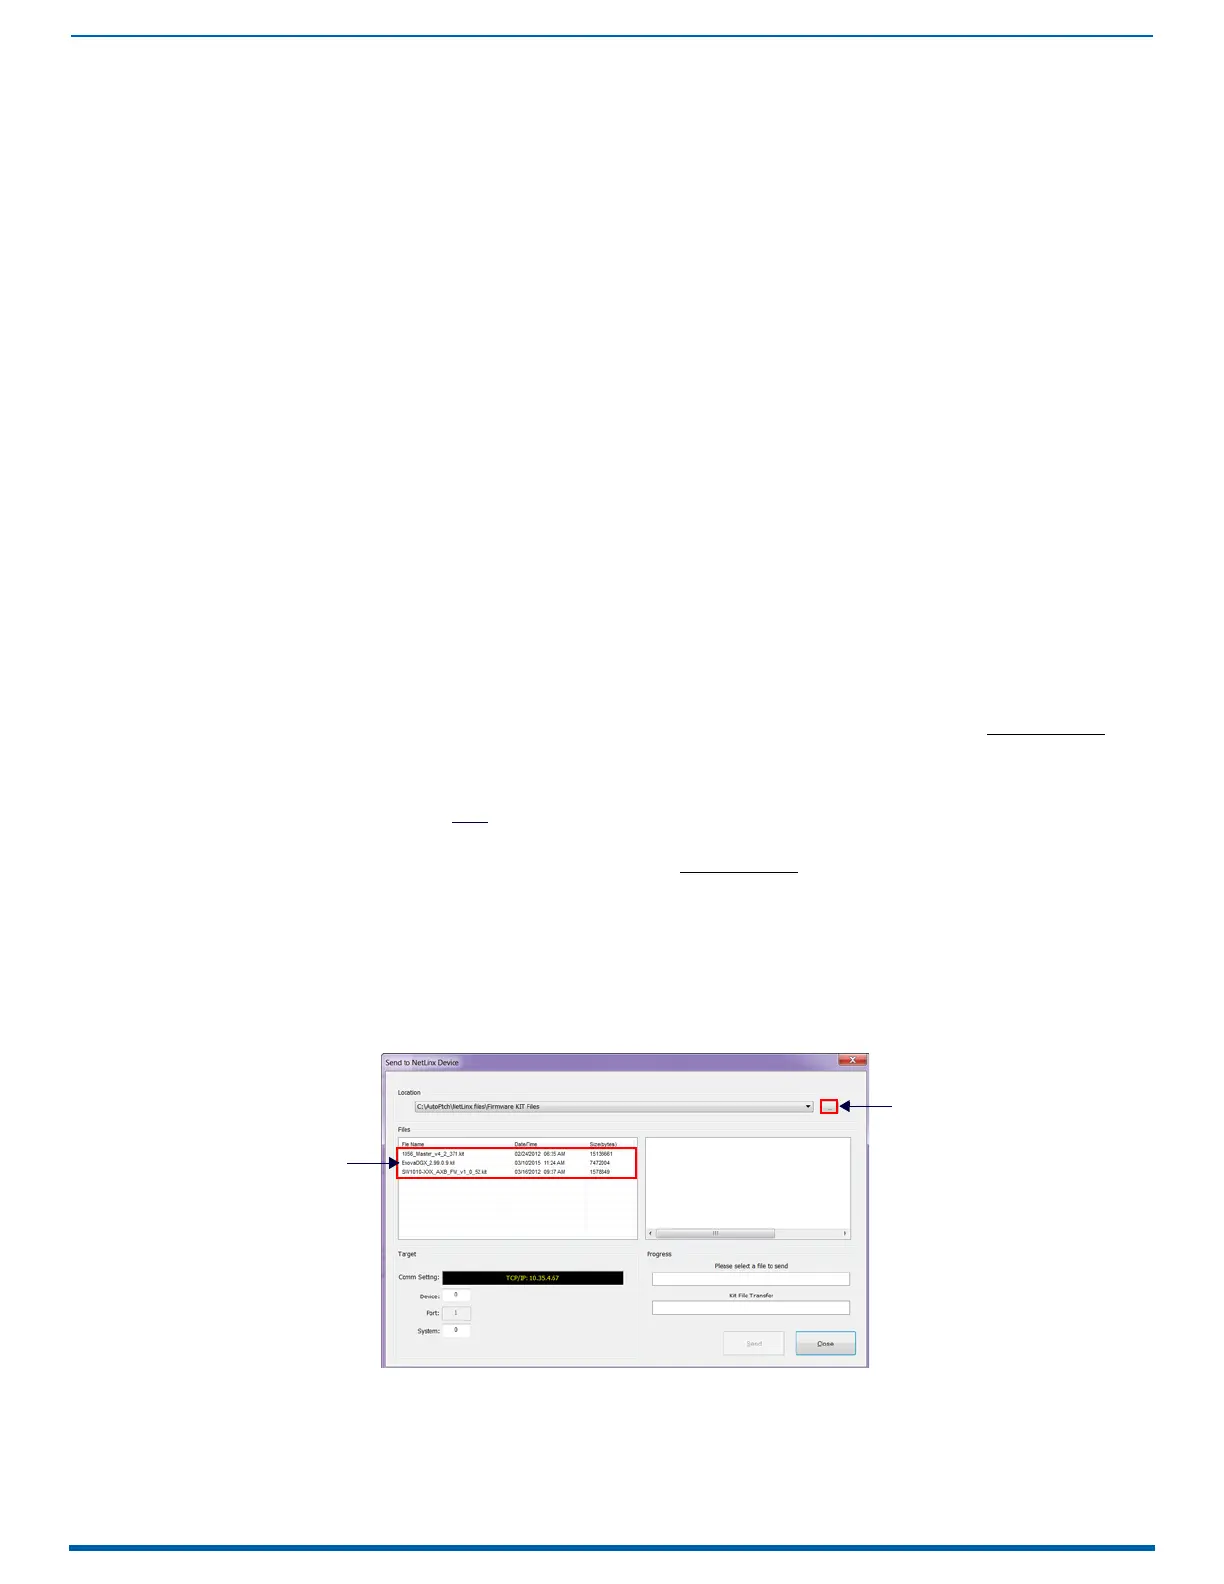
4. Select Tools/Firmware Transfers/Send to NetLinx Device. The Send to NetLinx Device dialog appears (FIG. 141):
5. Click the Browse button (...) and navigate to the downloaded file.
6. Select the file for the Solecis switcher (.kit file). Click Send.
7. Click Close once the download process is complete.
FIG. 141
NetLinx Studio - Send to NetLinx Device dialog
Browse for the downloaded
(unzipped) Solecis firmware file
Select the Solecis
.kit file

 Loading...


