Outdoor Connections Chapter 3
FA4800 User Manual Release 1.9.40 3-9
Outdoor Connections
To complete the outdoor connections:
1. Connect the ground cable to the ODU chassis as marked on the ODU.
2. Connect the antenna cable to the ODU.
3. Connect the lightning protection device to the ODU (see Chapter 18).
4. Attach the ODU-IDU cable to the ODU RJ-45 connector (see Appendix B for the
connector pinout)
5. Screw in the cable glands to ensure hermetic sealing of the ODU.
6. Secure the cables to the pole, mast or brackets using UV-rated cable ties.
Indoor Installation
Installing IDU-E and R units
IDU-E Installation
The IDU-E can be wall mounted, placed on a desktop or take up one half of a 1U rack slot.
The unit should be grounded, cabled to the ODU and connected to power using the supplied
AC/DC adapter.
.
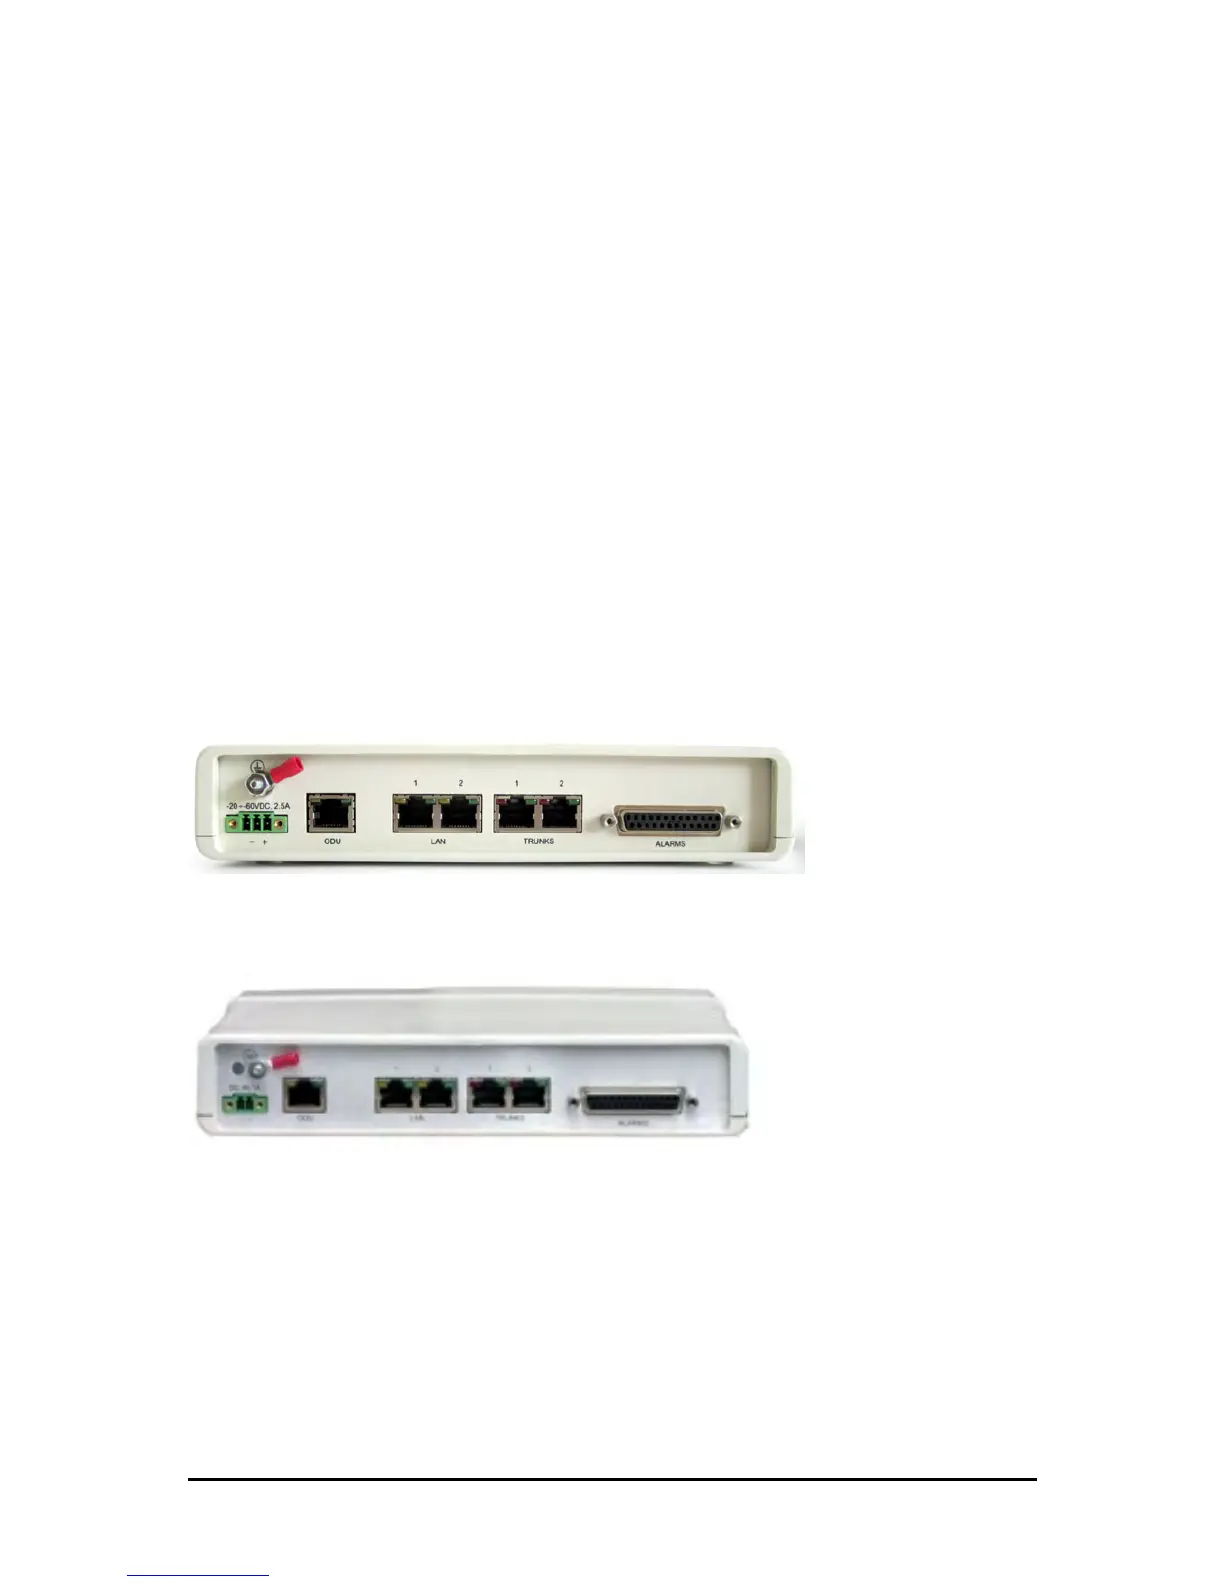
Figure 3-10: New style IDU-E: Rear panel
IDU-R Installation
Figure 3-11: IDU-R Rear Panel
Installation of an IDU-R unit differs from other IDU models in one respect: At the rear of the
IDU-R (see Figure 3-11) there are two jacks labeled “Trunks”. For each IDU-R, the E1 cable
from outside should be plugged into one of the trunks, and the E1 cable to the other station
should be plugged into the second trunk, as in the left hand side of Figure 1-12.
Apart from the above difference, the link installation including the remaining part of the IDU
installation and connection to the ODU proceeds as described as above.