2.
Pull the table t-pull handle forward, then push
down on the top of the table until it is at the
same level as the folded seats.
3.
Pull out the bed release latch until you feel a re-
lease of tension. See item 2 in Fig. 10.4.
4.
Grasping the edge of the bed, pull it down until
the lower latch pins engage in the lower bunk
locks.
Setting up the lounge area consists of the following
steps:
1.
Pull out the bed release latch until you feel a re-
lease. See item 2 in
Fig. 10.4.
2.
Holding the front edge, push the bed up toward
the back wall until you hear or feel the upper
latch pins lock into place.
3.
Pull the t-handle and lift up on the table. As the
table nears the correct height, the t-pull handle
will be pulled back and lock into position. If this
doesn’t happen, reach under the raised table and
push the t-pull handle in. Then gently push down
to make sure the table is locked in the upright
position.
4.
To unfold each chair, push down on the seat
latch while lifting the chair back.
Upper bunks fold up against and lock onto the cab
back wall. To unlock and fold down an upper bunk,
grasp the bunk release handle (see
Fig. 10.5) and
turn it to either the left or right and pull. To fold up
and lock an upper bunk, turn the bunk release
handle to the left or right and push up and back.
Sleeper Curtain
Sleeper curtains are included with all sleepers and
work to block out light and help regulate tempera-
tures in the sleeper compartment.
f61144909/09/2016
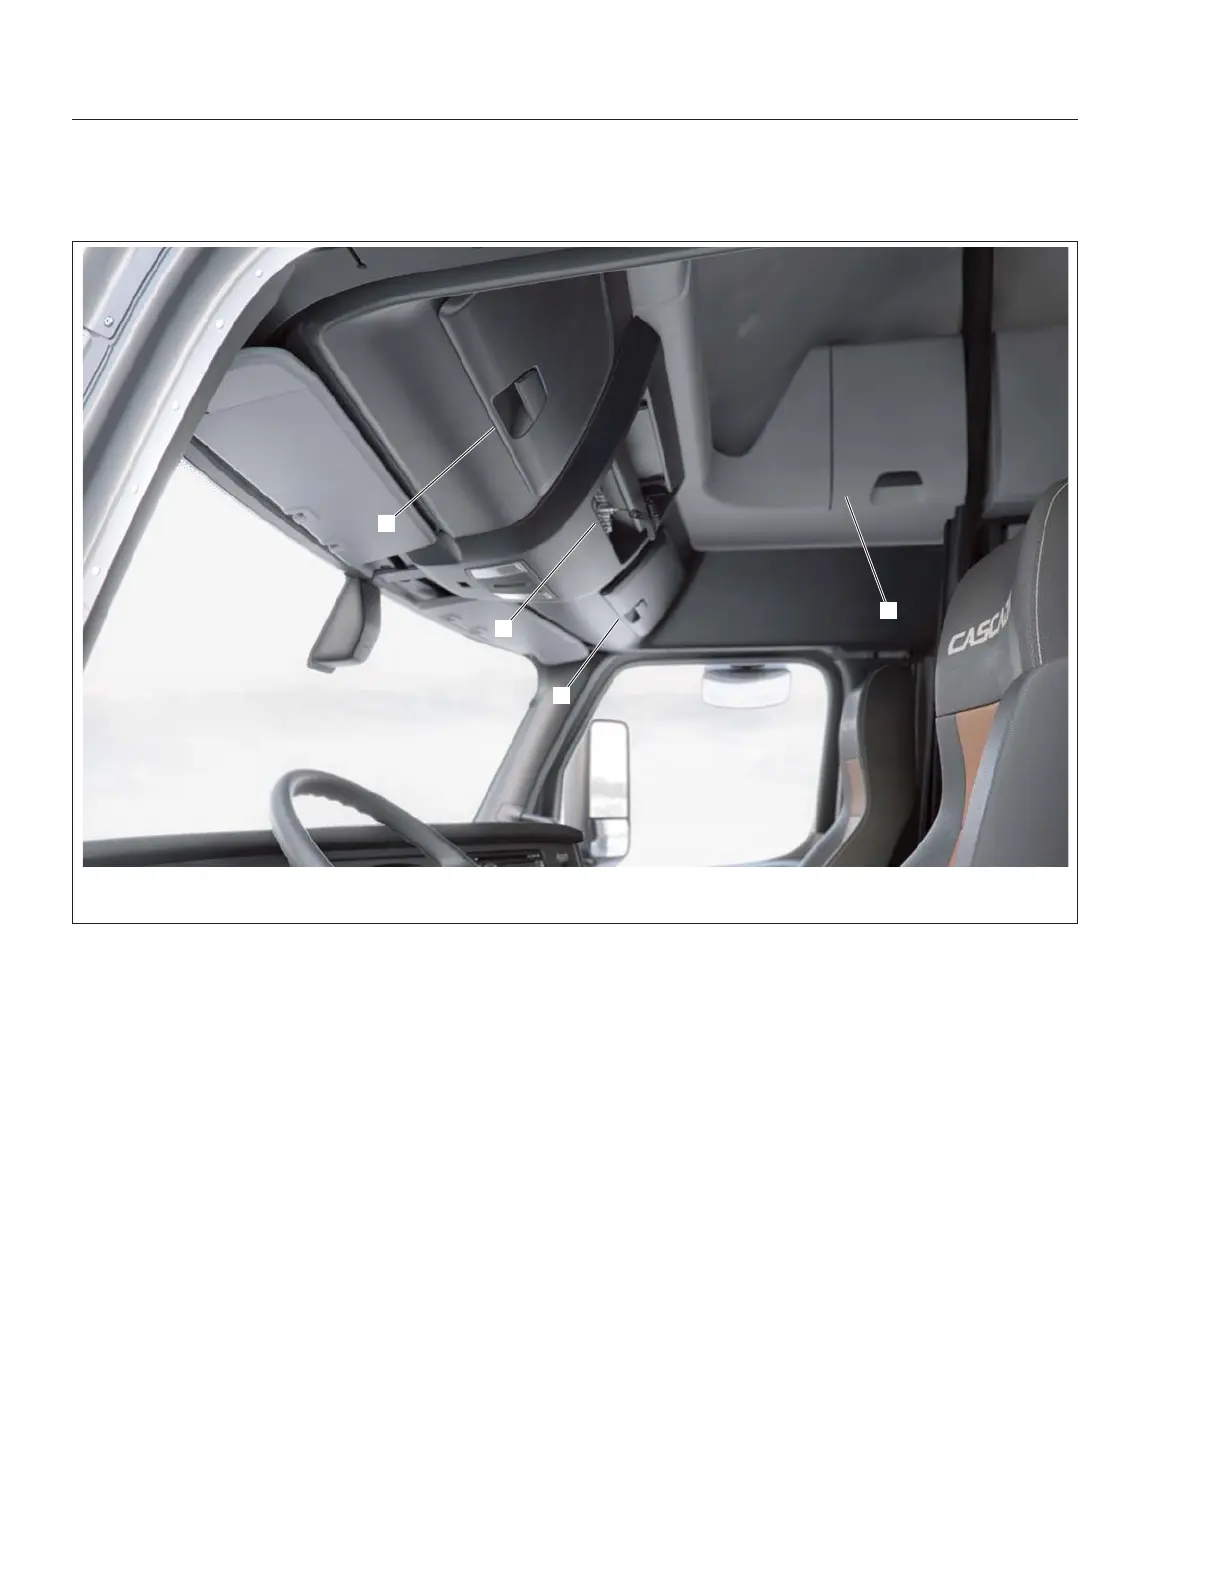
1
2
1
1
1. Storage Compartment 2. CB Compartment
Fig. 10.3, Overhead Console
Cab and Sleeper Features
10.3