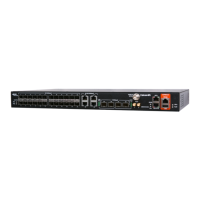
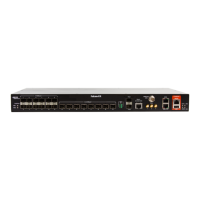
Falcon M-Class | User Guide
124
The EVCs and ECEs are used to setup flows in one or both directions as
determined by the ECE Direction parameter. If the ECE is bidirectional, the
ingress rules of the NNI ports will be setup to match the traffic being
forwarded to NNI ports. Possible values are:
Both: Bidirectional.
UNI-to-NNI: Unidirectional from UNI to NNI.
NNI-to-UNI: Unidirectional from NNI to UNI.
The EVC ID for the ECE. The ECE is only active when mapping to an existing
EVC. Possible values are:
Specific: The range is from 1 through 128.
None: The ECE does not map to an EVC.
The ingress tag pop count for the ECE. The possible range is from 0 through
2.
The ACL Policy ID for the ECE. The range is from 0 through 255.
ACL is an acronym for Access Control List. It is the list table of ACEs,
containing access control entries that specify individual users or groups
permitted or denied to specific traffic objects, such as a process or a
program.
The traffic class for the ECE. The range is from 0 through 7
The outer tag for nni-to-uni direction for the ECE. The possible values are:
Enable: Enable outer tag for nni-to-uni direction for the ECE.
Disable: Disable outer tag for nni-to-uni direction for the ECE.
Outer Tag PCP/DEI
Preservation
The outer tag PCP and DEI preservation for the ECE. The possible values are:
Preserved: The outer tag PCP and DEI are preserved.
Disable: The outer tag PCP and DEI are fixed.
The outer tag PCP value for the ECE. The possible range is from 0 through 7.
The outer tag DEI value for the ECE. The possible value is 0 or 1.
Indicates the hardware status of the specific ECE. The specific ECE is not
applied to the hardware due to hardware limitations.
You can modify each ECE (EVC Control Entry) in the table using the following
buttons:
: Inserts a new ECE before the current row.
Refresh:
Click to refresh the displayed table starting from the “Start from the MAC
address” and “VLAN” input fields.
Auto-refresh : Check this box to refresh the page automatically.
Automatic refresh occurs every 3 seconds.
Remove All: Click to remove all ECEs.
Note: by clicking on the right lowest + sign, in the above ECE Control List Configuration
display you get the following ECE Configuration display.
See next section
 Loading...