182 Scanning
Scanning to a Computer
This section includes:
• "Scanning From the Operator Panel - Scan to Application" on page 182
• "Scanning From the Operator Panel - WSD Scan" on page 183
• "Scanning Using the TWAIN Driver" on page 184
• "Scanning Using the WIA Driver" on page 185
Scanning From the Operator Panel - Scan to Application
The following procedure uses Windows 7 as an example.
NOTE:
• This feature cannot be used when the printer is connected to a network.
• Ensure that the printer is connected to the computer via the USB cable.
• This feature is supported on both Windows and Mac OS X.
1 Load the document(s) face up with top edge in first into the duplex automatic document feeder (DADF).
OR
Place a single document face down on the document glass, and close the document cover.
See also:
• "Making Copies From the DADF" on page 169
• "Making Copies From the Document Glass" on page 167
2 Press the (Scan) button.
3 Select Scan to Computer (USB), and then press the button.
4 Configure the scanning settings as necessary.
5 Press the (Start) button.
The selected application window opens on your computer.
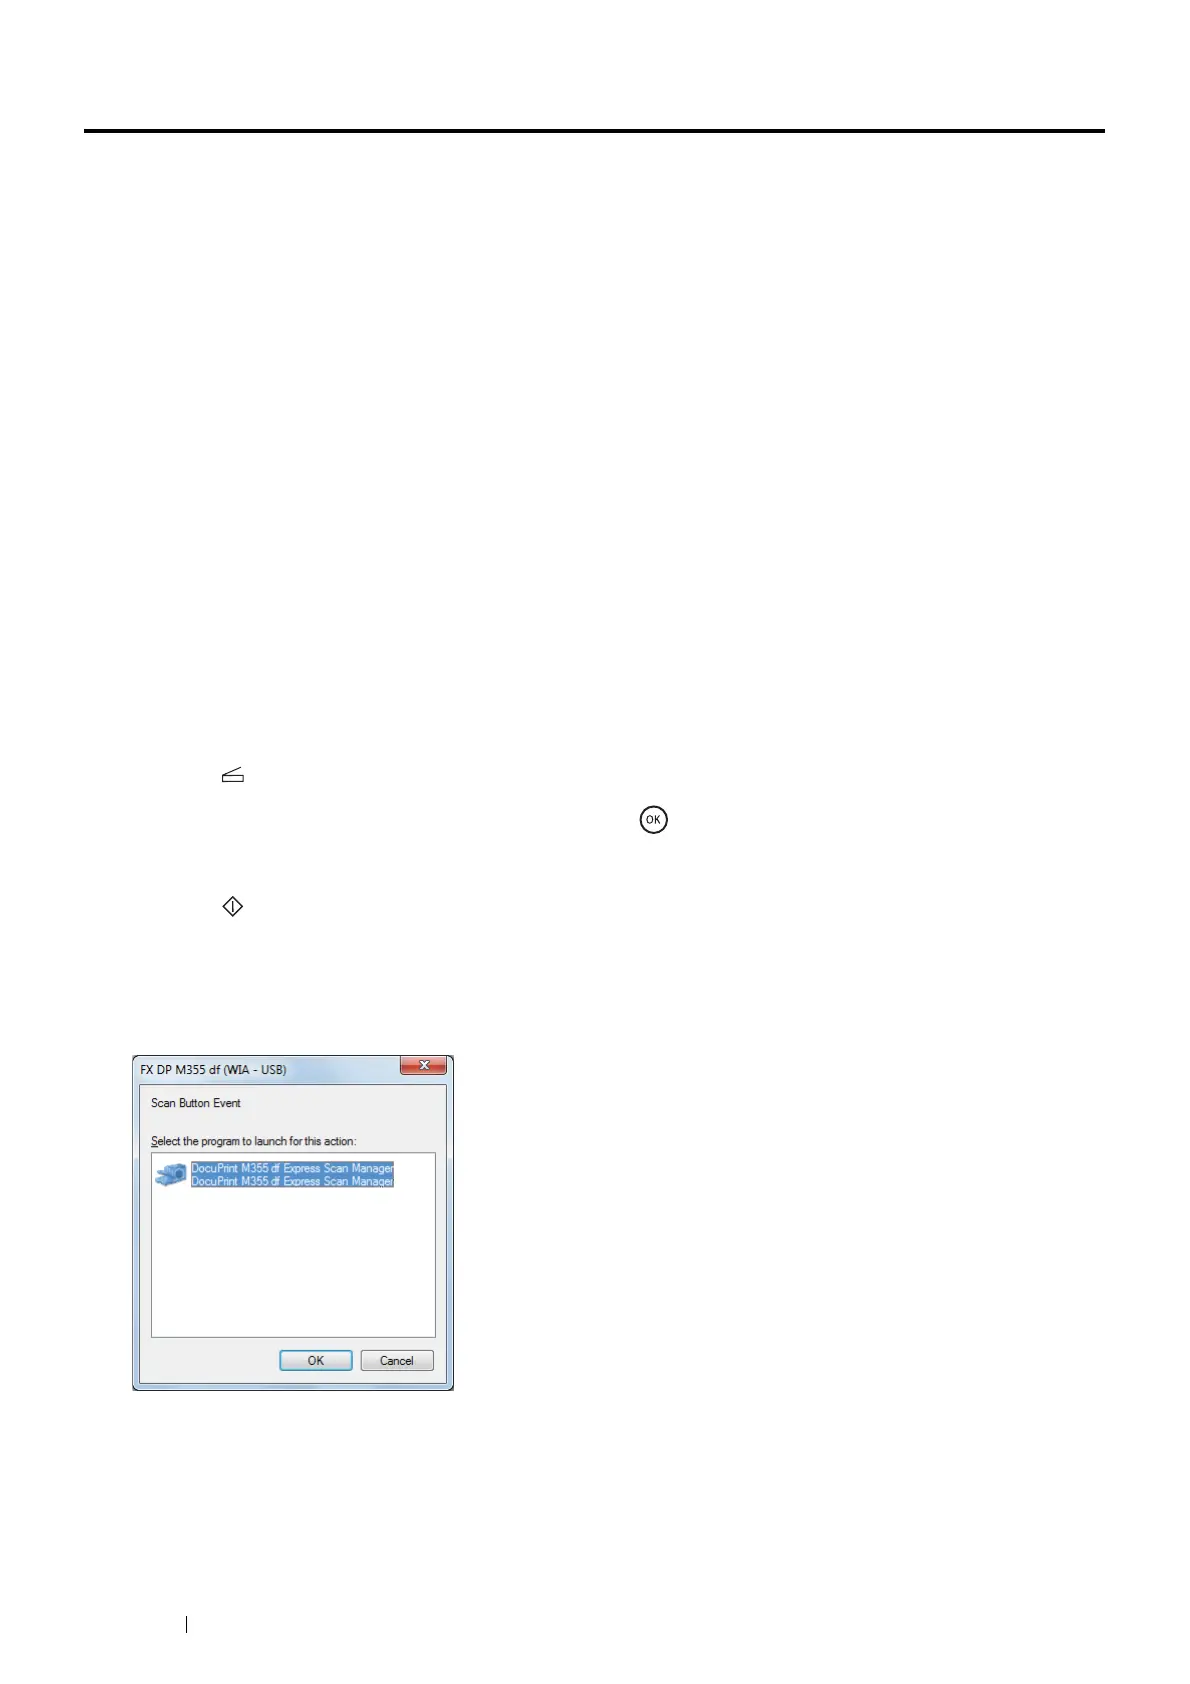
NOTE:
• If the following dialog box appears on your computer, select DocuPrint M355 df Express Scan Manager, and then click
OK.
NOTE:
• Once you select the Always use this program for this action check box when selecting DocuPrint M355 df Express Scan
Manager, the selected application is automatically used without displaying the program selection window.
• You must use Express Scan Manager on your computer to change the settings for scanning. For details, see "Express Scan
Manager" on page 72.
• For Mac OS X, the dialog box for selecting a program is not displayed.

 Loading...


