Cockpit Reference Guide for the Cirrus SR2x with Perspective Touch+ by Garmin
190-02954-01 Rev. A 67
Flight Management
Flight
Instruments EIS
Nav/Com/
XPDR/Audio
Flight
Management
Hazard
Avoidance AFCS
Additional
Features Annun/Alerts Appendix Index
Flight
Instruments EAS
Audio and
CNS
Flight
Management
Hazard
Avoidance AFCS
Additional
Features
Abnormal
Operation Annun/Alerts Appendix Index
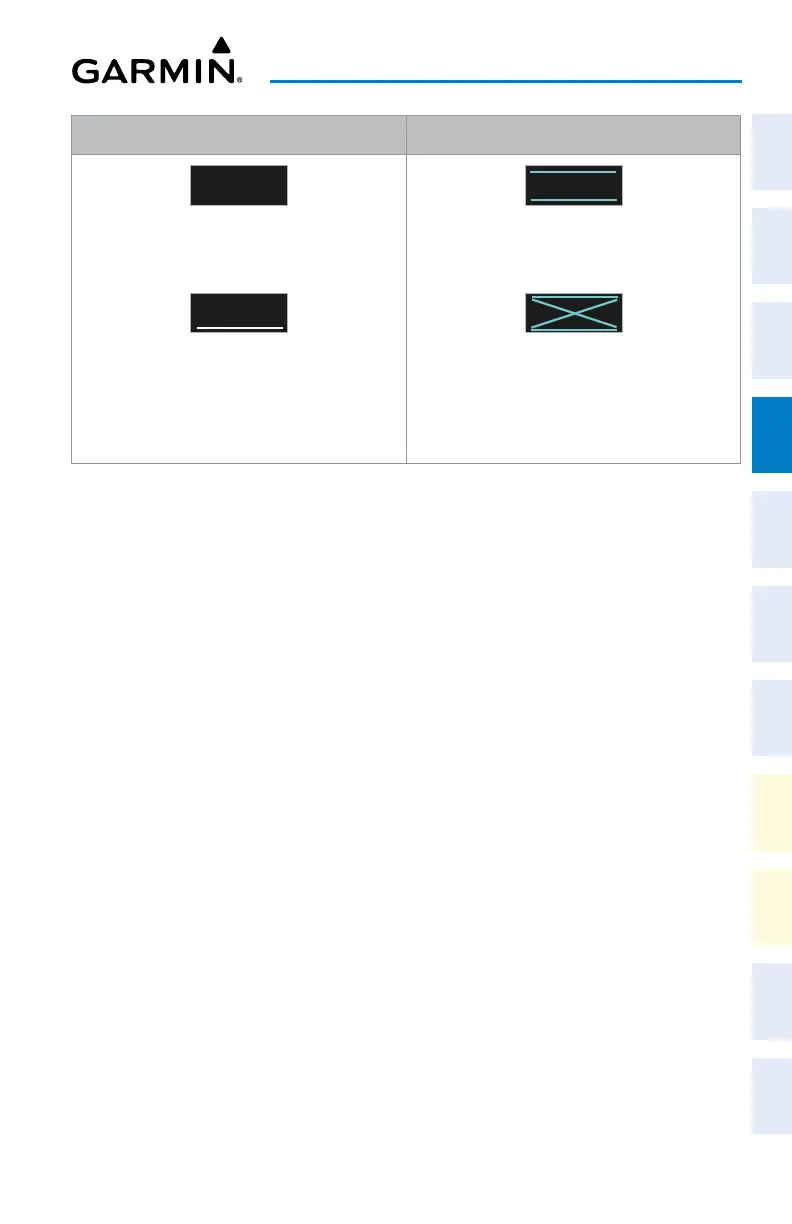
White Text Cyan Text
5
OOO
FT
Advisory altitudes calculated by the system
estimating the altitude of the aircraft as it passes
the navigation point.
5
OOO
FT
Altitude retrieved from the navigation database.
White line above and/or below indicates the type
of constraint, as shown in the preceding figure.
These altitudes are provided as a reference, and
are not designated for vertical guidance.
5
OOO
FT
Altitude is designated for use in determining
vertical guidance. A pencil icon indicates manual
designation or manual data entry.
5
OOO
FT
The system cannot use this altitude in determining
vertical guidance because of an invalid constraint
condition.
Altitude Constraint Color Coding
Entering or modifying an altitude constraint:
1) For the active flight plan: From MFW Home, touch Flight Plan.
Or:
For the standby flight plan: From MFW Home, touch Flight Plan > Standby Flight Plan.
Or:
For the stored flight plan:
a) From MFW Home, touch Flight Plan > Flight Plan Options > Flight Plan Catalog
to display the 'Flight Plan Catalog' Screen.
b) Scroll the list if needed and touch a stored flight plan button to display the 'Catalog
Options' Window.
c) Touch the Edit Button to display the 'Edit Stored Flight Plan' Screen.
2) Scroll the list, if necessary, and touch the desired VNAV ALT Button. If the desired altitude
is already displayed, skip to Step 7 to designate the altitude constraint for vertical
guidance.
3) If the 'Enter Altitude' Window is not automatically displayed, touch the VNAV Constraint
Button to display it. Then, use the keypad to input the altitude.
4) If necessary, touch the Flight Level Button or the MSL Button to select the altitude
mode.
5) Touch the Enter Button to accept the altitude entry and return to the 'VNAV Constraint'
Window.
6) If necessary, touch the Type Button, then touch the At, At or Above, At or Below or
Between Button. If the Between Button is selected, use the keypad and touch the
Enter Button to enter the ceiling and floor altitudes.