Installation
3-61
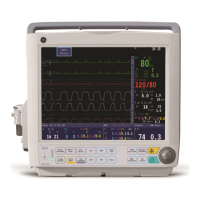
1. Turn skin spacer 180°.
2. Insert skin spacer into collimator
top cover as right pictrue.
3. Then clockwise turn the skin
spacer to lock it onto collimator
top cover.
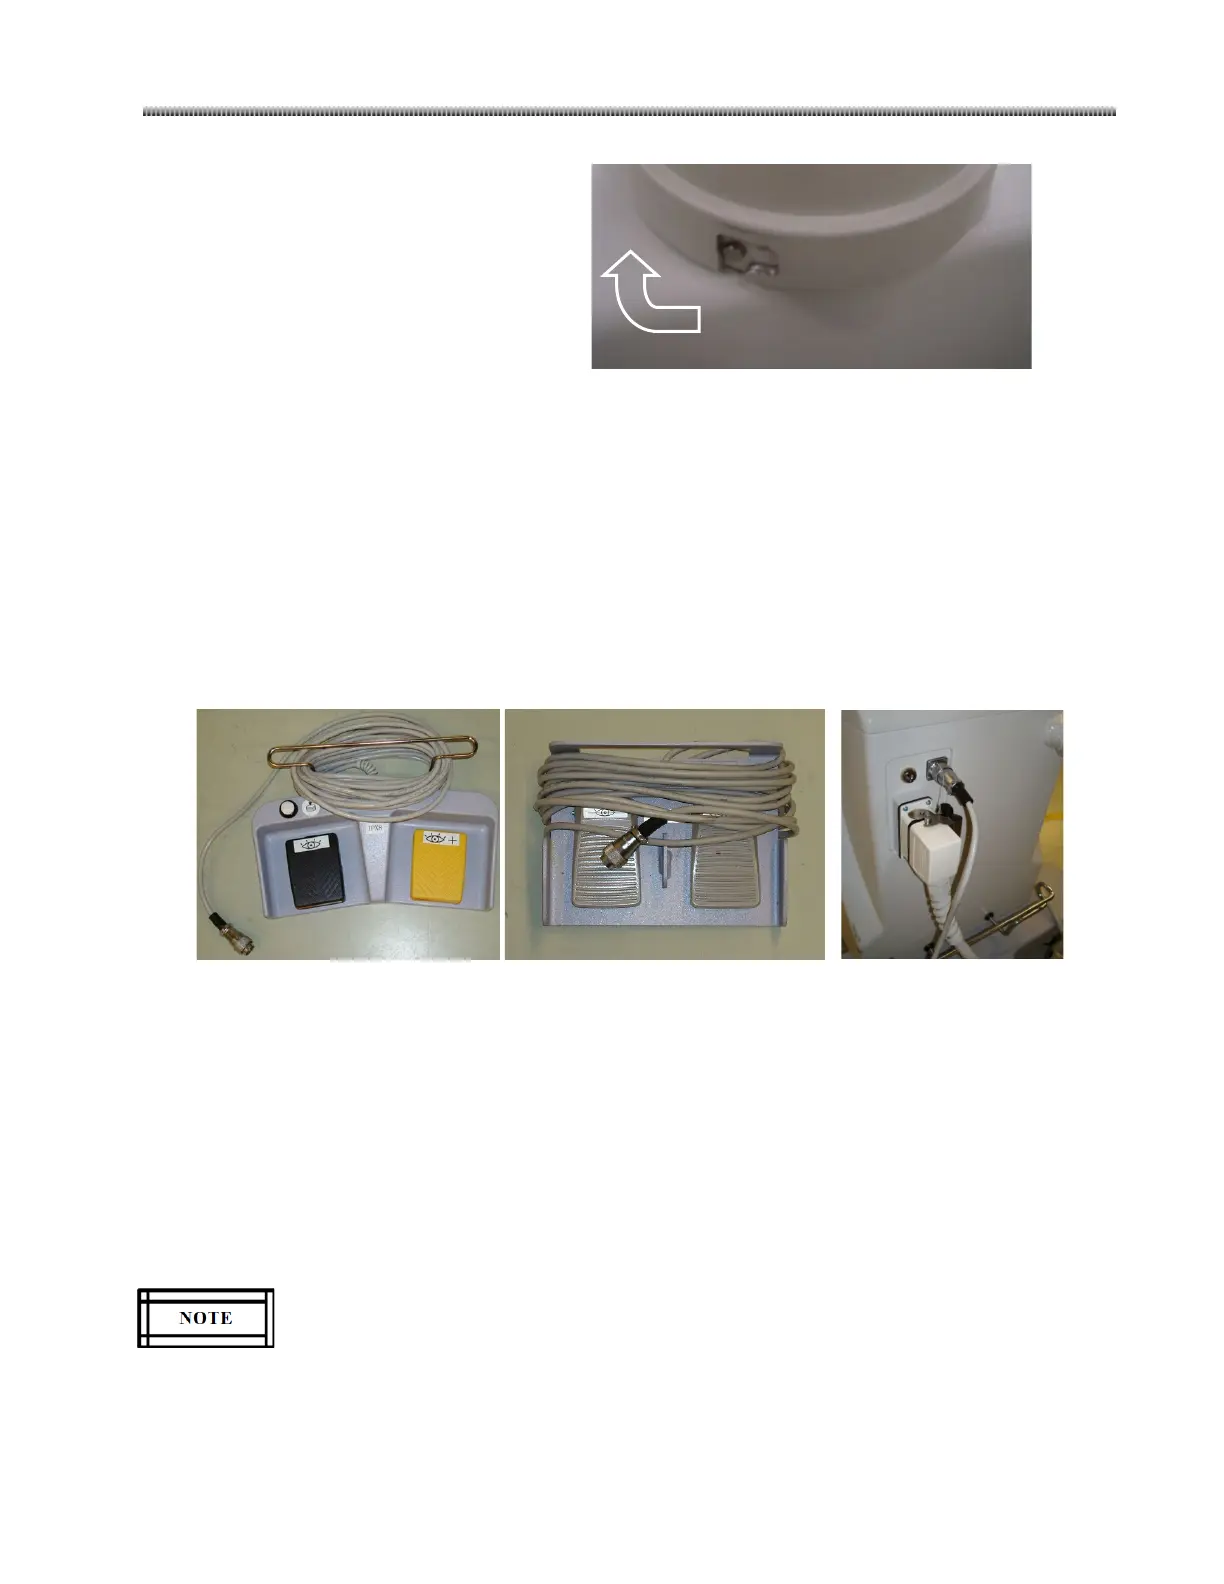
3.7.7. Pedal Switch
Brivo OEC 715/785/865 Mobile C-Arm X-ray Product provides 4 pedal switches as option.
Dual pedal switch with save button and 10m cable
Dual pedal switch with save button and 5m cable
Dual pedal switch with 8m cable
Dual pedal switch with 5m cable
Plug the cable of two-pedal footswitch to the socket on the right side of the C-Arm interface panel. Verify
that the connector locks in place.
Functional check: Power on the system. Press the left switch to start Fluoroscopy in the mode selected.
Press right switch to start High Level Fluoroscopy. Press image save Button can save an image displayed
on the left monitor.
3.7.8. Removable Filter and Sensor Installation
Install the sensor
1. Remove the collimator cover.
2. Assemble each sersor into collimator cover by two secure screws and route the cable.
Pay attention to the direction of sensor, wrong sensor direction will lead to sensor can’t
detecte filter.
3. Connect the connetctor of sensor to J10/J11 which are from bundle cable .
4. Install the collimator cover.

 Loading...