Replacement
7-47
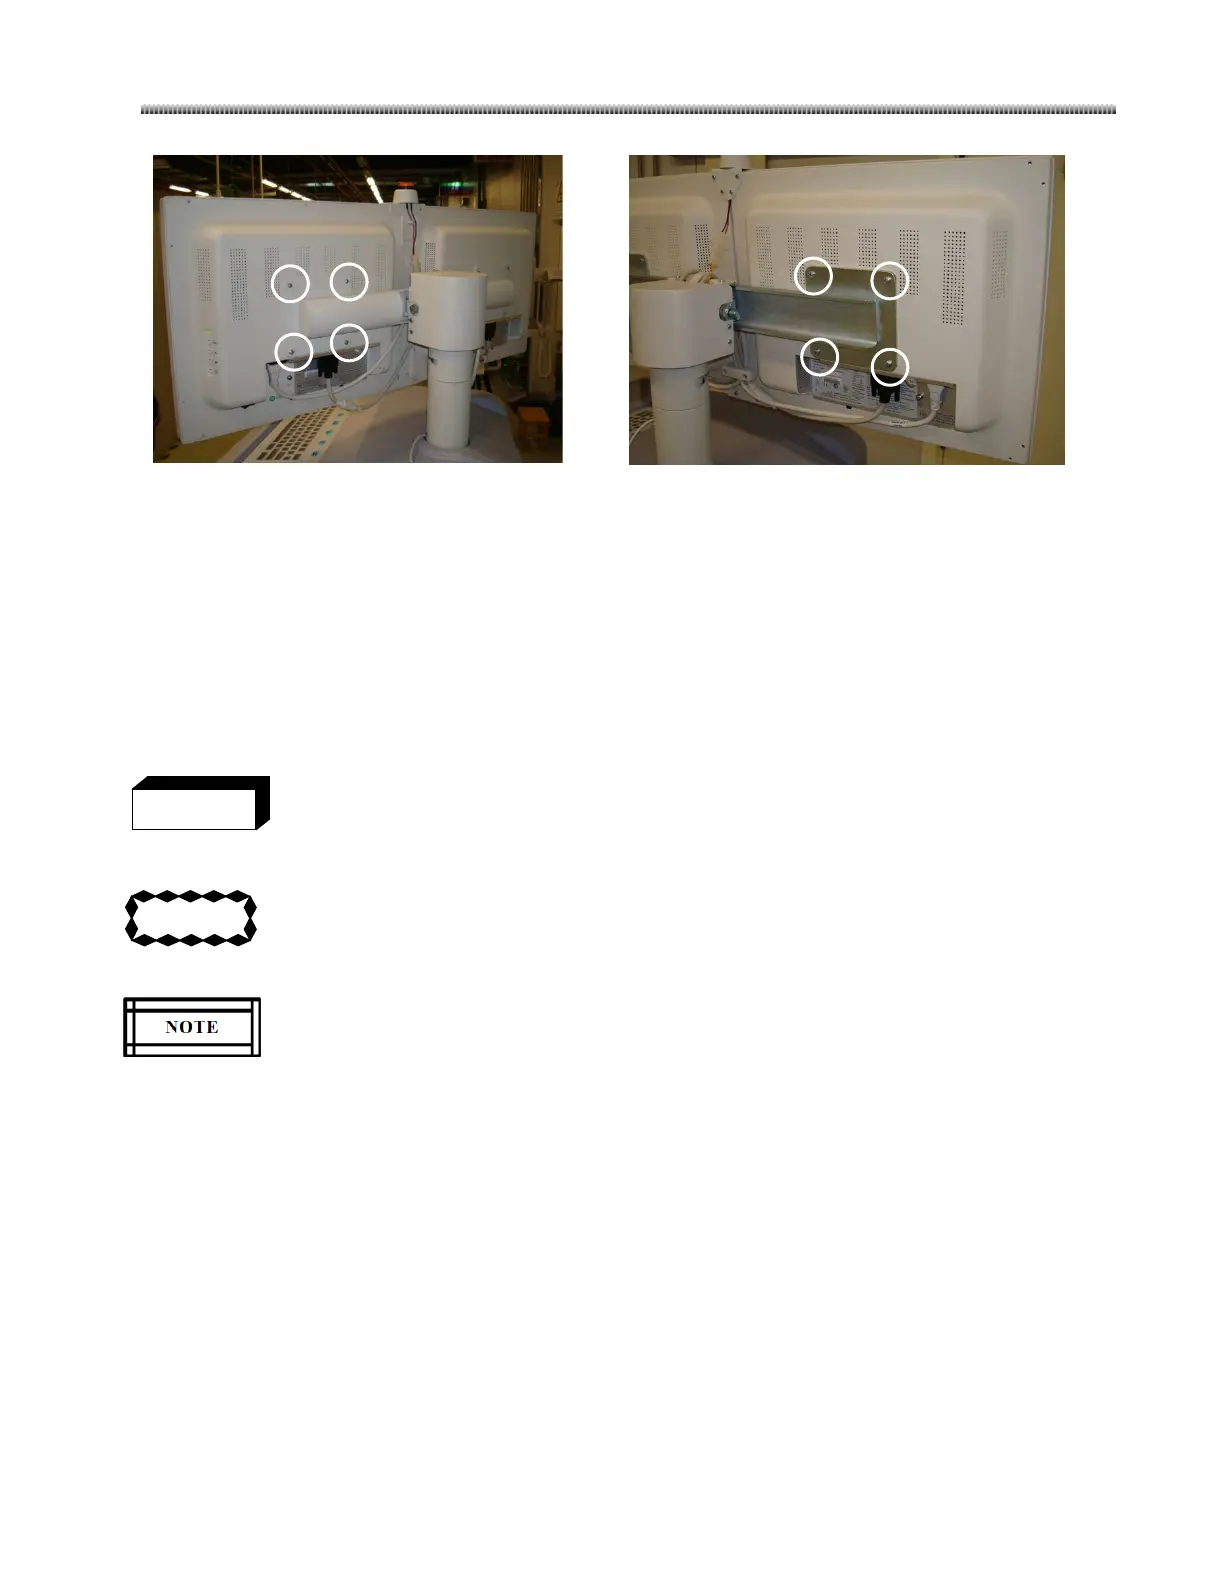
Brivo OEC715/785
Brivo OEC865
6.
Install the new monitor and reset all parts and cables. Make sure the binding is still used after the
monitor replacement.
7. Power on the system. The left monitor of Workstation will display GE logo screen. The right monitor
will enter into the PATIENT INFORMATION Screen automatically. Perform the brightness and contrast
adjustment in section 4.8 if necessary.
7.3.13. CCD Camera
Dangerous voltage levels are present when covers are removed from the C-Arm.
To prevent ESD damage to the old and new CCD Camera, make sure that you are grounded
with a properly functioning write strap before handling any ESD sensitive electronic
components.
Camera type will be detected during software being installed, and then software will install
corresponding camera driver based on the detection. So from WKS software Ver 1.0,
connect mainframe to WKS to insure the Camera type can be detected during the software
installation process.
1. Power off the system and position the C-Arm for easy access.
2. Remove the Image intensifier up cover.
3. Release the plug secure screws and unplug Camera cables.
4. Remove the upper counter balance.
5. Remove 3 camera secure screws and the old camera from the Image intensifier. Pay attention to
original mounting direction.

 Loading...