Installation
3-45
2. Place X-ray Keyswitch in XRAYOFF position ( ). Press Handswitch and verify that no X-rays
are generated. Press vertical lift button and verify the vertical lift column is operational.
3. Place X-ray Keyswitch in ON position ( ). Press Handswitch, footswitch and vertical lift button
to verify X-ray and vertical lift column are enable.
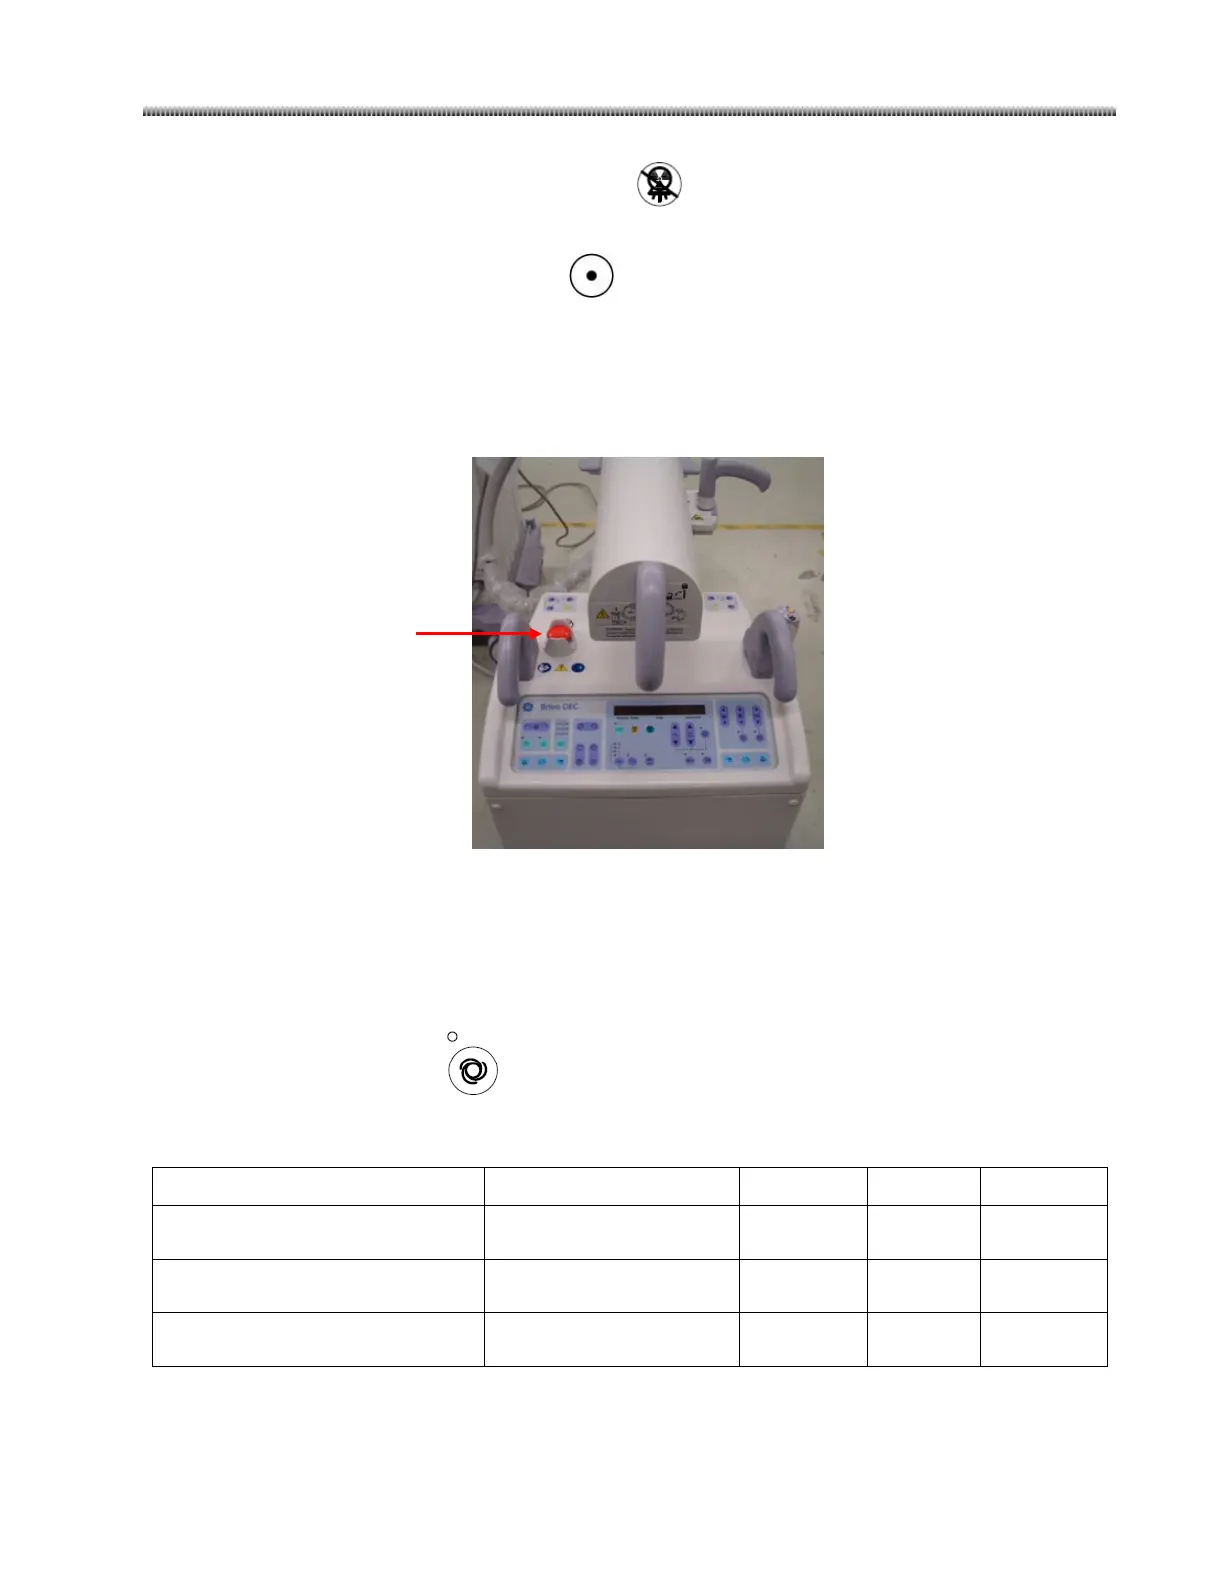
Emergency Switch
Perform the following test to verify the emergency switch.
1. Press the emergency switch during raising C-Arm.
2. Verify that vertical column operation and exposure are disabled.
3. Release the emergency switch. Verify that the vertical column operation and exposure are
available.
3.6.3. Auto Technique Tracking
Select Auto Fluoroscopy mode ( ), and the NORM field size to take an exposure. Put the copper
filter on the Monoblock head. Verify that the kVp changes accurately as copper filters are inserted into
the field in the following ranges:
Brivo OEC 715/785
(I.I PN: 5075001):
kVp range 64±4kVp 74±4kVp 82±4kVp
(I.I PN: 5085917):
kVp range
62±4kVp 72±4kVp 80±4kVp
Brivo OEC 865 (I.I PN: 5075008):
kVp range
62±4kVp 72±4kVp 80±4kVp
If the kVp is not in the range, refer to 4.6.7 for calibration.

 Loading...