Brivo OEC 715/785/865 Mobile C-Arm X-Ray Product Service Manual
4-46
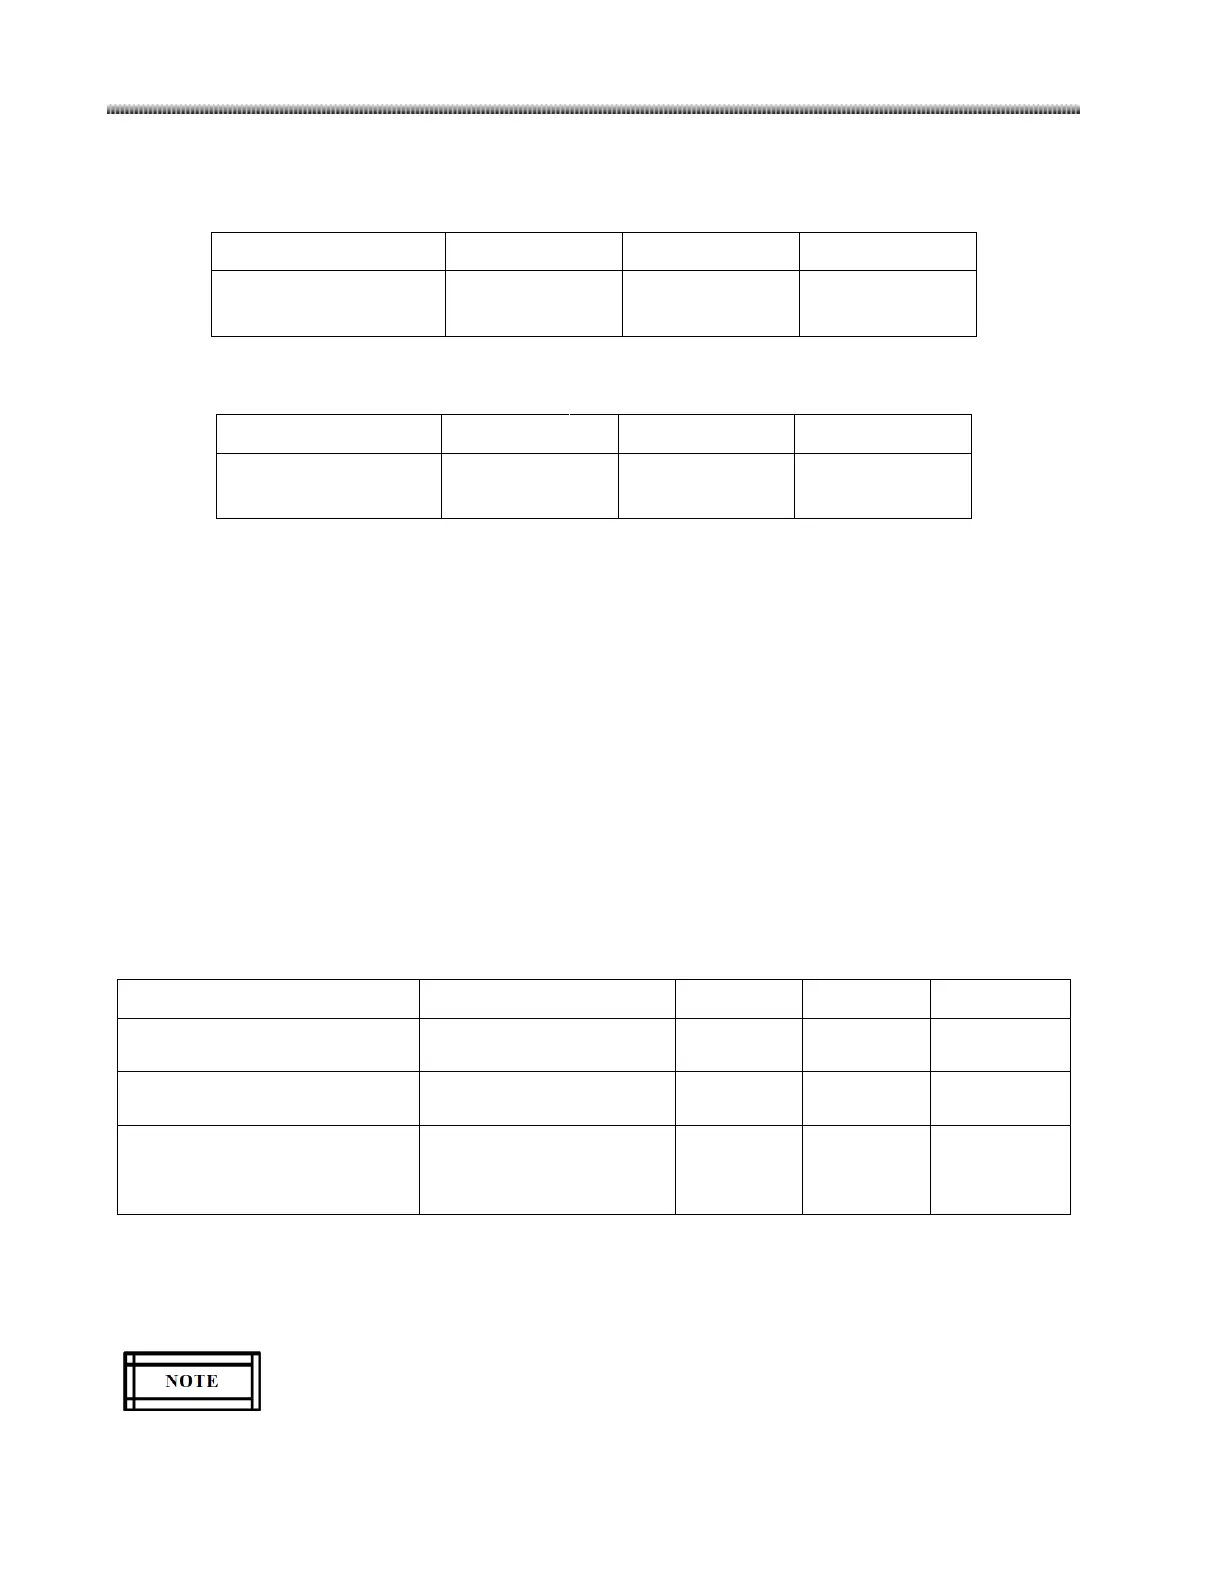
9. Calculate the diameter difference between film and display monitor at each 45° and 135° angle.
10. The difference should be within the range of the values below.
at 45
and 135
angle
≤ 10 mm ≤ 10 mm ≤ 10 mm
11. Calculate the sum of diameter difference at 45° and 135° angle.
12. The difference should be within the range of the values below.
difference
≤ 16 mm ≤ 16 mm ≤ 16 mm
13. Repeat step 6 to step 12 for MAG1 and MAG2 field size.
14. If the requirements are not met, you must perform Limiting Field Size (Collimator Iris Field Size)
Calibration.
15. Refer to “Collimator Calibration Procedure” to do collimator calibration.
4.6.7. ABS Tracking Check and Adjustment
ABS Tracking Check
1. Make sure that X-ray tube cover is installed.
2. Position the C-arm with I.I. above the X-ray tube.
3. Select Auto Fluoroscopy mode, and the NORM field size to take an exposure. Put the 1mm, 2mm,
and 3mm copper filter on the tube head.
4. Verify that the kVp stabilizes in the specified range below for each copper filter thickness:
Brivo OEC 715/785
(I.I PN: 5075001):
kVp range 64±4kVp 74±4kVp 82±4kVp
Brivo OEC 715/785/865
(I.I PN: 5085917):
kVp range 62±4kVp 72±4kVp 80±4kVp
Brivo OEC 865
(I.I PN: 5075008):
kVp range 62±4kVp 72±4kVp 80±4kVp
5. If the ABS Tracking check fails, perform KVp accuracy check. If KVp accuracy check pass, perform
Entrance Dose Rate Check and Camera Iris Adjustment as below.
Entrance Dose Rate Check and Camera Iris Adjustment
Camera Iris adjustment is done in the factory. Adjust with much care only if necessary.

 Loading...