2 Unit installation
RPC - Ceiling
SMGB0099 rev.0 - 12/2016
43
2
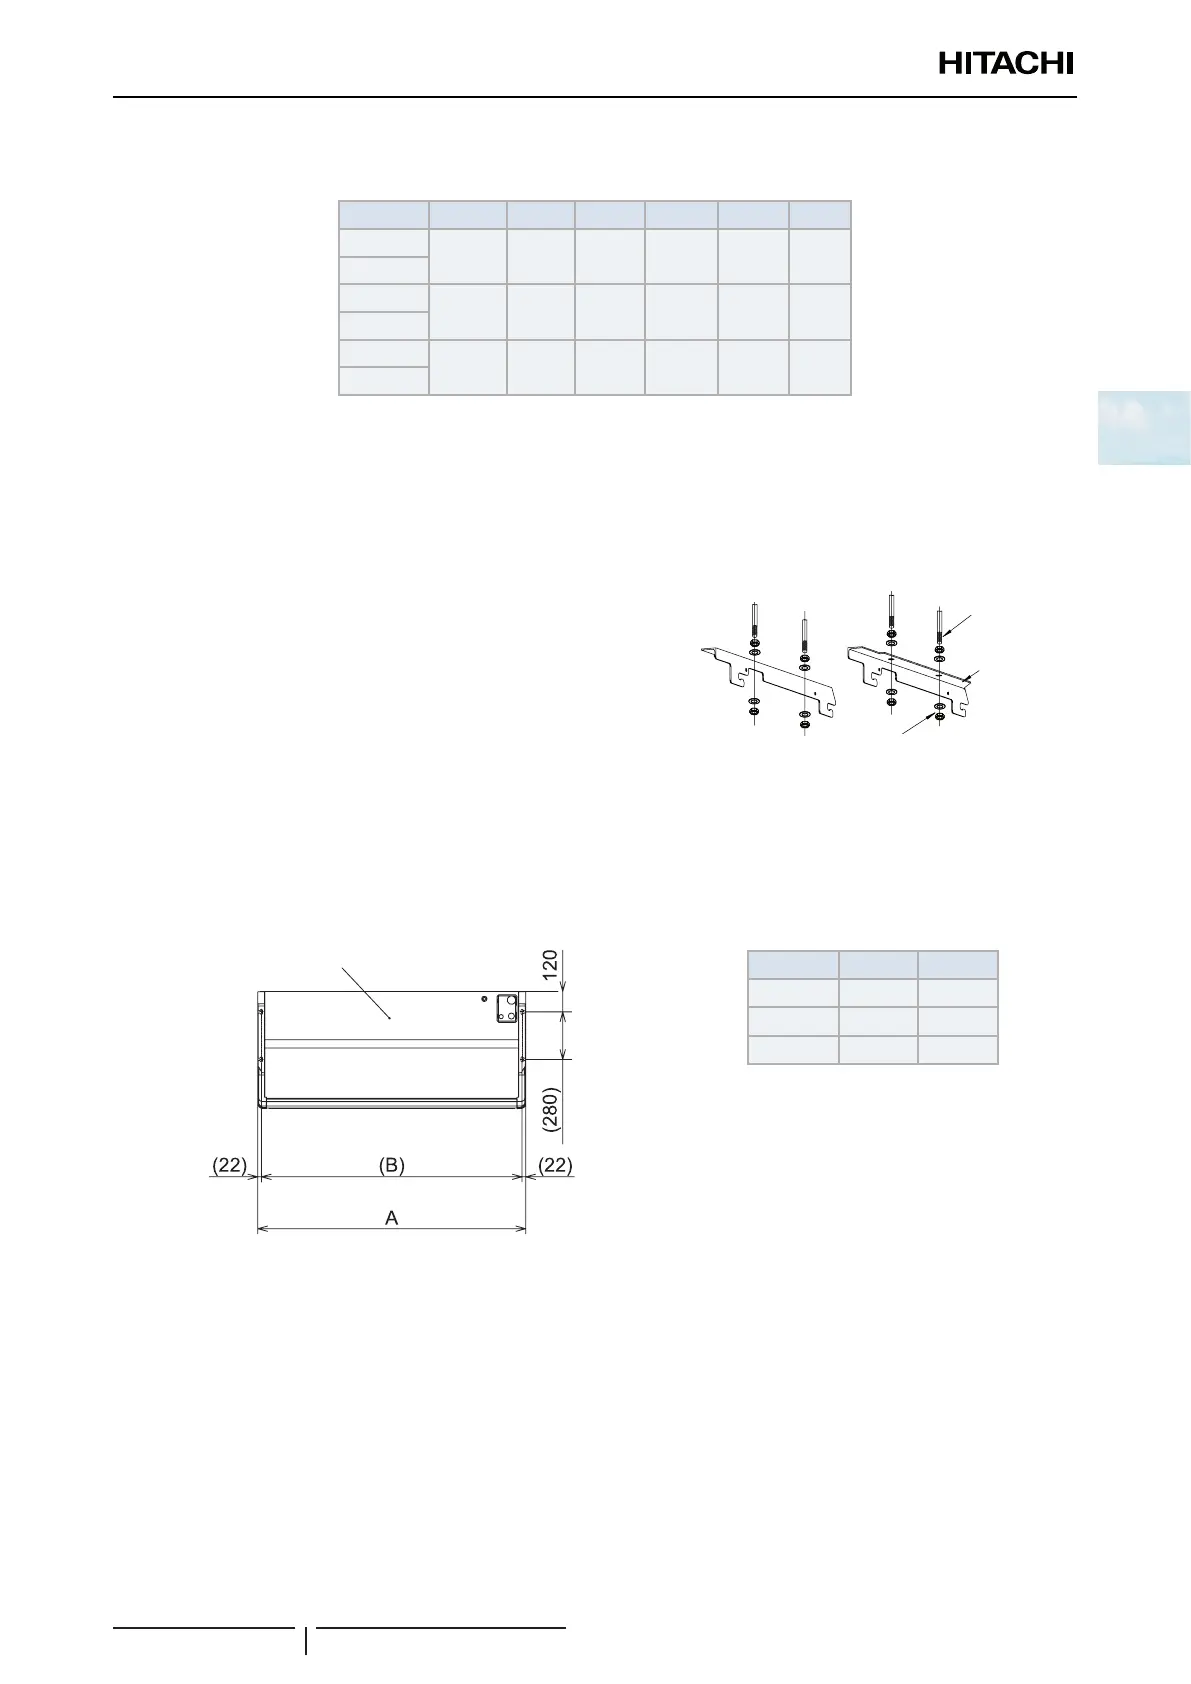
The suspension bracket can be hung in two positions:
Unit: mm
Model A B C D E F
RPC-2.0
1314 1140 1230 150 220 255
RPC-2.5
RPC-3.0
1314 1140 1230 110 280 235
RPC-4.0
RPC-5.0
1574 1400 1490 110 280 235
RPC-6.0
Select the suspension bracket system in line with installation requirements.
? NOTE
Installation position (a) is recommended for a partially hidden installation.
1 Fit the suspension brackets on the sling bolts or the anchor bolts
and securing using the nuts and washers supplied.
2 Apply a thread-locking product to the bolts and nuts to prevent
them from loosening. Otherwise, abnormal noise may be caused
by mechanical vibrations and the indoor unit may become loose.
Indoor unit
rear side
Indoor unit
front side
Nuts and washers
(eld supplied)
Suspension
bracket
Sling bolt (m10)
(eld supplied)
2.4.4 Suspension for FSN3 units
1 Determine the nal location and installation direction of indoor unit with care to the space for piping and wiring.
2 After the position of indoor unit is determined, make holes in the ceiling to install the suspension bolts.
The position of suspension bolts is shown below.
Upper surface
(): Dimension for suspension bolt
HP A B
(1.5-2) 960 916
(2.5-3) 1270 1226
(4-6) 1580 1536
3 Ceiling Work: It is different depending on the building structure. Consult with an architect or an interior nish worker
for more information. Do not install electric light units and the indoor unit to the same furring for ceiling. If installed,
electric lights may icker or vibrate by the indoor unit operation. When installing the indoor unit and electric lights, a
furring for ceiling must be separated for each.

 Loading...


