2 Unit installation
RPC - Ceiling
SMGB0099 rev.0 - 12/2016
45
2
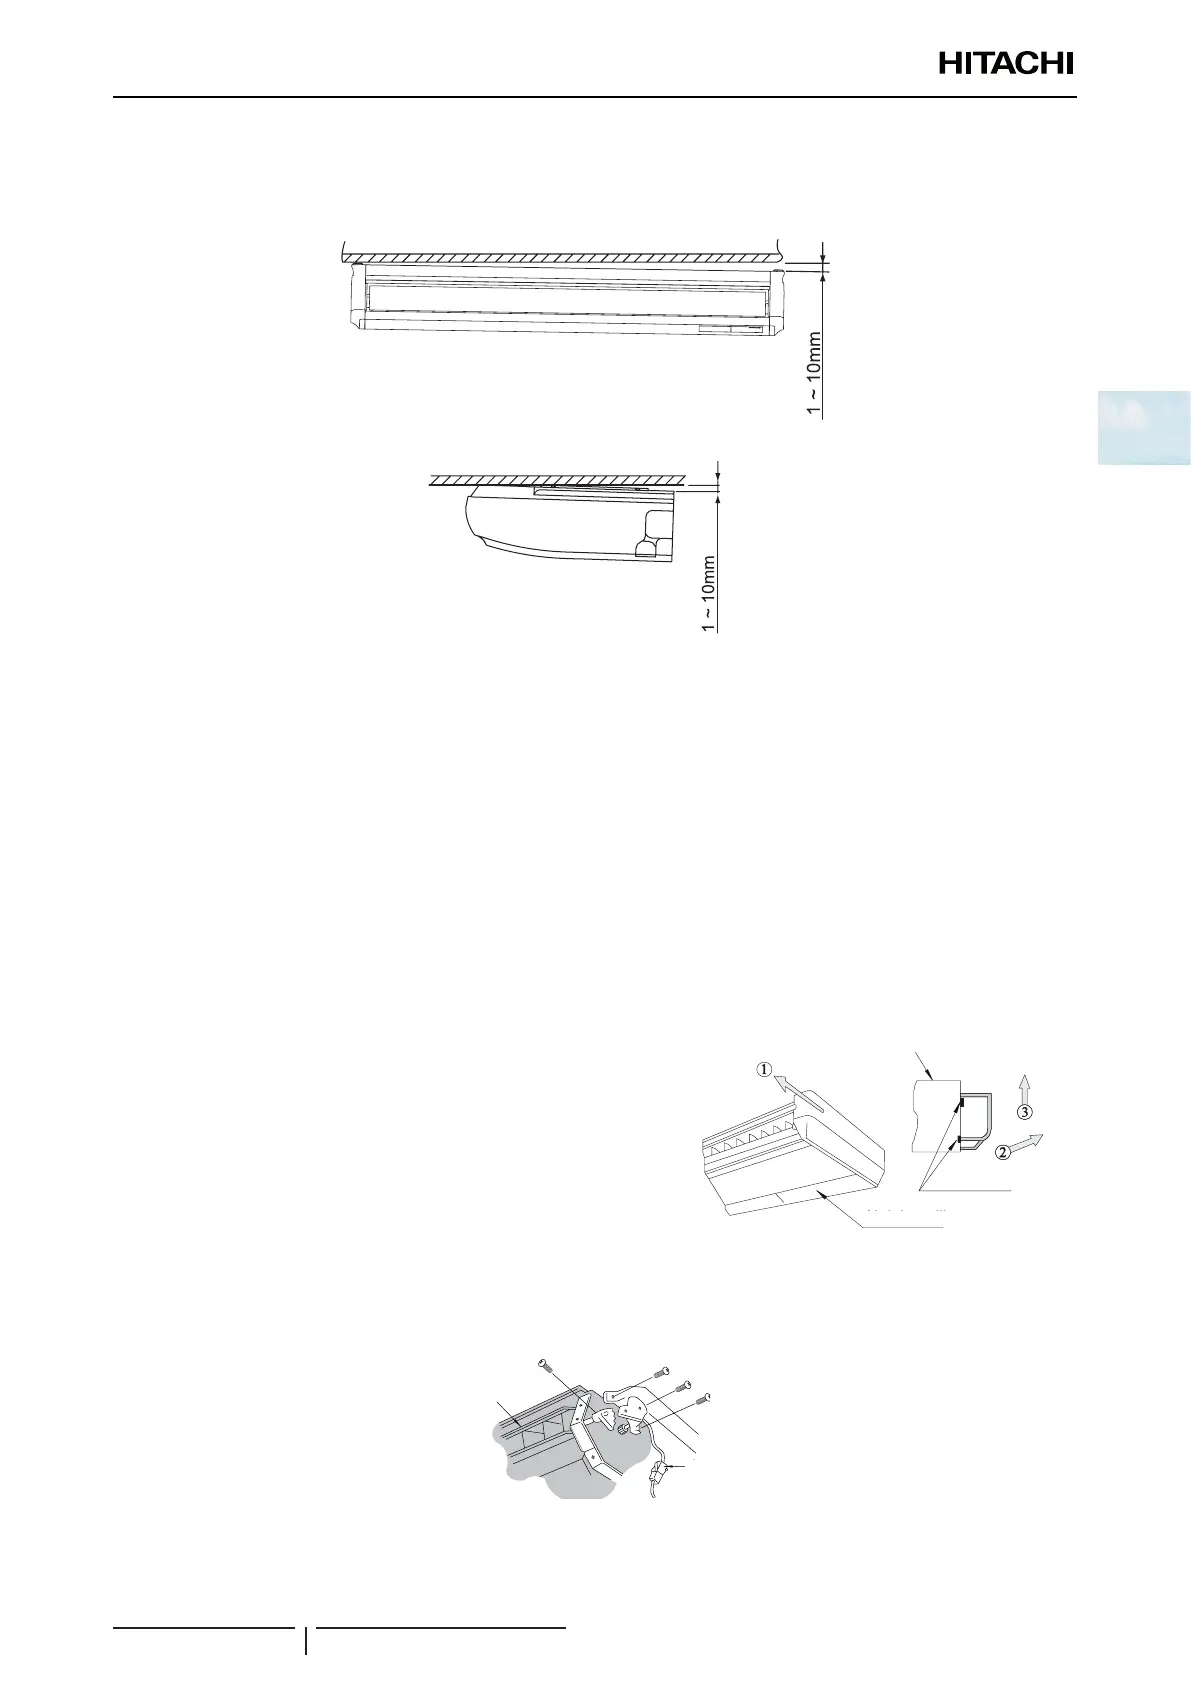
8 When the indoor unit is mounted, create down-slope toward drain pipe connection to be well drainage. The gure
shows the right drain pipe connection. (Before shipment) For the left drain pipe connection, create down-slope toward
left.
(Drain pipe connection)
from horizontal
View from front
View from right
from horizontal
Lower the indoor unit 10mm
when the optional drain-up
mechanism is installed.
? NOTE
The ceiling surface may not be horizontal. When the indoor unit is mounted, check the levelness by a level to be the drain pipe
connection down-slope. If the indoor unit is mounted with incorrect suspending position, it may deform and the abnormal vibration
may occur.
9 Attach the side cover and the supporting string.
10 Remove the protection lm attached to the louver surface.
11 Remove the protection tape attached to the air inlet lter.
2.4.5 Indoor unit installation
! CAUTION
To avoid damage to the resin side covers, remove them before lifting or moving the indoor unit.
Thread the nuts and t the washers on all the bolts.
Fit the securing bolts onto the nut and washer of each bolt, starting
on one side.
Check that the nuts and washers are correctly secured with the
suspension bracket retainers and t the brackets onto their nuts and
washers on the other side.
Bear in mind the position of the side for pipe connection before lifting
the indoor unit.
Air inlet grille
Hooking part
Top side of unit
Hooking part
Air inlet grille
! CAUTION
Do not move the air louver by hand. The drive mechanism may be damaged.
M4 screw
Do not push
this louver
Fixing screw
Connector

 Loading...


