ACUIX™ PTZ High Speed Analog Dome Installation and Configuration Guide
Document 800-05662 Rev C 17
06/10
1
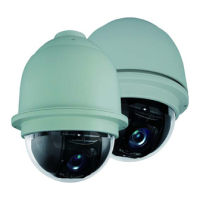
Introduction to the ACUIX PTZ Dome
In this section:
• About Using This Guide, page 17
• About the ACUIX Analog PTZ Dome, page 18
• ACUIX Hardware Terminology, page 19
• Configuration Options, page 20
• ACUIX Feature Descriptions, page 21
• Camera Model Dependent Features: EIS, TDN and WDR, page 24
About Using This Guide
Installation and Configuration Overview
A complete ACUIX™ system installation is a multi-step process and depends on individual
hardware configurations.
A typical installation has these steps:
1. Set the switches on the housing interface board.
2. Set the switches on the scan assembly circuit board.
3. Install the mount, adapter and/or bracket.
4. Install the housing.
5. Connect the wiring to the housing interface board.
6. Install the scan assembly.
7. Install the lower dome.
8. Configure the dome. If applicable, continue setting up and configuring other custom
settings including privacy zones and preset tours. If required or applicable, proceed
to user configurations based on other hardware, for example, a DVR.
 Loading...