54
Installation
4. Place the supplied gasket between the hole in the housing and the conduit fitting to
prevent leakage. Tighten the conduit nut to ensure it is water tight.
5. Secure the housing to the mounting bracket, previously installed to a ceiling
support structure or wall support structure using the appropriate hardware for the
mounting surface.
Note The mounting bracket can be at any angle from 0° to 90° with respect to the
housing. The housing must be positioned horizontally and parallel to the
floor.
6. To change the orientation of the bracket:
a. Loosen and remove the two bolts that secure the bracket to the housing.
b. Slide the bracket along the slot to remove it from the housing.
Step 5: Connect the Field and Terminal Block Wiring
Terminal Block and PIN Connections
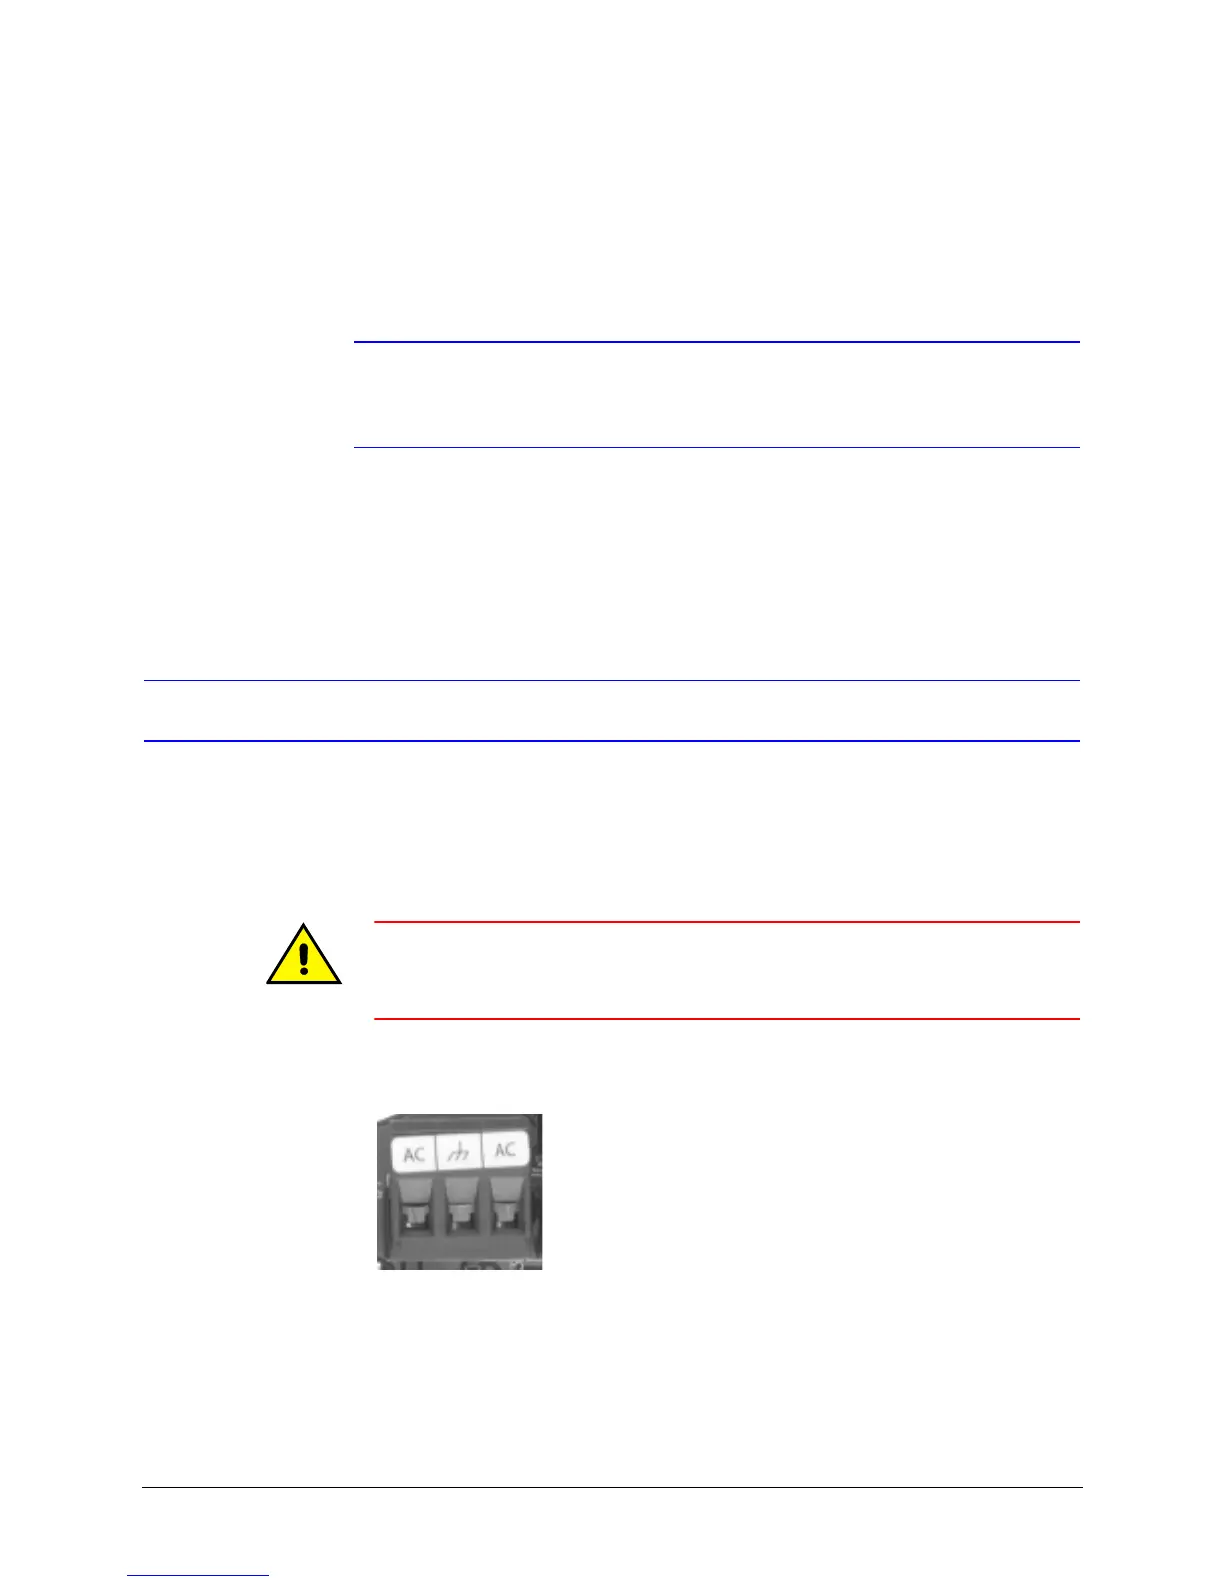
Caution A good earth ground must be connected at the J1 terminal strip, pin 2.
Surge, ESD, and EMC performance will be compromised if the unit is not
connected to a good earth ground.
Figure 3-18 Terminal Block J1 (Power)
 Loading...