ACUIX™ PTZ High Speed Analog Dome Installation and Configuration Guide
Document 800-05662 Rev C 53
06/10
Installing the Indoor and Outdoor Pendant Housing
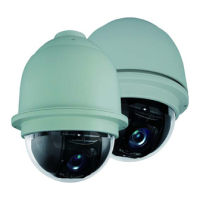
Figure 3-16 Indoor Pendant Housing
1. If not already done, route the field wiring:
• Through the housing mount, then
• Through the field wiring access hole in the housing, and then
• Through the access hole in the interface board installed in the housing.
Note The wiring must extend at least one foot (0.3 m) past the mount for wiring
purposes.
2. Install the housing on the mount. Make sure there is Teflon
®
tape on the threaded
nipple part of the housing.
Installing the Rugged Housing
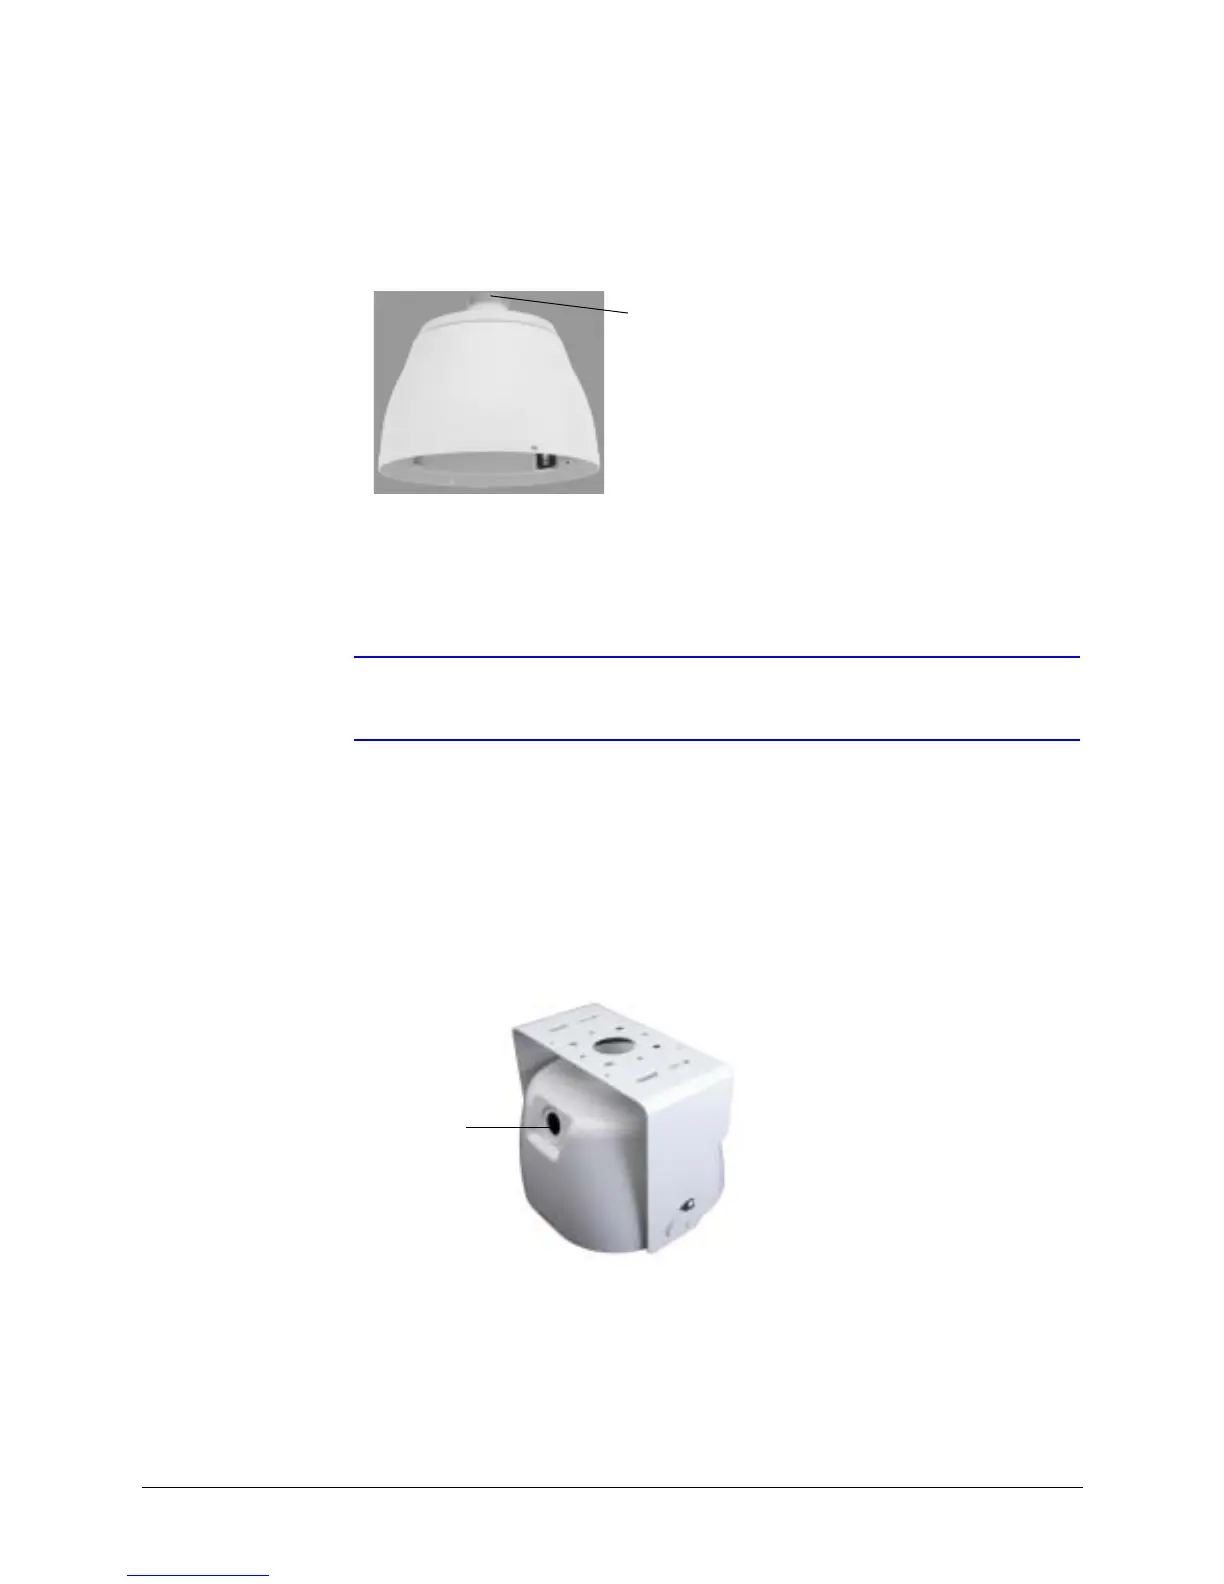
Figure 3-17 Rugged Housing and Bracket
1. Complete the bracket installation as described previously.
2. If not already done, route the field wiring:
a. Through the field wiring access hole in the housing, and
b. Through the access hole in the interface board installed in the housing.
3. Install a 0.75"(19 mm) conduit fitting in the hole on the housing.
 Loading...