HT2800T_en_c.doc Page 108 of 275
Figure 123: Sliding lid closing
6. From the screen reported in Figure 111 or Figure 112 tap “CONTINUE”: the
following screen will appear:
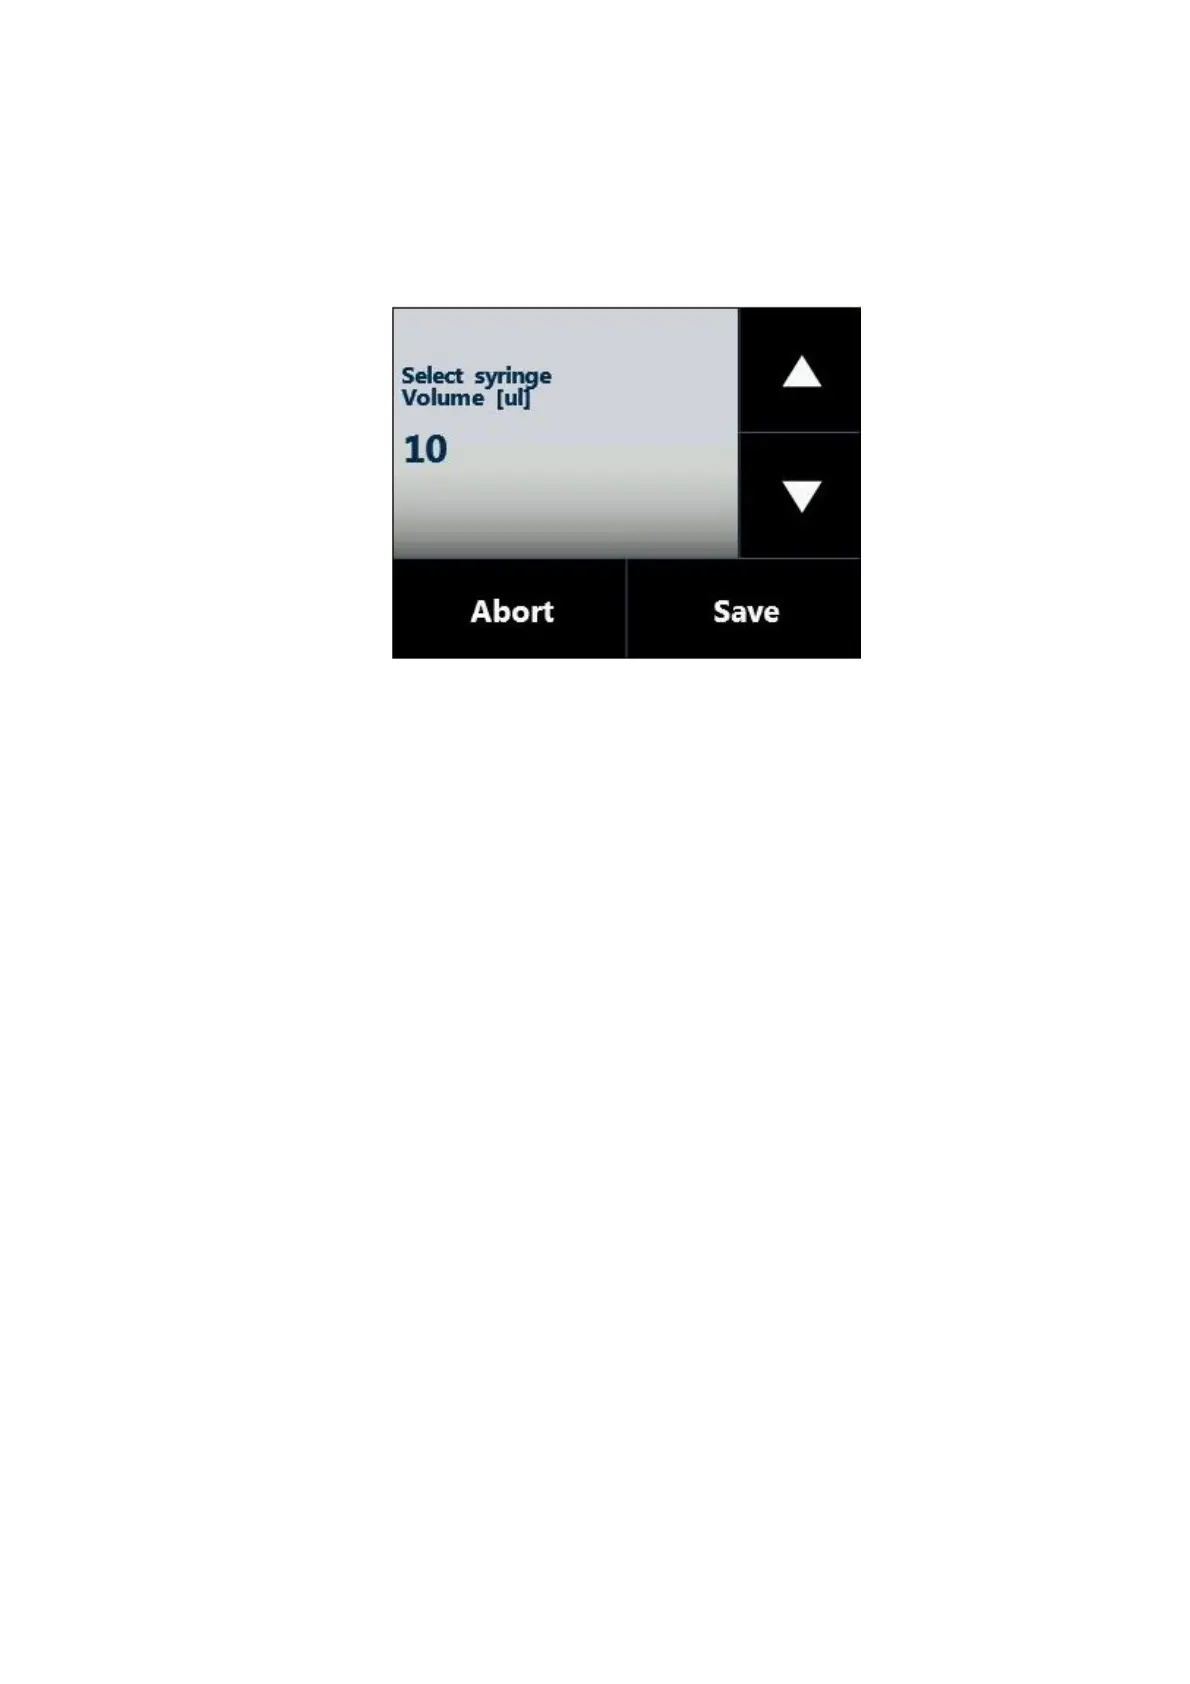
Figure 124: Syringe volume setting screen
7. Set the syringe volume and then tap “SAVE” to store the information. The syringe volume
is automatically detected if syringeID system has been purchased and enabled (see
1.7.2 “Options“ and 4.2.6.8 “Setup configuration: SyringeID”).
8. The autosampler will start “Plunger zero” automatically to complete syringe installation.
4.2.3.1 Special syringe installation
Special syringes may be used for some applications or in conjunction with special analyzers.
Usage of such syringes require to take care of the instructions detailed below.
4.2.3.1.1 Syringe supplied with o-ring
This paragraph must be followed in case that the syringe is supplied with an o-ring.
The syringe installation must be executed following the instructions given in paragraph
4 . 2 . 3 ” Syringe installation/ replacement (liquid mode)” but before mounting the syringe, it is
necessary to apply the o-ring on the syringe. The o-ring must be inserted in the syringe before
proceeding with the syringe installation. The o-ring must be inserted from the needle side and it
must slide along the syringe barrel as shown in figure below. Then proceed with the syringe
installation in the syringe location as shown in the figure below. Go ahead with the syringe
installation as shown in paragraph 4 . 2 . 3 ” Syringe installation/ replacement (liquid mode).