HT2800T_en_c.doc Page 179 of 275
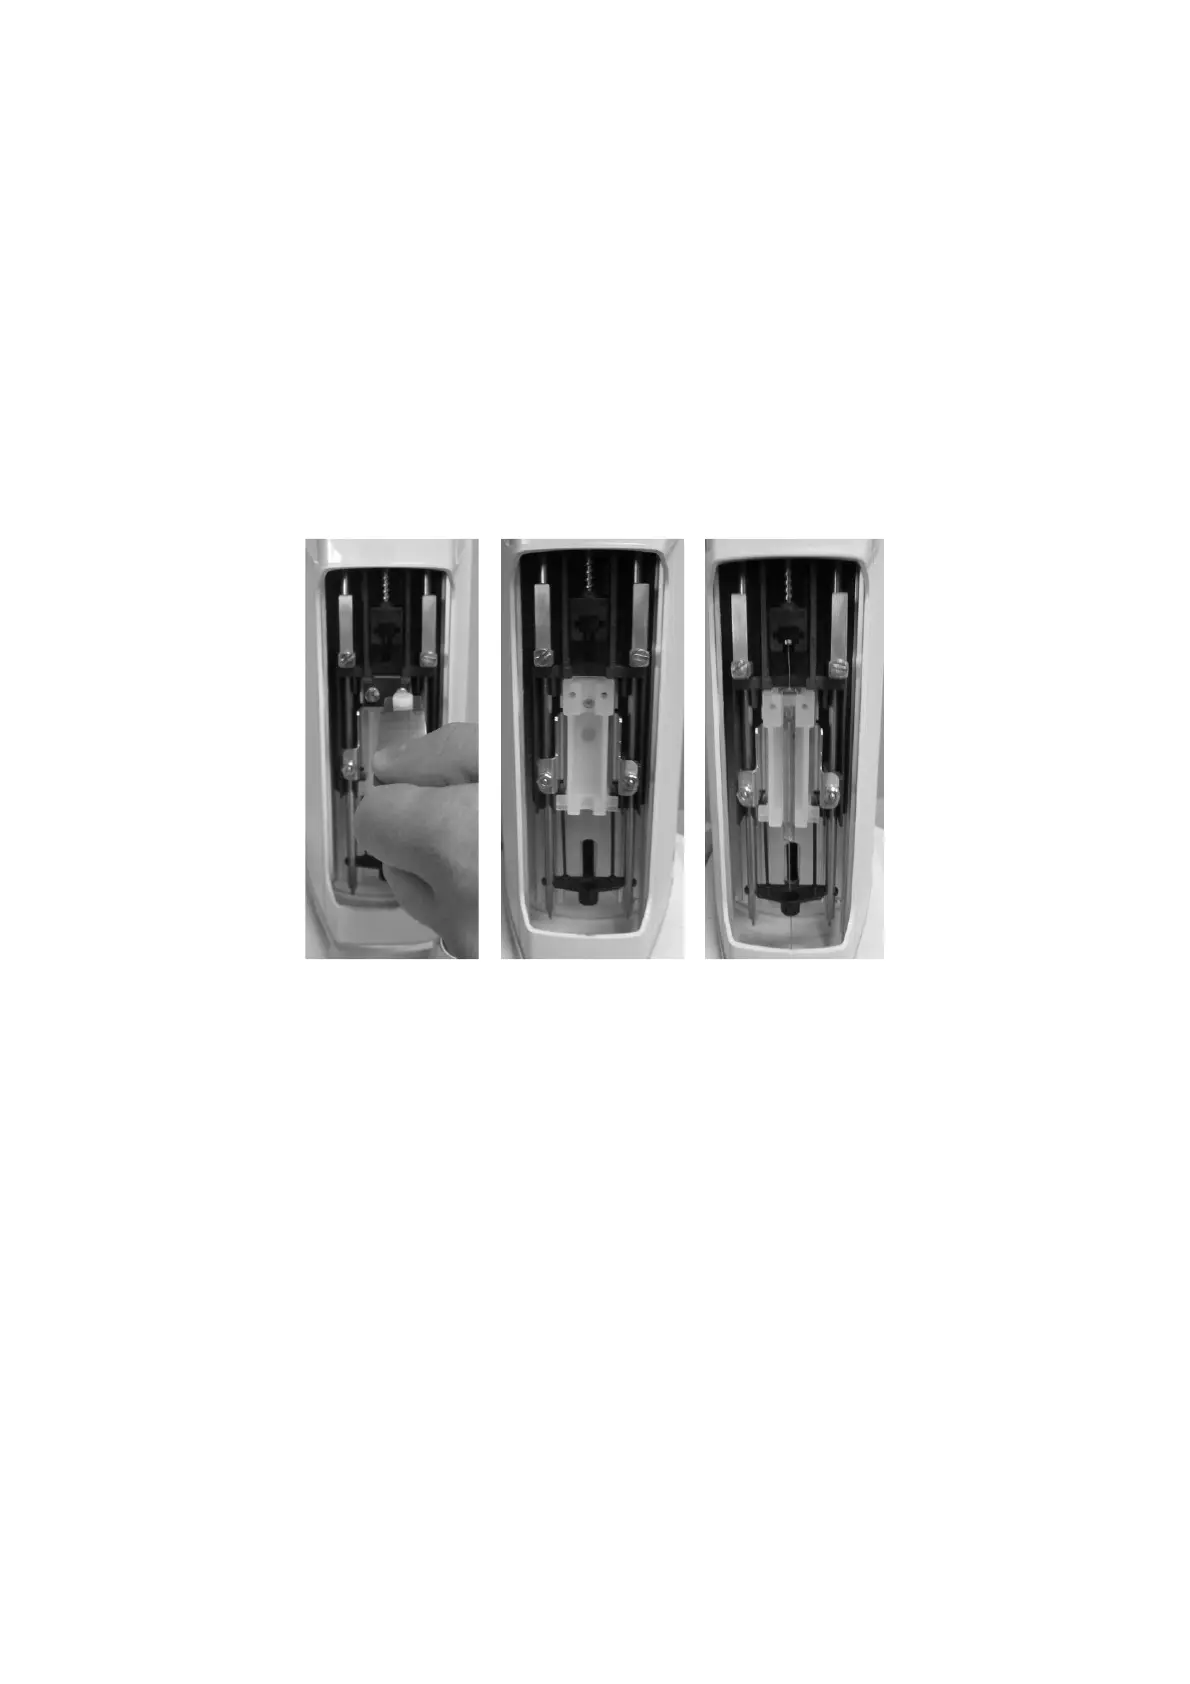
c) Install the syringe for liquid configuration: remove the syringe locker (Figure 149 or
Figure 150 if the syringeID system is enabled - a and b); place the syringe into its holder:
insert the needle through the intermediate needle guide, insert the syringe body into the
holder and lastly position the plunger into its lodging (Figure 149 or Figure 150 if the
syringeID system is enabled - c); reposition the syringe locker tightening the two screws
carefully; during the screwing, hold the syringe locker pressed down (Figure 149 or
Figure 150 if the syringeID system is enabled - d) and finally reinsert the piston locker
ensuring that the appropriate face is used (Figure 149 or Figure 150 if the syringeID
system is enabled - e) (if in doubt see 12 “Appendix B – Consumables“).