3–19
Chapter 3. Configuring the Printer
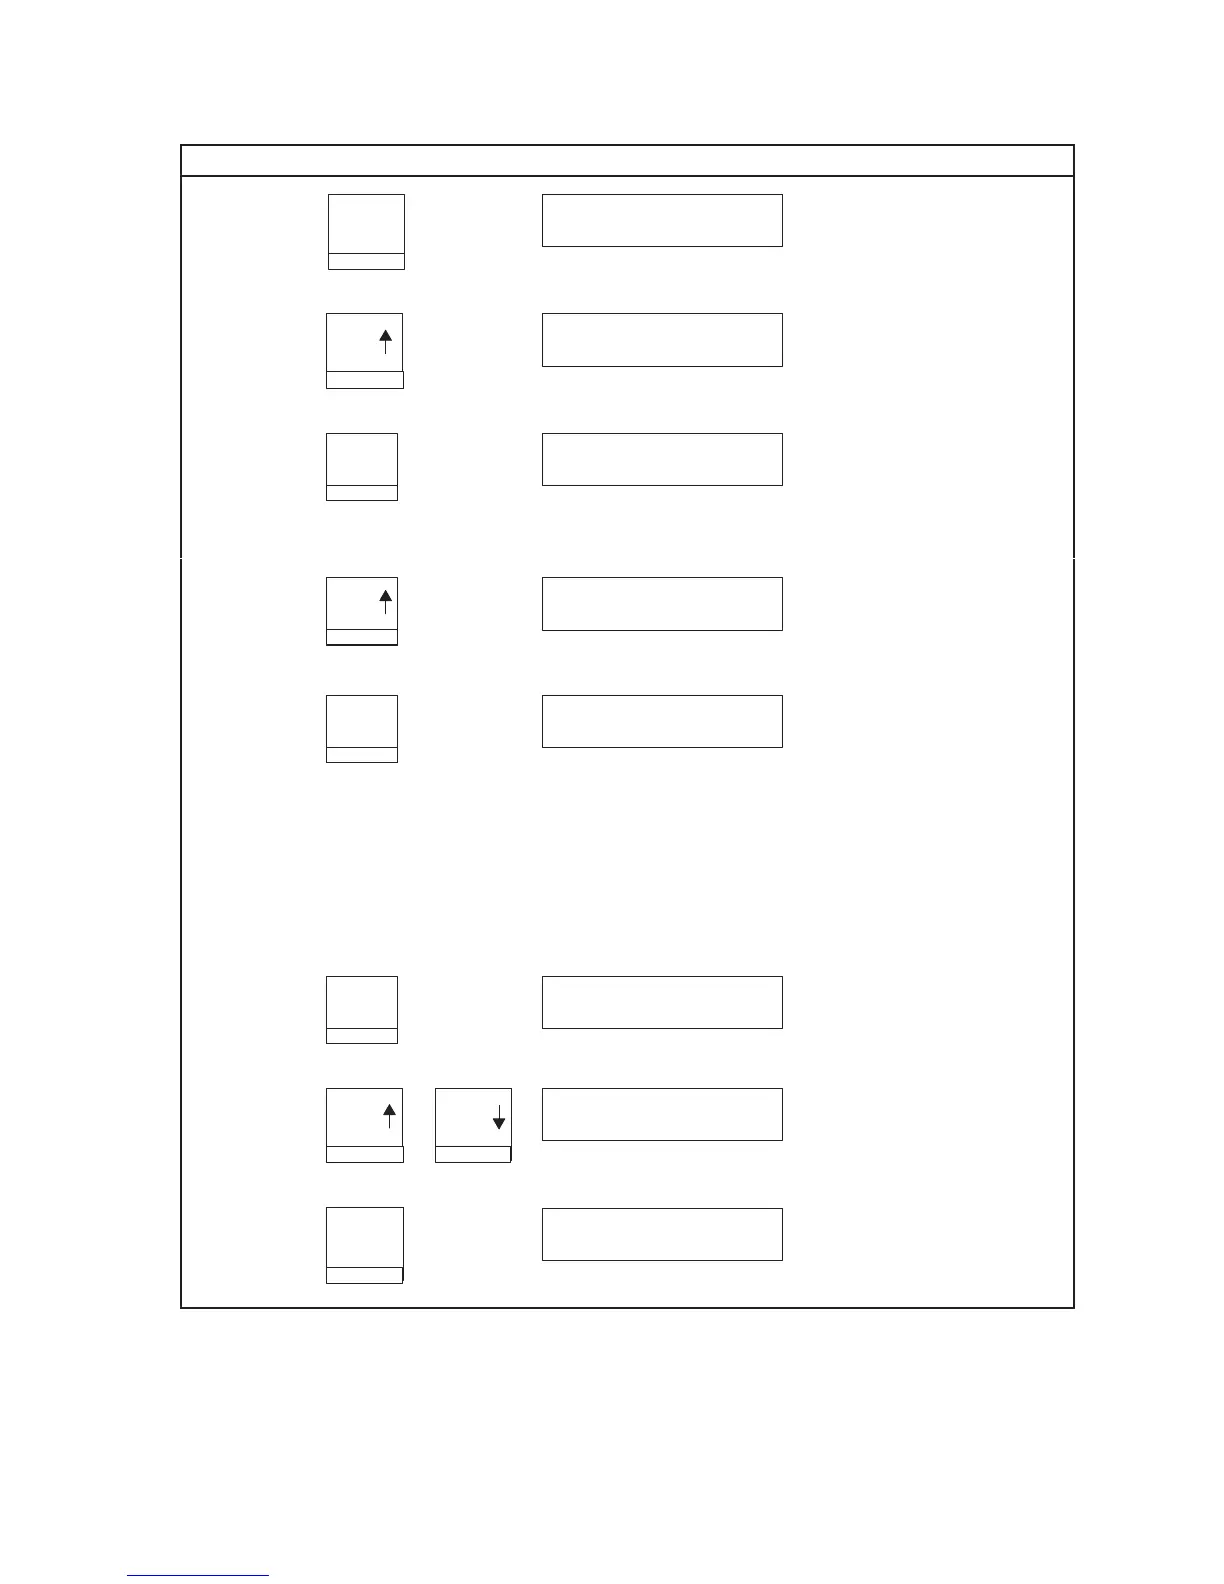
Step NotesResultKey
5.
Enter
INTERFACE SELECTION
PRINTER CONTROL
Moves into the PRINTER
CONTROL menu.
6.
Scroll
UNTIL
PRINT DIRECTION
PRINTER CONTROL
Moves to the PRINT
DIRECTION parameter.
7.
Enter
PRINT DIRECTION
BIDIRECTIONAL*
Moves into the PRINT
DIRECTION menu. The
asterisk (*) shows that this is
the active value.
8.
Scroll
PRINT DIRECTION
UNIDIRECTIONAL
Moves to the next available
option, the
UNIDIRECTIONAL option.
9.
Enter
PRINT DIRECTION
UNIDIRECTIONAL*
Selects the displayed value.
An asterisk (*) appears,
indicating that this choice is
now the active value.
10. Continue this pattern to make other changes, using the information in this chapter.
11. The configuration you have selected is now the “active” value until you power off the printer
. T
o save changes so that they
will remain when the printer is reset or powered back on, see “Saving Your Configuration in a Custom Set” on page 3–20. If
you want to use—but not save—these settings, continue to the next step.
12.
Stop
NOT READY
Returns the printer to the
NOT READY mode.
13.
Scroll
Scroll
+
OPERATOR MENU
LOCKED
Relocks Program mode and
the Operator Menu.
14.
Start
READY
Places the printer in READY
mode, prepared for normal
operation.

 Loading...


