2–26
6400 Line Matrix Printers Setup Guide, Cabinet and Pedestal Models
Connect the Interface and Power Cables (Cabinet Models)
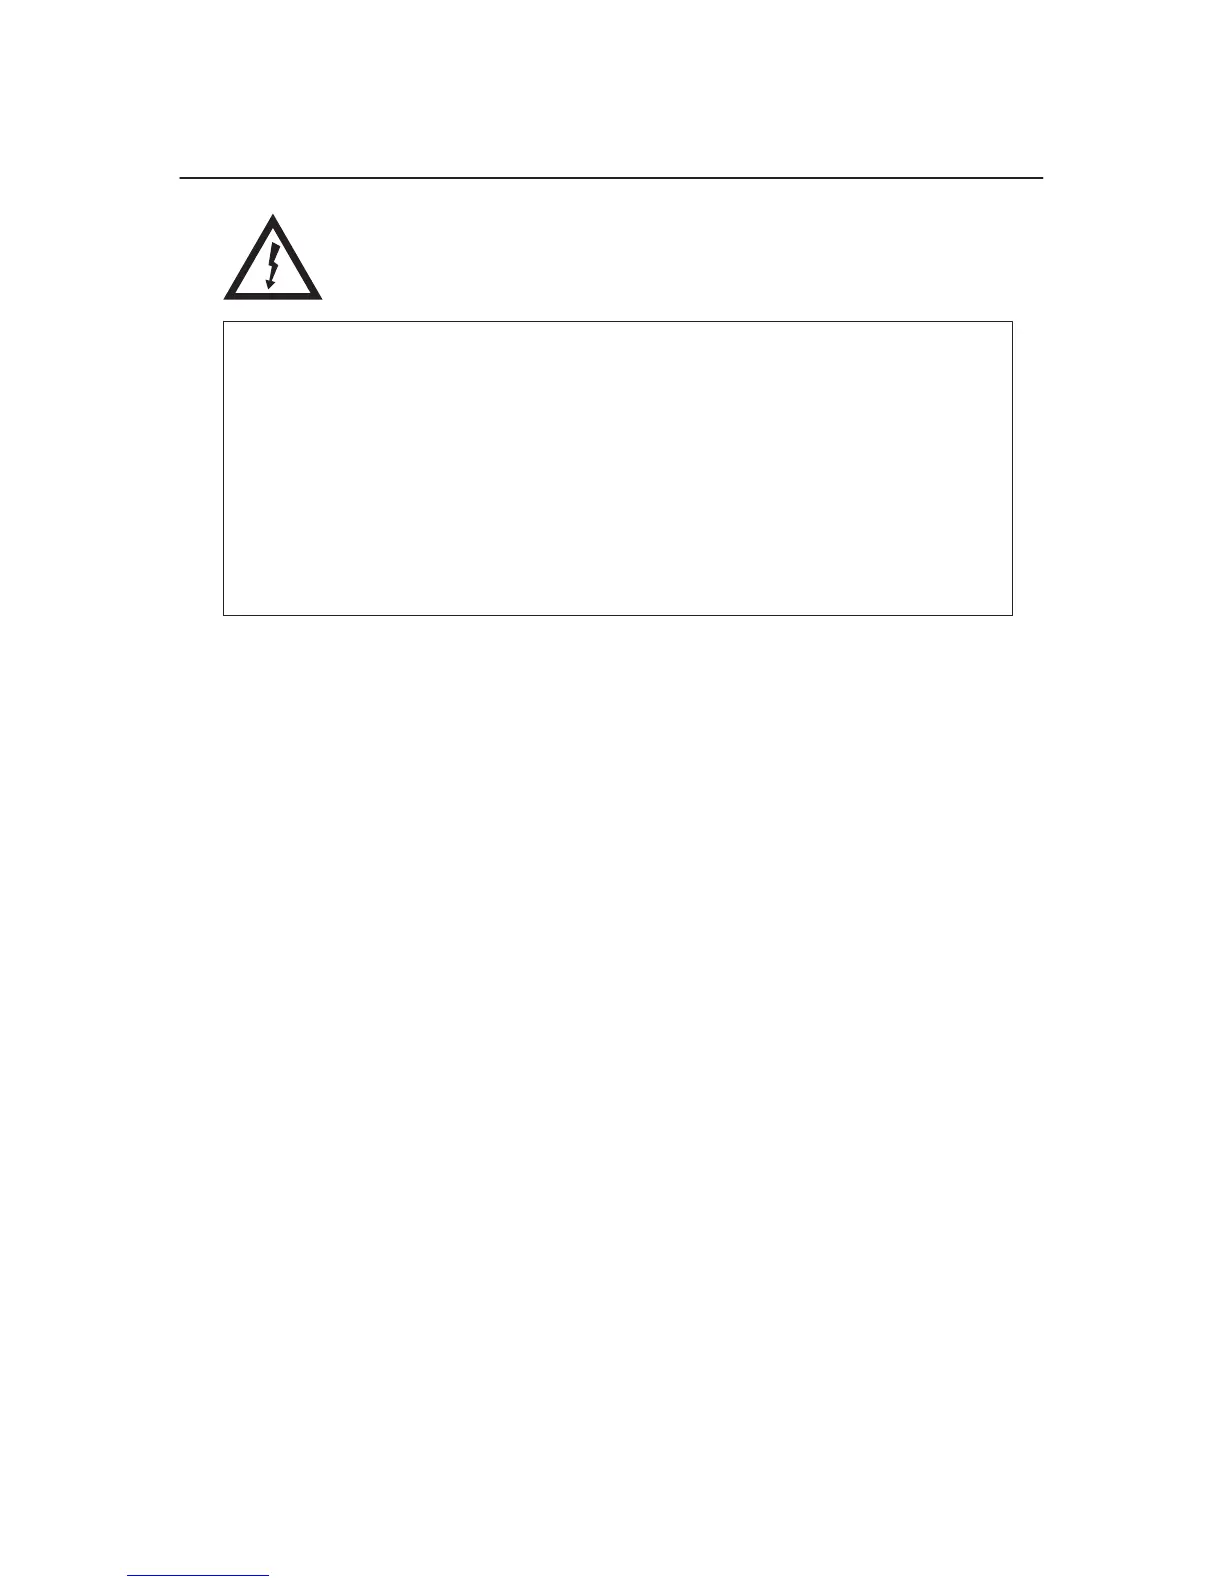
DANGER:
<1> Before powering on the printer ensure the printer is plugged into an
appropriate power source. Refer to Chapter 2 of the Setup Guide for
information on the proper source.
<4> Do not connect or disconnect any communication port, teleport,
attachment connector, or power cord during an electrical storm.
<5> Power off the print and disconnect the power cord before connecting or
disconnecting communication port, teleport, or attachment cable
connector.
1. Verify that the voltage source at the printer site conforms to the
requirements specified on page 2–6. Make sure that the printer power
switch is set to Off. See Figure 2–15.
2. Open the front cabinet door, remove and open the cardboard box
containing the power cord, printer ribbon, and operator panel overlay
label. Refer to Appendix A, “Printer Specifications,” for recommended
cables. Documentation is stored in a pouch container on the left interior
side of the cabinet.
3. Referring to Figure 2–15 through Figure 2–20, connect the
customer-supplied interface cable from the host computer to the
appropriate printer interface connector.
4. Thread the power cable connector up through the notch in the lower right
back corner of the cabinet (see Figure 2–15). Plug the power cord into
the printer AC power connector, then into the AC power outlet.

 Loading...


