Page: 101
JFS-A1 INSTALLATION, OPERATION, AND INSTRUCTION MANUAL
Document # : DOC230
Issued: August 27, 2012
Revised: N/A
PSN-1000/PSN-1000(E)Programming
e panel can be programmed to support up to thirty-one (31) PSN-1000/PSN-1000(E) Power Expanders. Each
power supply provides six (6) NAC circuits (3A max), and two (2) dry contact input circuits. Both Class A and B
congurations are supported; however, Class A requires that NAC circuits are paired as follows: NAC 1&2, NAC
3&4 and NAC 5&6, thus providing three (3) Class A circuits.
Adding a Power Supply
To add and congure a power supply:
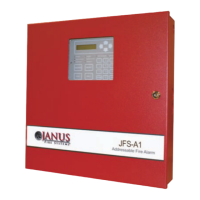
1. Select the Power Supply function from the system panel. e "Add Device" window displays.
Figure 128. Example of Add Power Supply Window
2. Click the Add Device button to create a new power supply.
Figure 129. Example of Add Power Supply Window
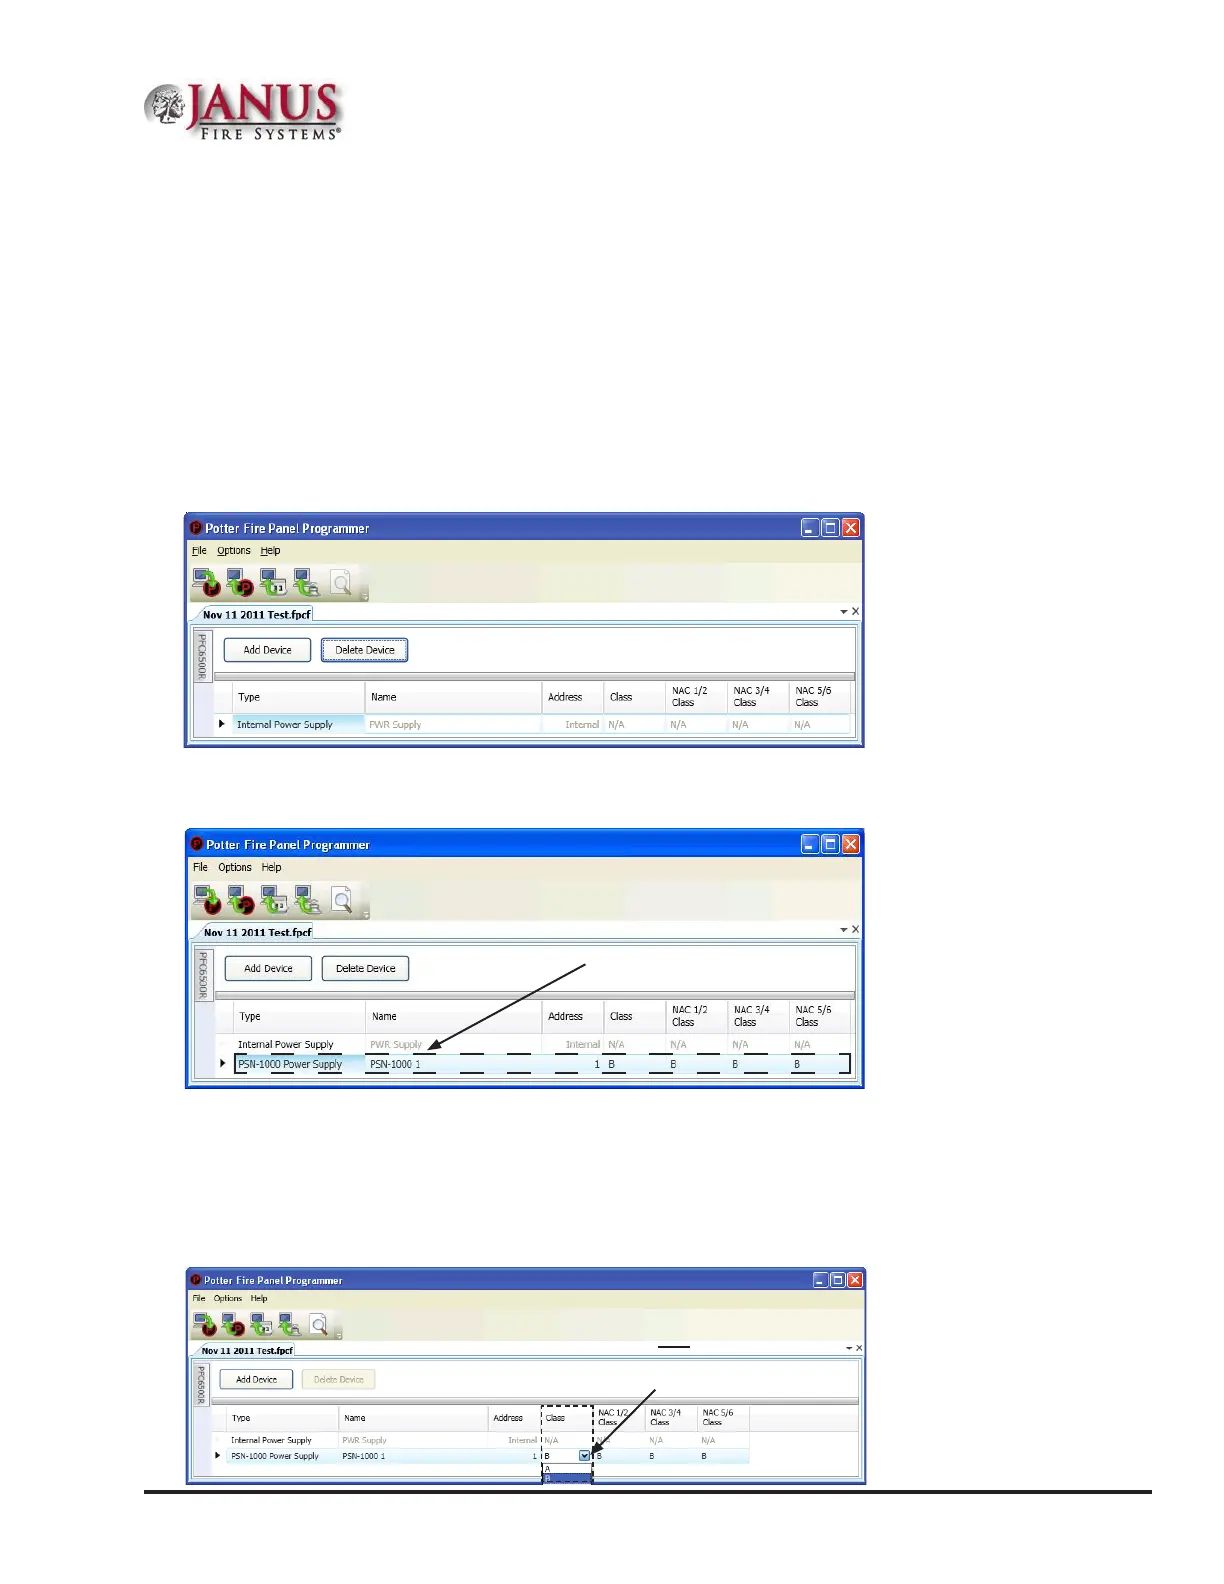
3. Congure the power supply, as needed:
Double-click in the “Name” eld to change the default name.
Double-click in the “Address” eld to enter a dierent address.
Click on the "Class" drop-down arrow to select Class A for the repeated P-Link circuit.
Figure 130. Example of Power Supply "Class for P-Link" Operation
Power Supply
default name.
Click here to select
Class "A" for the
repeated P-Link circuit.
 Loading...