Page: 45
JFS-A1 INSTALLATION, OPERATION, AND INSTRUCTION MANUAL
Document # : DOC230
Issued: August 27, 2012
Revised: N/A
Uploading from Panel to Computer
e Upload Conguration File to Computer transfer icon is used to upload the conguration le from the
panel to the computer once the LEARN function is completed or whenever devices are added or removed from the
panel.
To upload programming changes to computer:
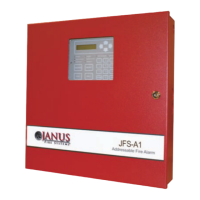
1. Click the Upload Conguration File to Computer icon or right click from “Transfers” region as shown below:
Figure 44. Example of Transfer Shortcut Menu
Note: Click the "Add" option from the shortcut menu to choose the transfer type.
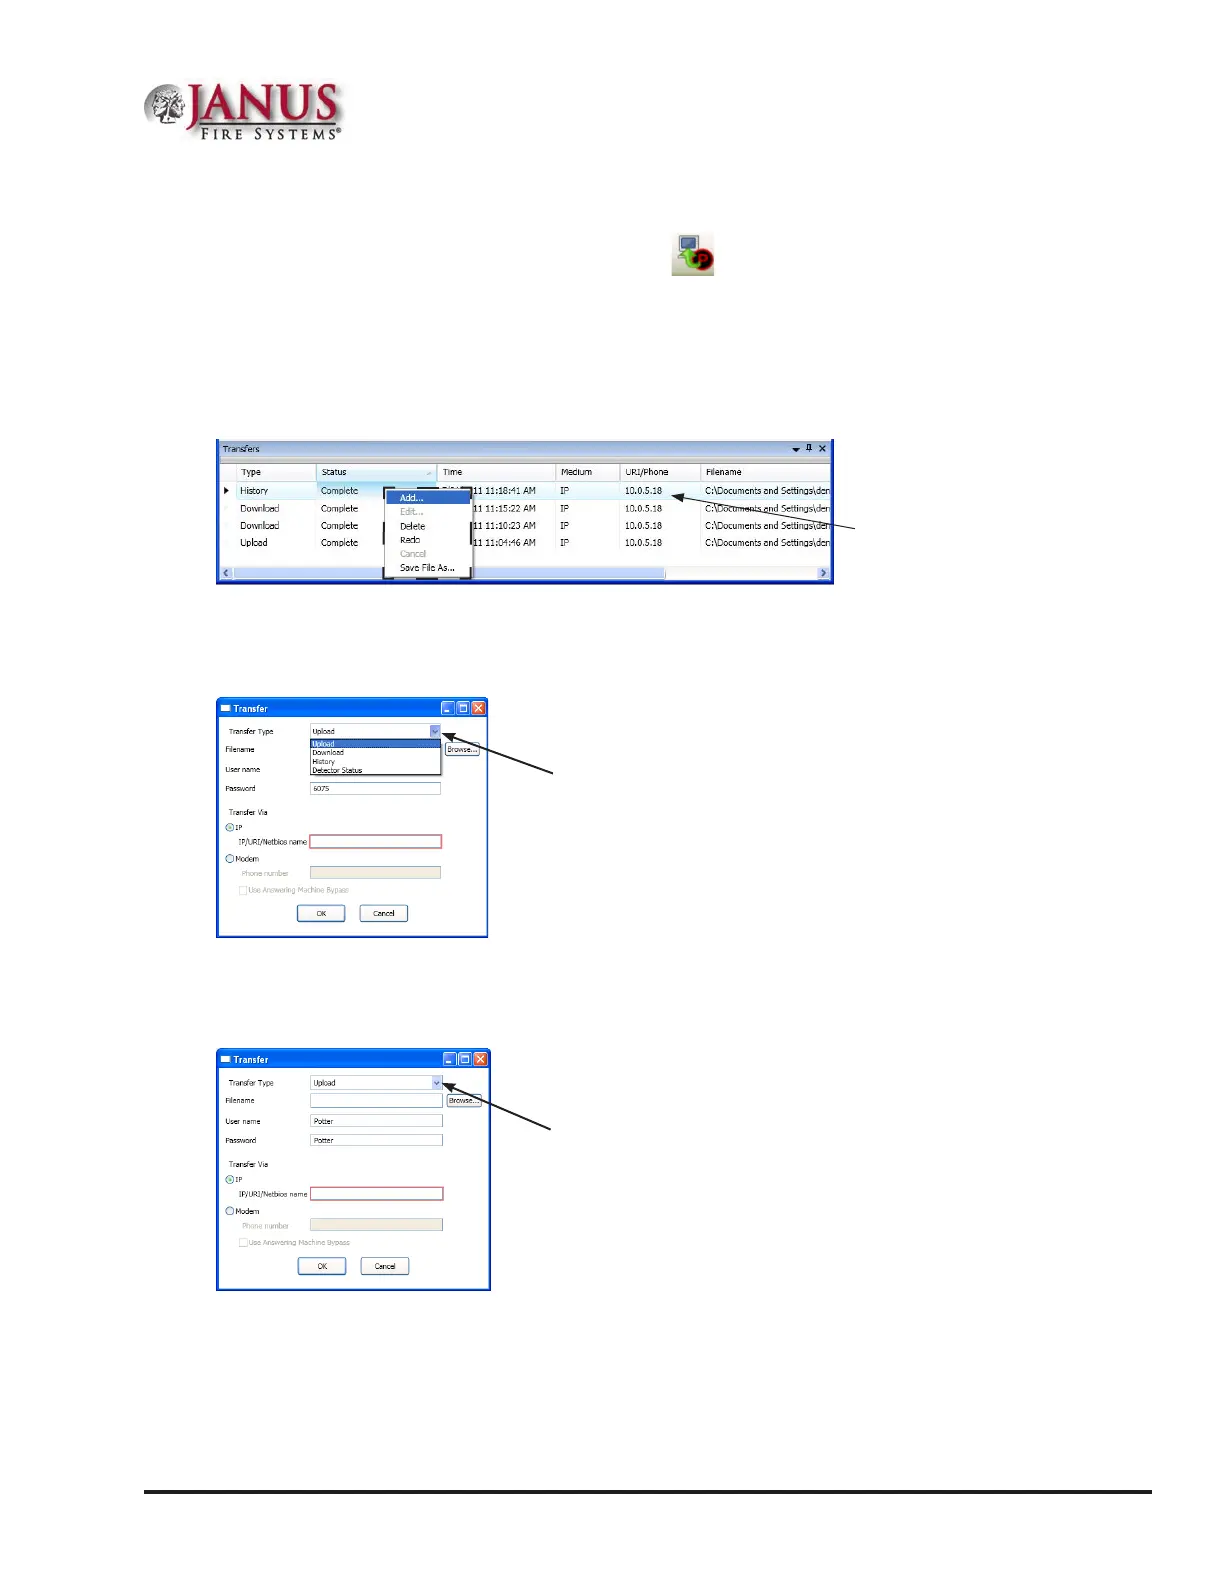
e Transfer dialog box displays.
Figure 45. Example of Transfer Upload Dialog Box
2. Verify that Upload is selected in the “Transfer Type” eld.
3. Enter the conguration lename in the “Filename” eld or leave blank to Autoname.
Figure 46. Example of Transfer – Upload Window
Notes:
•y If you do not name the le, the program automatically names it using the transfer type and date stamp as the
le name.
•y Once the le has been saved, and additional programming changes are made at a later date, click the Browse
button to locate the le name to replace the old le with the updated conguration changes.
Click here to choose applicable
transfer type, if necessary.
Enter le name or leave blank to
auto-name.
Right click anywhere in the
transfer window to display
the shortcut menu.