CHAPTER 11
Installing the Switch
•
Installing and Connecting an EX3200 Switch on page 141
•
Mounting an EX3200 Switch on page 142
•
Mounting an EX3200 Switch on a Desk or Other Level Surface on page 143
•
Mounting an EX3200 Switch on Two Posts in a Rack or Cabinet on page 144
•
Mounting an EX3200 Switch on Four Posts in a Rack or Cabinet on page 146
•
Mounting an EX3200 Switch in a Recessed Position in a Rack or Cabinet on page 150
•
Mounting an EX3200 Switch on a Wall on page 150
•
Installing and Removing EX3200 Switch Hardware Components on page 152
Installing and Connecting an EX3200 Switch
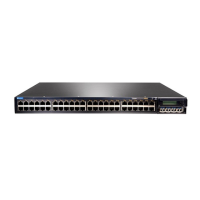
The EX3200 switch chassis is a rigid sheet-metal structure that houses the hardware
components.
To install and connect an EX3200 switch:
1. Follow instructions in “Unpacking an EX3200 Switch” on page 137.
2. Mount the switch by following instructions appropriate for your site:
•
“Mounting an EX3200 Switch on Two Posts in a Rack or Cabinet” on page 144 (using
the mounting brackets provided)
•
“Mounting an EX3200 Switch on Four Posts in a Rack or Cabinet” on page 146 (using
the separately orderable four-post rack-mount kit)
•
“Mounting an EX3200 Switch in a Recessed Position in a Rack or Cabinet” on page 150
(using the 2-in.-recess front brackets from the separately orderable four-post
rack-mount kit)
•
“Mounting an EX3200 Switch on a Desk or Other Level Surface” on page 143 (using
the rubber feet provided)
•
“Mounting an EX3200 Switch on a Wall” on page 150 (using the separately orderable
wall-mount kit)
3. Follow instructions in “Connecting Earth Ground to an EX Series Switch” on page 155.
141Copyright © 2016, Juniper Networks, Inc.

 Loading...