LABORIE Goby Owner’s Manual GOBY-UM02 57
5.6.5.5 Area Under Curve
The Area Under Curve feature calculates the area under the curve above a certain threshold for specific graph segments.
Calculations can be viewed in the Event Summary.
Before using this feature, the Area Start and Area End events need to be configured for calculation start and end points.
Area Start and Area End events configured using control panel buttons can only be used while a test is running, while the
events added to the Event Annotation box can be used while a test is running or after a test is stopped or saved.
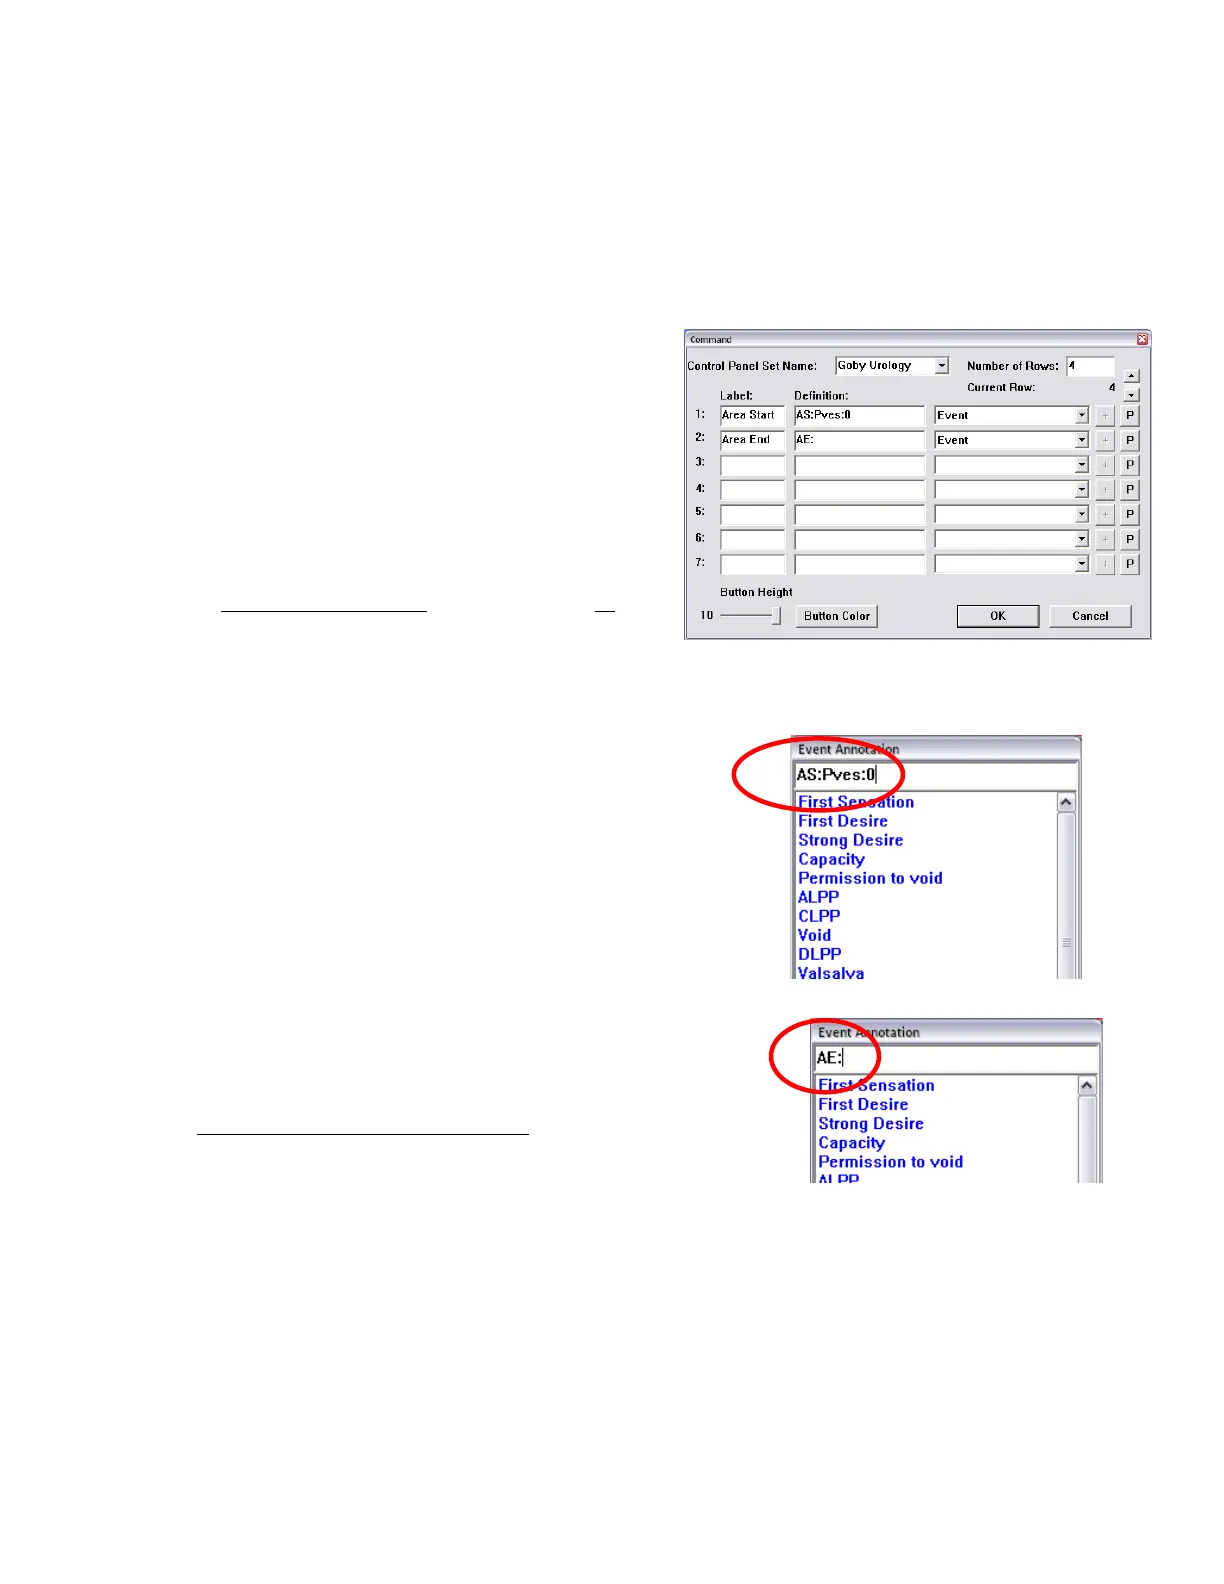
To configure Area Start and Area End buttons in the control panel:
1. Click Options > Control Panel Settings to open the
control panel configuration window.
2. In the Command box, configure the Area Start* and Area
End
buttons.
* The
button is set with the format
AS:
pressure
channel
:
threshold value
.
In this example:
means
that the area under the Pves curve above a threshold of 0 will
be calculated (
Figure 65).
3. Click
to add the buttons to the control panel.
Refer to the Control Panel Settings section on page 71
for
more information on configuring the control panel.
To configure Area Start and Area End events in the Event Annotation box:
1. Select a test to run.
2. Click the
button on the control panel to open the Event
Annotation box.
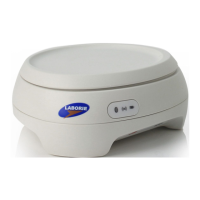
3. Create the
event by typing the format
AS:
pressure
channel
:
threshold value.
In this example AS:Pves:0 means
that the area under the Pves curve above a threshold of 0
will be calculated (
Figure 66).
4. Click
.
Figure 66: Event Annotation Window, “AS:”
5. Create the Area End event by typing AE: (make sure that a
colon symbol
is typed after the AE).
6. Click
.
7. Click
to return to the test start window.
Refer to the About the Event Annotation Window section on page 55
for more information on the Event Annotation window.
Figure 67: Event Annotation Window, “AE:”
To calculate the Area Under Curve during a test:
1. Click Run and then click Zero All.
2. When applicable, click the Area Start button on the control panel to establish the starting point of area calculation.
3. When applicable, click the Area End button to establish the end point of area calculation.
4. Complete the test and click Info > Event Summary to review the Area Start and Area End values.