7
Let’s Get Started!
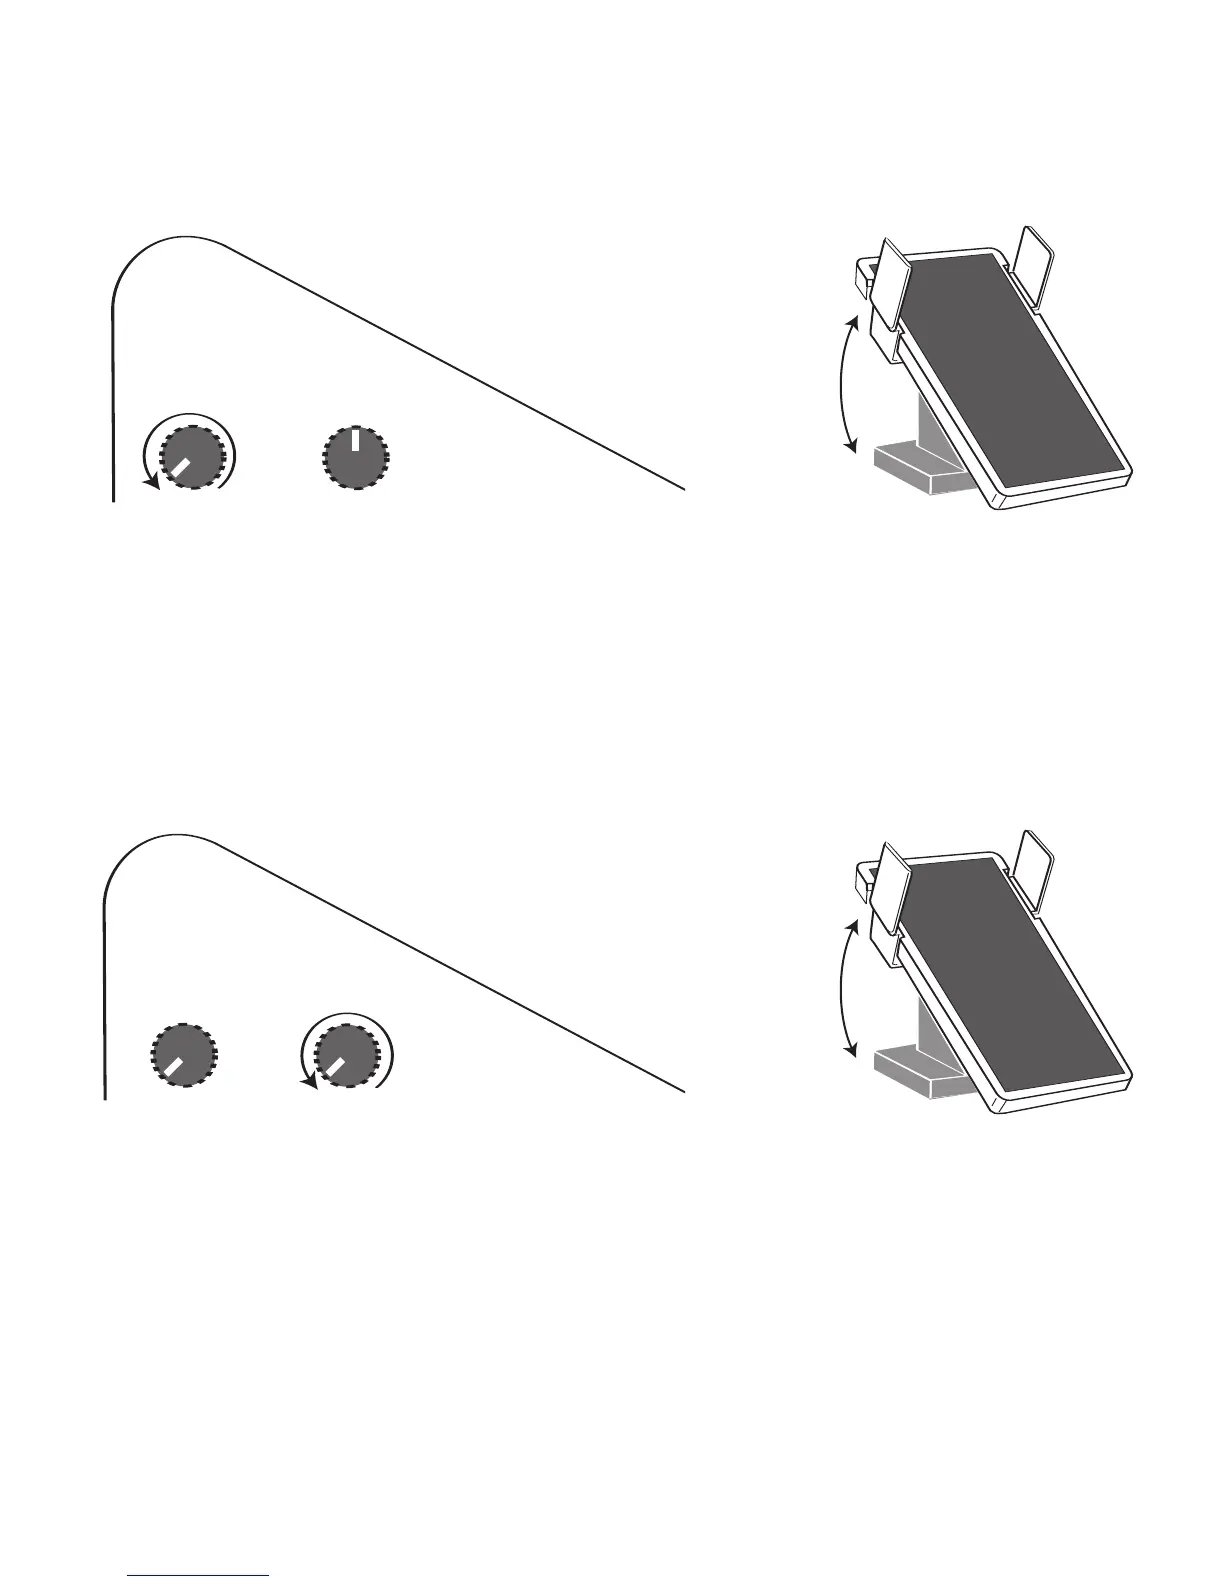
IMPORTANT: Before plugging headphones (stereo only) into the headphone
OUTPUT jack, be sure the vol-
ume knob labeled
HEADPHONE + MONITOR and the EXPRESSION PEDAL are set to minimum volume. Turn
the knob to the left until it stops. Place the expression pedal in the toe side up, heel side down position. After
plugging the headphones in and placing them on your ears, hold a note or play a rhythm style, and slowly
increase the volume to a comfortable level.
10. MICROPHONE INPUT
You can plug a microphone into the microphone INPUT jack and use the organ speaker system to amplify
your voice. The MICROPHONE volume knob, located next to the HEADPHONE + MONITOR volume knob, can
be used to adjust the volume level of the microphone.
IMPORTANT: Before plugging a microphone into the microphone INPUT jack, be sure that the volume
knob labeled VOLUME and the
EXPRESSION PEDAL are set to minimum volume. After plugging the micro-
phone in, speak directly into it and slowly increase the volume to a comfortable level.
The
REVERB switch is located in the far right corner of the right end block (the same section with the
HEADPHONE + MONITOR and MICROPHONE volume knobs). The REVERB switch is labeled with a plus (+)
and minus (
-) sign. Set the switch to the plus (+) side to have the organ reverb effect applied to the micro-
phone output. You may wish to adjust the reverb level, in the GRAPHIC MIXER section, to a level that sounds
best to you. Set the switch to the minus (-) side to have the microphone output reduce the reverb effect,
adding slight reverb to the microphone output.
Pedal Set
to Minimum
Volume
Pedal Set
to Maximum
Volume
HEADPHONE
+
MONITOR
-VOLUME-
CD RECORDER/PLAYER
MICROPHONE
HEADPHONE
+
MONITOR
-VOLUME-
CD RECORD
ER/PLAYER
MICROPHONE
HEADPHONE
+
MONITOR
-VOLUME-
CD RECORDE
R/PLAYER
MICROPHO
NE
Pedal Set
to Minimum
Volume
Pedal Set
to Maximum
Volume
HEADPHONE
+
MONITOR
-VOLUME-
CD RECORD
ER/PLAYER
MICROPHONE
HEADPHONE
+
MONITOR
-VOLUME-
CD RECORDE
R/PLAYER
MICROPHO
NE