Remove an NVMe Storage Drive
Where $slot is the slot number obtained in step Step 2b above.
4.
Verify that the OK to Remove indicator (LED) on the NVMe drive is lit.
Remove an NVMe Storage Drive
Perform this procedure to physically remove an NVMe storage drive from the server.
1.
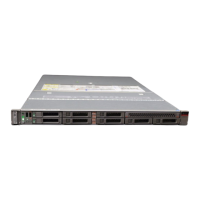
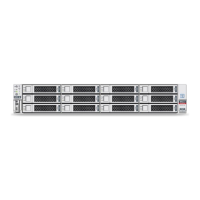
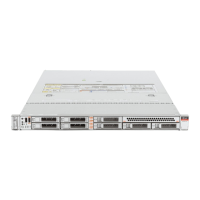
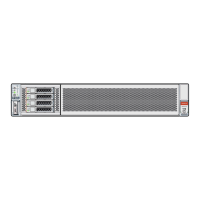
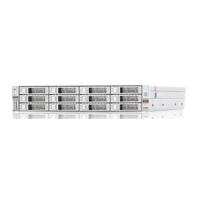
Identify the location of the NVMe drive that you want to remove.
For storage drive locations, see “Remove a Storage Drive” on page 72.
2.
Verify that the OK to Remove indicator (LED) on the NVMe drive is lit.
3.
On the NVMe drive you plan to remove, push the latch release button to open the
drive latch.
See “Remove a Storage Drive” on page 72.
4.
Grasp the latch and pull the drive out of the drive slot.
5.
Consider your next steps:
■
If you are replacing the drive, continue to “Verify Removal of an NVMe Storage
Drive” on page 81, and then “Install an NVMe Storage Drive” on page 82.
■
If you are not replacing the drive, install a filler panel in the empty drive slot to maintain
proper airflow and perform administrative tasks to configure the server to operate without
the drive.
For information on how to install a storage drive filler panel, see “Remove and Install Filler
Panels” on page 217.
Verify Removal of an NVMe Storage Drive
1.
To check the NVMe drive enumeration to verify that NVMe drive has been
removed, type:
# lspci -nnd :0a54
2.
View the command output and verify that the entry for the slot number that was
disabled no longer appears.
This commands returns output similar to the following:
Servicing Storage Drives (CRU) 81
 Loading...
