Install a Storage Drive
5.
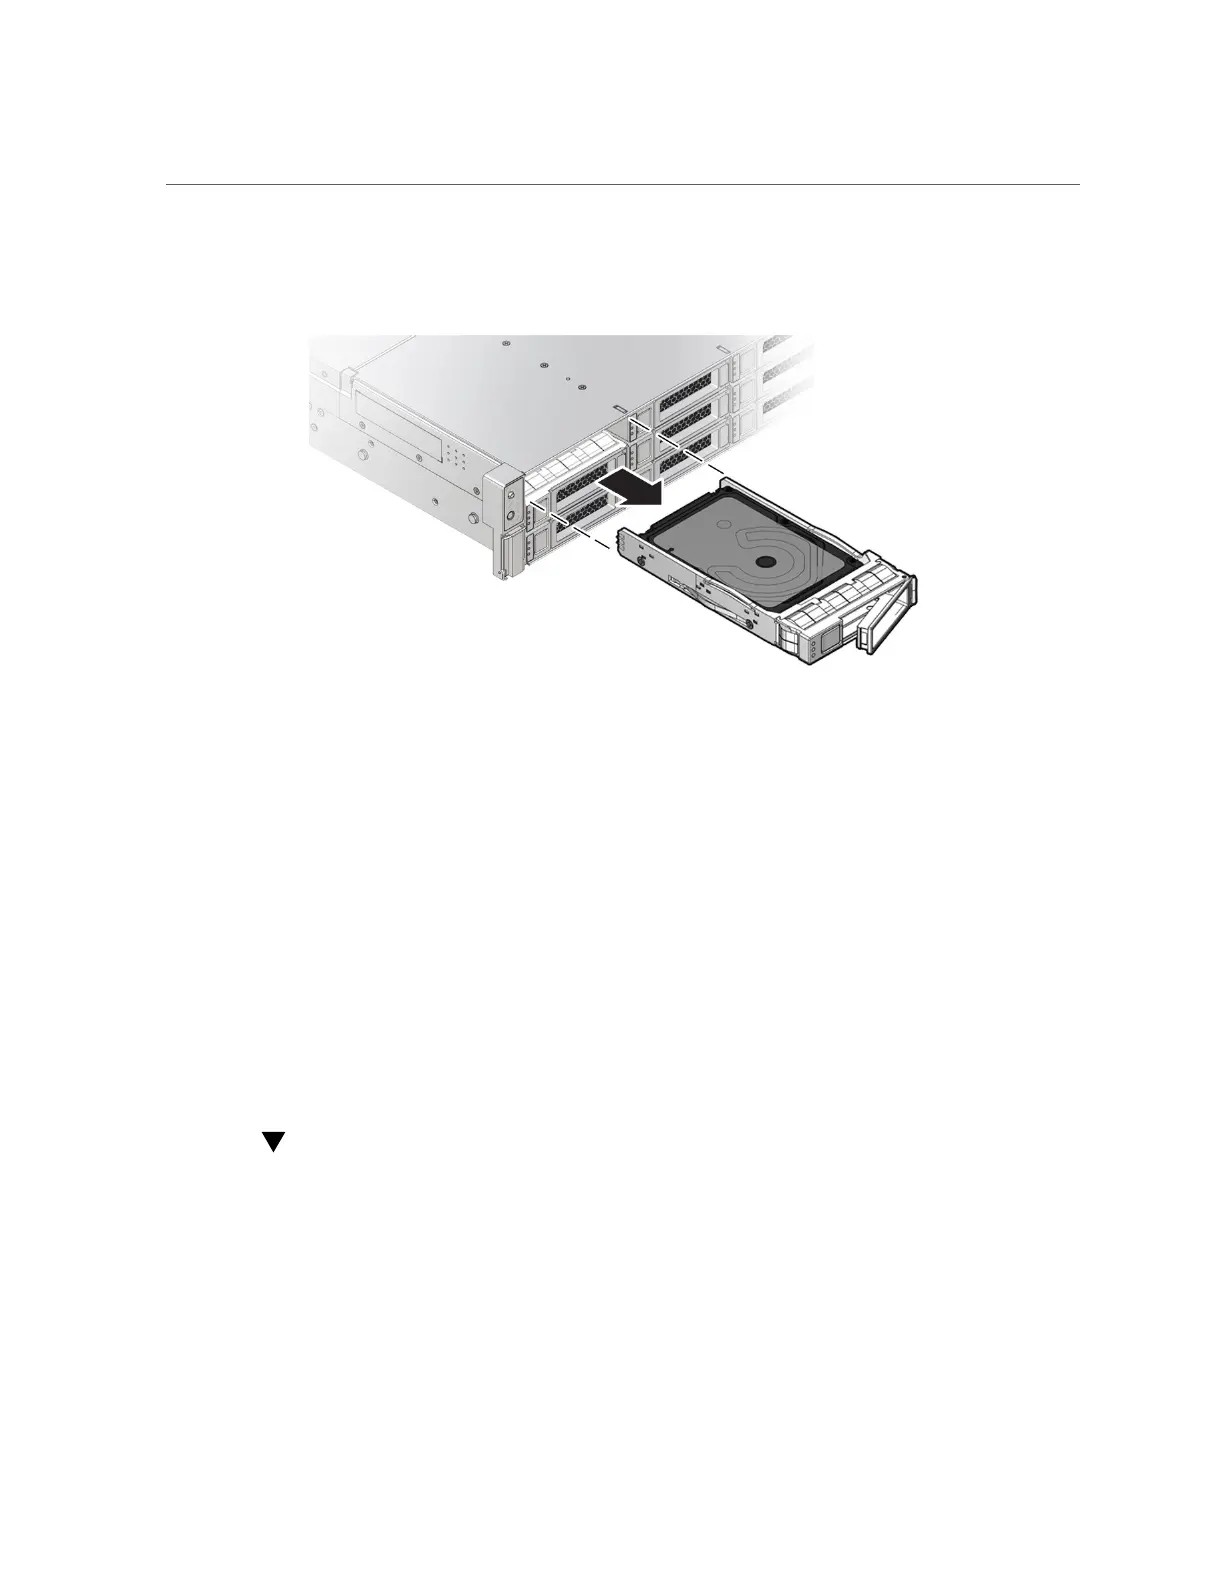
Grasp the latch and pull the drive out of the drive slot.
6.
Consider your next steps:
■
If you are replacing the drive, continue to “Install a Storage Drive” on page 74.
■
If you are not replacing the drive, install a filler panel in the empty drive slot to maintain
proper airflow and perform administrative tasks to configure the server to operate without
the drive.
For information on how to install a storage drive filler panel, see “Remove and Install Filler
Panels” on page 217.
Related Information
■
“Storage Drive Status Indicators” on page 33
■
“Storage Drives Hot-Plug Conditions” on page 69
■
“Storage Drive Failure and RAID” on page 70
■
“Install a Storage Drive” on page 74
Install a Storage Drive
1.
Remove the replacement drive from its packaging, and place the drive on an
antistatic mat.
2.
If necessary, remove the drive filler panel.
74 Oracle Server X8-2L Service Manual • January 2021