Chapter 7
Using Pipeline Control
102
March, 2009
THE PIPELINE SETTINGS TOOLBAR
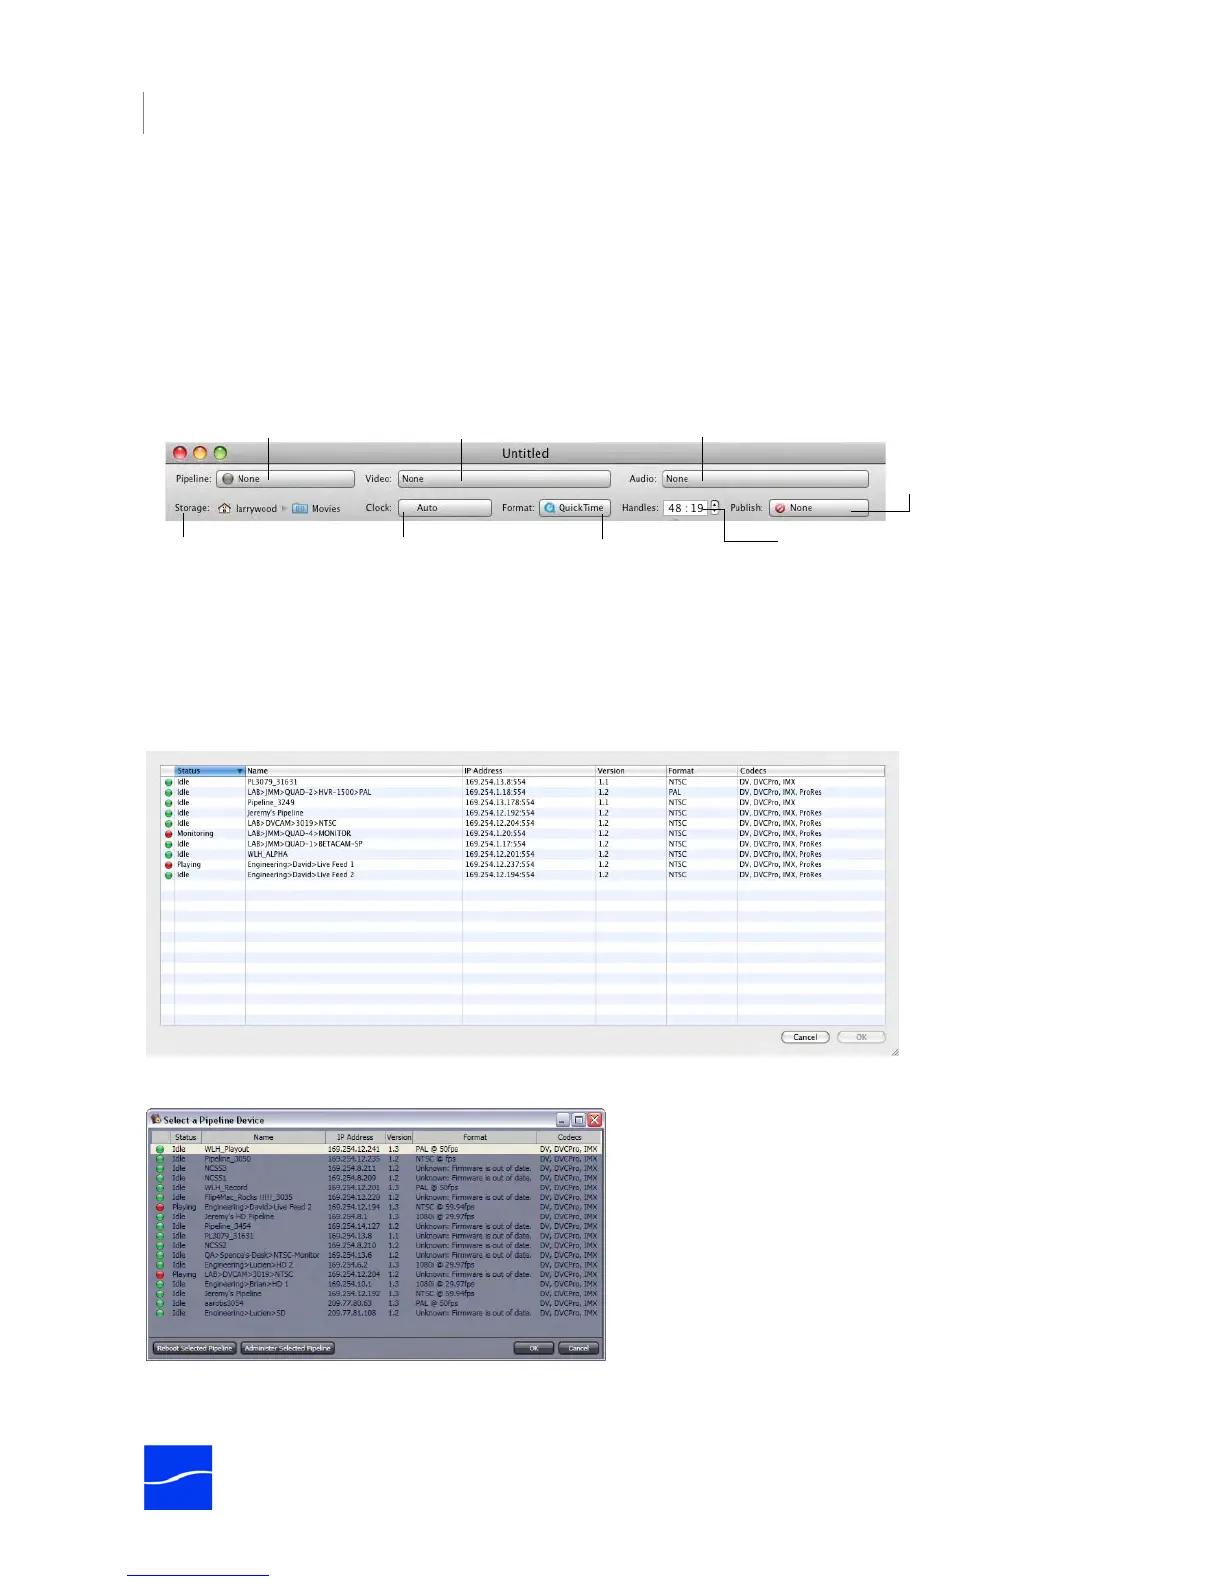
At the top of each window is the Settings toolbar. There are eight selectors in the toolbar. These selectors
enable you to select a specific Pipeline, and set it up for use with this operation.
When you place a schedule or log and capture window in Playout, Preview, or Capture mode, the settings
are disabled and you can’t make changes. To make changes, you must first return to Idle or Preview mode.
Figure 7–5. Use the Pipeline Settings toolbar to select and configure a Pipeline for this window.
These settings are saved with the document. When the document is connected to a Pipeline, the Pipeline
is utilized based on these settings.
Selecting a Pipeline. Click the Pipeline dropdown menu and select a recently-used Pipeline, or select
Browse to display a list of all Pipelines on your network for you to choose from.
Figure 7–6. Mac OS X Pipeline browser and selection window.
Figure 7–7. Windows Pipeline browser and selection window.
Pipeline Selector. Click
to select a Pipeline.
Video. Click to select and
configure the video codec.
Format. Click to
select a file type.
Clock. Click to select a system
to provide clock signal.
Publish. Click to select
an action to perform
when each clip is
Audio. Click to select and
configure the audio codec.
Storage. Identifies
folder for clips.
Handles. Adjust the time
value of handles.



 To Next Page